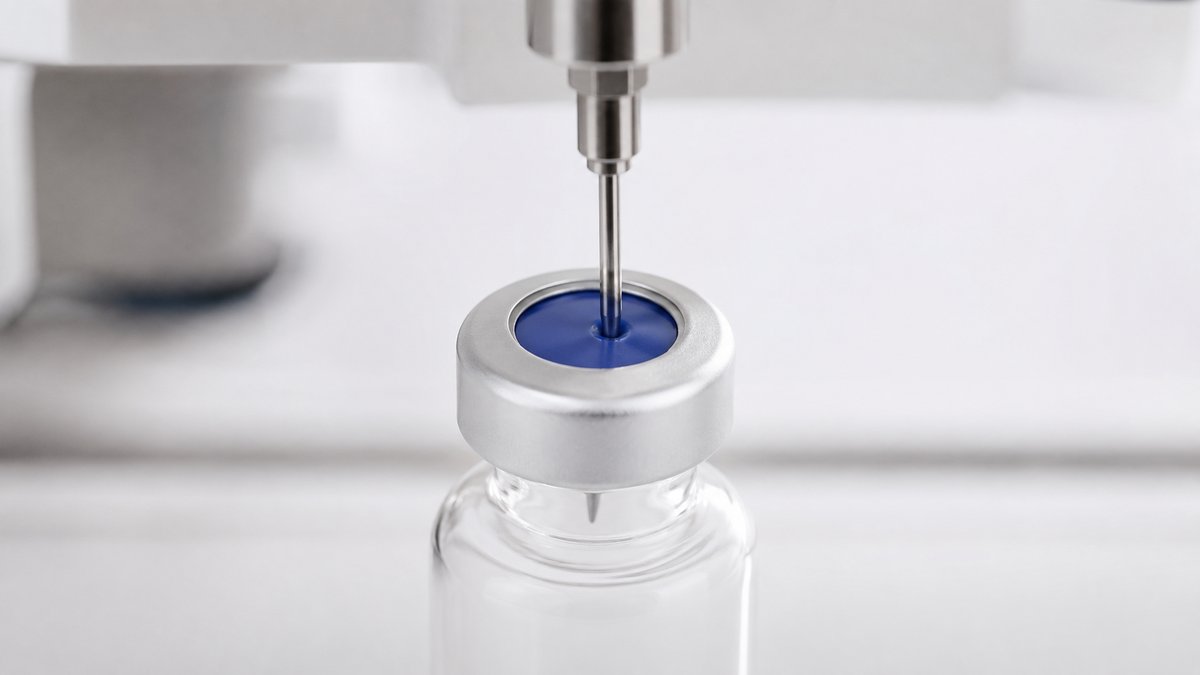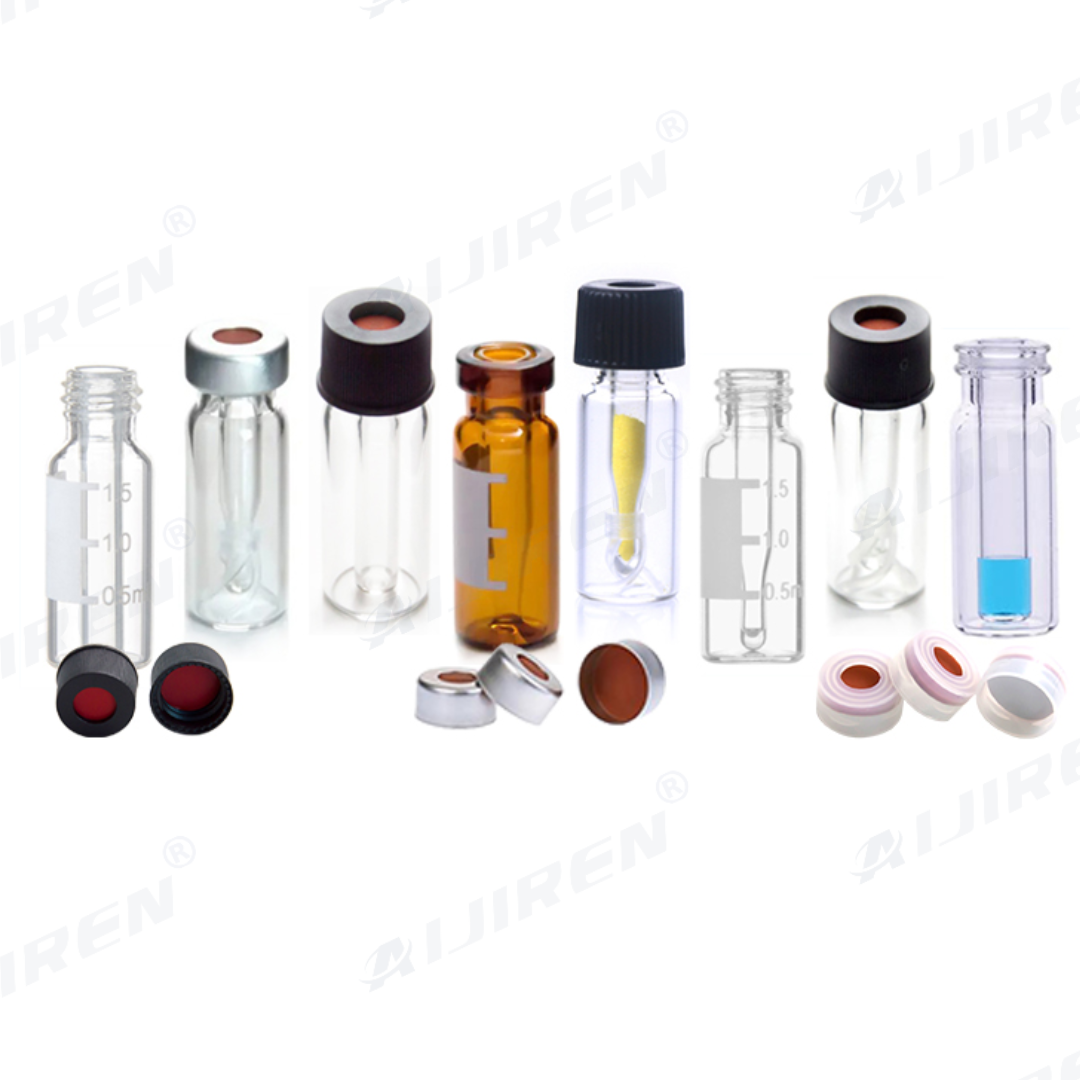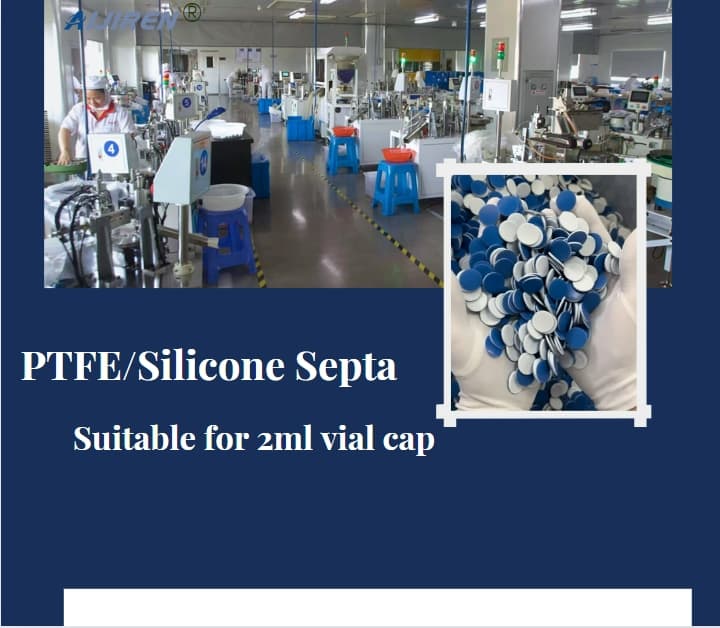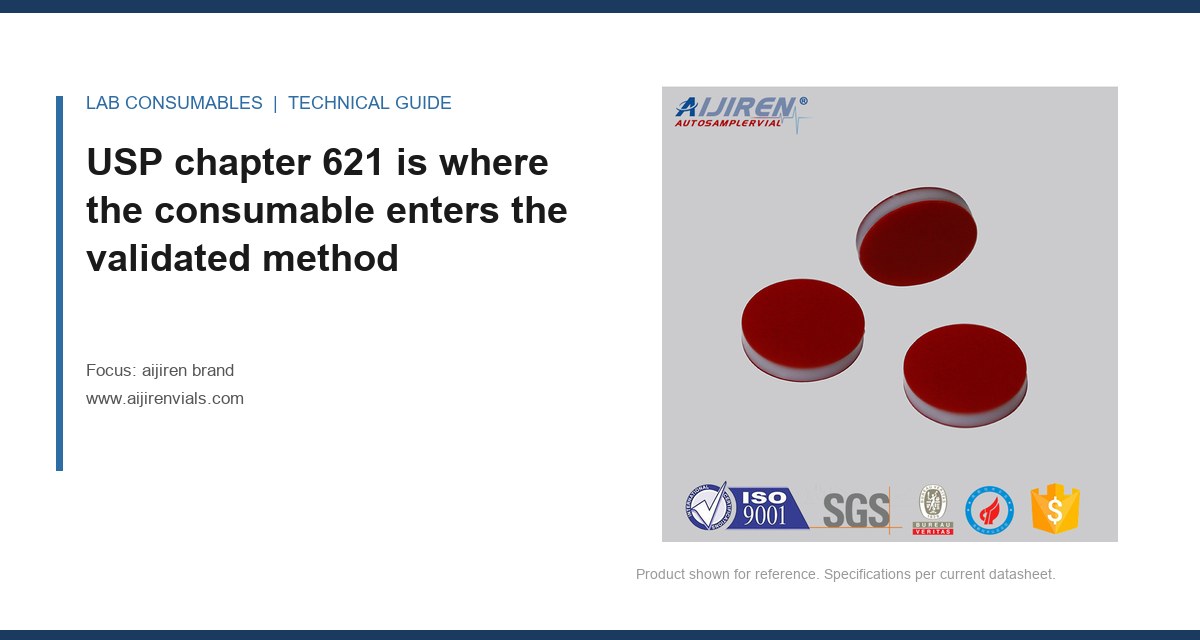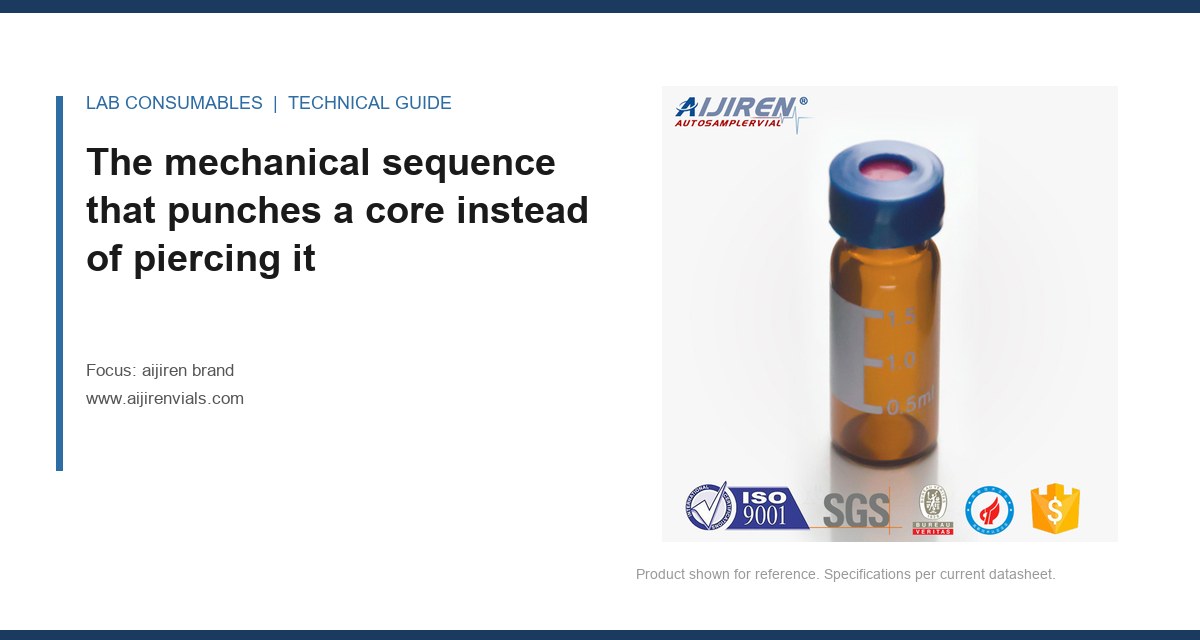
Run 47 on the GC-FID failed its system suitability at 4:12 AM. The peak area RSD for the internal standard was 8.9%, limit is 2.0%. The needle looked fine to the naked eye. Under a 10x loupe, the tip had a 0.15 mm hook and a half-moon sliver of PTFE lodged in the bevel. The vial septum in position 14 had a punched-out core, not a puncture. That is the moment you start diagnosing aijiren brand coring, fragments and needle damage, not before.
Coring is not a random material failure. It is a predictable sequence of three events. First, the needle tip geometry is wrong for the septum material. A standard 22s gauge, 51 mm, point style 3 needle has a bevel angle of 12 to 15 degrees and a secondary short bevel. That tip is designed to slice rubber and displace it radially. If the needle has been reused past 5 to 8 injections on a 2 mm thick silicone/PTFE septum, the secondary bevel dulls to a rounded shoulder. The tip stops slicing and starts acting like a punch press.
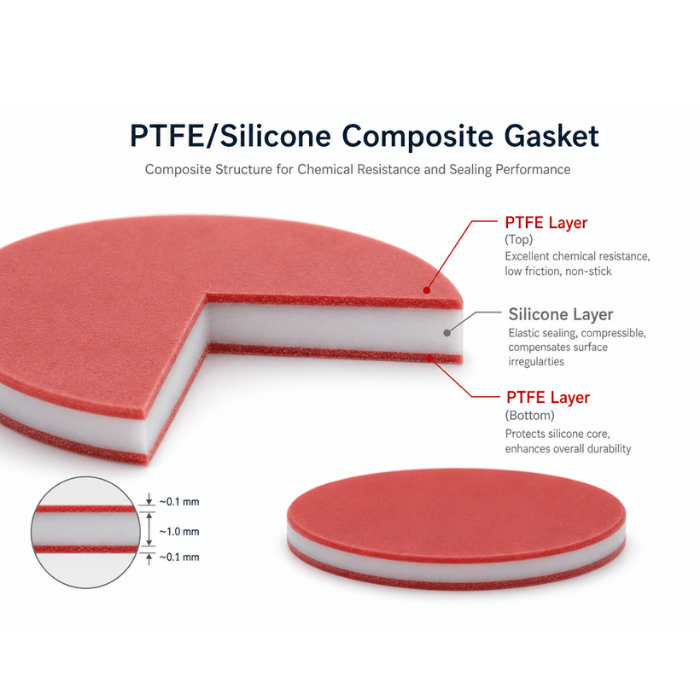
Second, the septum has a pre-cut slit, or it does not. A slit septum from the Vial Septa line is meant to open along the slit and reseal by elastic recovery. A non-slit septum must be pierced by the needle itself. When a dull needle hits a non-slit septum, the leading edge compresses the PTFE face layer into the silicone core. The PTFE does not stretch much, about 300% elongation at break for skived film, so it tears in a circular pattern instead of opening cleanly.
Third, the needle guide or the autosampler alignment is off by enough to change the entry angle. A needle entering at 90 degrees to the septum face has the best chance of a clean slit. An entry angle of 80 degrees or less, from a bent needle or a misaligned guide, increases the contact area on one side of the bevel. That uneven load shears a crescent-shaped plug out of the PTFE layer. The plug rides up the needle shaft and either falls into the vial or gets carried into the injection port liner.
Reading the debris under a loupe tells you which part failed
Before you replace anything, collect the evidence. Pull the septum from the suspect vial. Put it on a white background under a 10x to 20x loupe or a stereo microscope. You are looking for three distinct signatures.
A clean, full-circle hole with a smooth edge means the needle punched through a pre-slit septum that had lost its slit memory. The slit had closed completely during storage, often from PTFE cold flow at temperatures below 4°C. The needle then had to make a new opening and the material failed in shear. This is a septum storage issue, not a needle issue.
A ragged hole with a flap of PTFE still attached on one side means the needle entered at an angle. The flap is the tell. It forms on the side where the bevel heel dragged across the surface before penetration. Measure the flap length. A flap longer than 0.5 mm on a 2 mm septum means the entry angle was below 80 degrees. Check the needle guide bushing for wear. On an Agilent 7693A autosampler, the guide bushing has a nominal bore of 0.65 mm for a 0.63 mm needle. When that bushing wears to 0.70 mm or more, the needle tip can wander 0.2 mm off center. That is enough to change the entry angle on a 9 mm cap.
Multiple small fragments, not one plug, mean the needle tip has fractured. A needle with point style 5 (conical, side hole) can develop micro-cracks at the side port after 100+ injections. Under the loupe, the fragments are angular, not round. They are often PTFE with a thin layer of silicone bonded to the back. That signature means the needle is the primary failure, and the septum is secondary.
Needle and guide dimensions that separate a clean pierce from a core
The numbers matter more than the brand name on the box. A 23s gauge needle has an outer diameter of 0.64 mm and an inner diameter of 0.34 mm. A 26s gauge needle is 0.47 mm OD and 0.13 mm ID. The septum you choose must match the needle gauge you actually run, not the one listed in the method from a different lab.
Here is the decision table I use when a customer sends me a coring complaint:
| Needle gauge and point style | Septum thickness and material | Expected puncture count before coring risk | Guide bushing ID to hold |
|---|---|---|---|
| 23s, point style 3, 51 mm | 2.0 mm, PTFE/silicone, non-slit | 4 to 6 injections | 0.65 mm |
| 23s, point style 3, 51 mm | 2.0 mm, PTFE/silicone, pre-slit | 8 to 12 injections | 0.65 mm |
| 26s, point style 2, 51 mm | 1.5 mm, PTFE/silicone, non-slit | 3 to 5 injections | 0.50 mm |
| 26s, point style 2, 51 mm | 1.5 mm, PTFE/silicone, pre-slit | 6 to 10 injections | 0.50 mm |
| 22s, point style 5, side port | 2.0 mm, PTFE/silicone, non-slit | 2 to 3 injections, then inspect tip | 0.75 mm |
Those puncture counts assume a needle speed of 20 to 40 mm/s on the autosampler injection stroke. Slow the needle down to 10 mm/s and you reduce coring risk by roughly half, because the tip has time to slice instead of punch. That is a setting buried in the autosampler method parameters on most systems. On a Thermo Fisher TriPlus RSH, the needle stroke speed is adjustable from 0.5 to 100 mm/s. Most methods leave it at default 50 mm/s, which is too fast for a non-slit 2 mm septum.
The guide bushing is the part nobody replaces until it has already caused three failed runs. A worn bushing lets the needle flex laterally during the pierce. The flex adds a bending moment to the tip. A 0.64 mm needle can bend 0.1 mm at the tip with only 0.5 N of lateral force. That is less force than a misaligned vial tray applies when the cap is seated crooked. Check the bushing bore with a pin gauge set every 2000 injections, not every annual PM.
Field case one: the 40-vial overnight sequence that cored on position 14 only
A QC lab running USP monograph testing on a GC-FID with a 7693A tower called me about intermittent coring. The symptom was a single vial in a 40-vial sequence with a cored septum, always in the second half of the run. The peak area RSD for that injection was 6 to 10%, while the other 39 vials were under 1.5%.
The measurement that identified it: I had them mark the suspect vial position and pull the needle after the run. The needle had a 0.08 mm hook at the tip, visible only under 20x magnification. The hook was on the side facing the vial tray rail. Position 14 on their tray had a cap that sat 0.15 mm higher than the others because the vial was a different lot with a slightly thicker cap skirt. The autosampler needle descended to the same Z-height for every vial. On position 14, the needle tip contacted the septum 0.15 mm earlier in its stroke, at a point where the needle was still accelerating. The impact load was higher, and the hooked tip caught the PTFE layer and tore it.
The fix was two-part. First, replace the needle and set the injection stroke speed from 50 mm/s to 25 mm/s. Second, sort the vials by cap lot and reject any cap with a skirt height variation over 0.1 mm within a tray. The coring stopped on the next sequence. The root cause was not the septum brand. It was a dimensional mismatch between vials from two different molding cavities in the same case.
Field case two: the SPME method that ate a needle guide in 300 injections
A cannabis testing lab running residual solvent analysis by headspace SPME on a GC-MS had recurring needle damage. The symptom was a bent needle tip after 300 to 400 injections, and occasional PTFE fragments in the liner. They were using a 23s gauge, point style 3 needle with a 2.0 mm non-slit septum on 10 mL headspace vials.
The measurement that identified it: I measured the guide bushing ID with a pin gauge. It was 0.72 mm, worn from the factory spec of 0.65 mm. The lab had never replaced the bushing in 18 months. The SPME fiber holder adds 0.5 g of mass to the needle assembly compared to a standard liquid injection syringe. That extra mass increases the lateral force on the bushing during the pierce stroke. A worn bushing plus the heavier SPME assembly meant the needle tip could deviate up to 0.3 mm from center. On a 10 mL headspace vial cap, the septum center is only 4.5 mm from the crimp edge. A 0.3 mm deviation is 7% off center. That is enough to hit the edge of the molded septum well and tear a plug out instead of piercing the center.
The fix: replace the guide bushing, switch to a pre-slit septum from the Septa line rated for SPME use, and reduce the needle stroke speed to 15 mm/s. The pre-slit septum opens along the slit, so the needle never has to punch through the PTFE face. The needle lasted 1200 injections before the next replacement. The bushing is now on a 1000-injection replacement interval.
When the aijiren brand septum is not the problem, and when it is
Most coring complaints I investigate are not caused by the septum material. They are caused by the needle, the guide bushing, the stroke speed, or a dimensional mismatch in the vial or cap. That said, there are two failure modes where the septum itself is the primary cause.
First, a septum that has been over-compressed in the cap. A 9 mm screw cap with a 2.0 mm septum should be torqued to 0.12 to 0.15 N·m. If the cap is torqued to 0.25 N·m or more, the silicone core compresses by 0.2 to 0.3 mm and the PTFE face layer wrinkles. A wrinkled PTFE layer does not slice cleanly. The needle tip catches the wrinkle and tears a plug out. This is a torque problem, not a material problem. Use a calibrated torque driver, not a hand-tight feel.
Second, a septum that has been stored above 30°C for more than 30 days. The PTFE face layer on a molded septum is bonded to the silicone core with a pressure-sensitive adhesive. At elevated storage temperatures, the adhesive softens and the PTFE layer can delaminate at the edge. When the needle pierces a delaminated septum, the PTFE layer lifts away from the silicone and the needle punches a clean disc out. The fix is storage below 25°C and a first-in, first-out inventory rotation. The Aijiren Brand septa I stock are shipped in sealed foil pouches with a desiccant for this reason.
A troubleshooting checklist that isolates the failure in under 15 minutes
Run through this in order. Do not skip to replacing the septum until you have checked the first four items.
- Measure the needle tip under 20x magnification. A hook, a burr, or a flattened bevel means the needle is the primary failure. Replace it before any further diagnosis.
- Check the guide bushing bore with a pin gauge. If it is worn more than 0.05 mm over the needle OD, replace it. A 0.64 mm needle needs a bushing no larger than 0.69 mm.
- Measure the vial cap skirt height across the tray. A variation over 0.1 mm means the autosampler Z-height is effectively different for some vials. Sort by lot or reject the outliers.
- Check the injection stroke speed in the method. If it is above 30 mm/s for a non-slit septum, reduce it to 20 to 25 mm/s and retest.
- Examine the septum hole under a loupe. A clean full-circle hole means the septum lost its slit memory or was over-compressed. A ragged hole with a flap means the needle entered at an angle.
- Check the cap torque. Use a calibrated torque driver set to 0.12 to 0.15 N·m for 9 mm caps. Re-torque any caps that were hand-tightened.
- Verify the septum storage conditions. If the lot has been stored above 30°C for over 30 days, quarantine it and pull a fresh lot from Voa Vial stock.
What the standards actually require, and where the field reality diverges
The U.S. EPA SW-846 methods for volatile organics, specifically Method 8260 and Method 5035, specify septum types and purge-and-trap parameters but do not specify needle geometry or puncture counts. That is left to the instrument manufacturer and the lab's own validation. The same gap exists in USP general chapter 621 for chromatography. The septum is a critical component, but the standard assumes it works until it does not.
In practice, a lab running 100 samples a day on a single GC tower will make 500 to 800 needle penetrations per week through the same septum type. The septum is the most replaced consumable in the injection path. The Restek technical library has good guidance on septum selection by needle gauge and injection port temperature, but it does not cover the interaction between needle stroke speed and coring. That is field knowledge, and it is why I write these numbers down.
For a 2.0 mm PTFE/silicone non-slit septum used with a 23s gauge needle, I set the replacement interval at 4 injections for critical quantitative work and 8 injections for screening methods. For a pre-slit septum, I double those numbers. The cost difference is about $0.10 per septum. The cost of a failed system suitability run is 30 to 60 minutes of instrument time plus the analyst's time to re-run. The math is not close.
The decision rule that ends the coring argument
If you see a cored septum, do not blame the septum until you have measured the needle tip and the guide bushing. Nine times out of ten, the core was punched by a dull or hooked needle entering at an angle through a worn guide. Replace the needle, replace the bushing, slow the stroke speed to 20 to 25 mm/s, and torque the caps to 0.12 to 0.15 N·m. If the coring persists after those four changes, then and only then is the septum lot the suspect. Pull a fresh lot from the Agilent consumables cross-reference or the Aijiren stock and retest. The septum is the cheapest part in the injection path. It is also the one that tells you the truth about everything upstream of it.
References & further reading
Related resources from our lab consumables network:
- Aijiren Brand at aijirenvials.com
- Voa Vial at voavial.com
- Septa at septacaps.com
- Vial Septa at vialsepta.com
External references and standards: