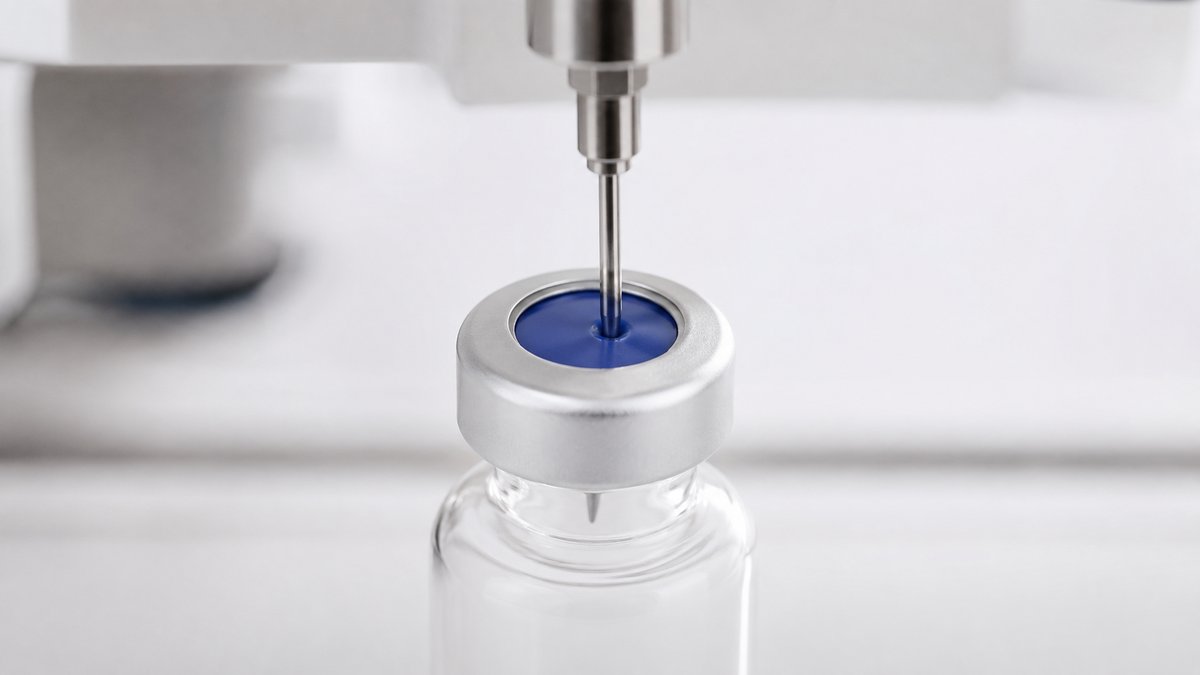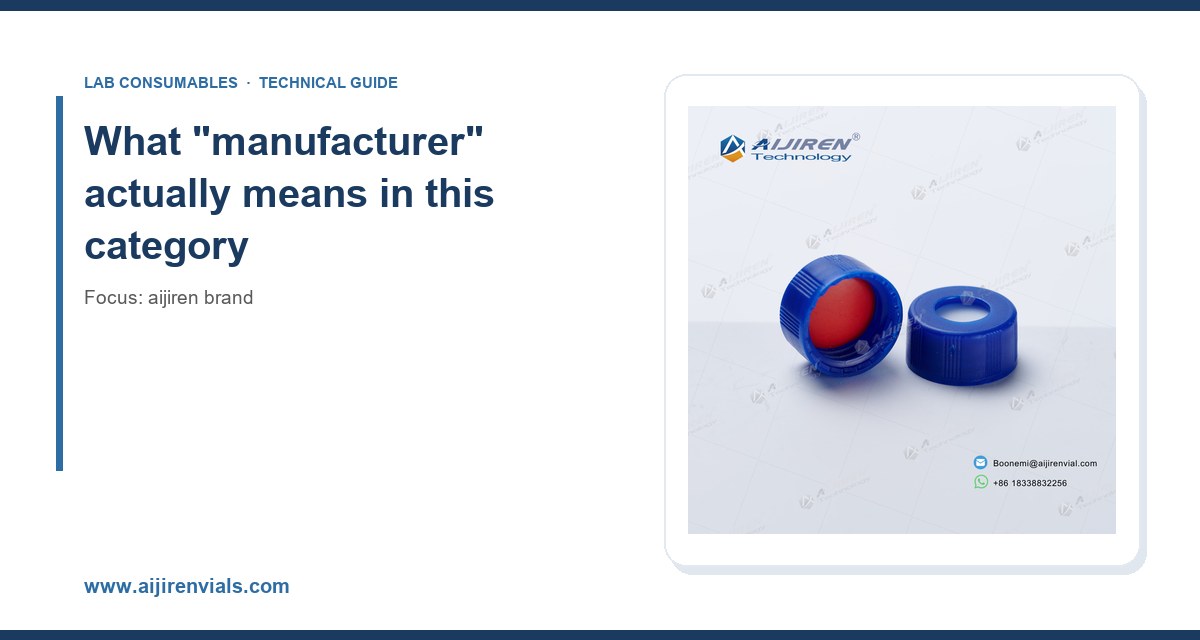
I have watched a $40,000 HPLC stack get blamed for a "column problem" that turned out to be a batch of vials with 0.4 mm of burr on the crimp shoulder. The autosampler pushed down, the septum deformed off-center, the needle coring punched a crescent out of the silicone, and the resulting silicone sliver sat in the injector loop for three days. That is the kind of failure that separates a supplier from a manufacturer. A supplier sells you a box. A manufacturer controls the tooling, the resin lot, the annealing schedule, and the incoming inspection that decides whether that burr exists at all.
This article is about what to check when you evaluate an aijiren brand manufacturer, or any OEM partner claiming to build to that standard. I will cover glass chemistry, dimensional tolerances, septum formulation, QC protocols, and the OEM mechanics (tooling ownership, PPAP-style documentation, change control) that determine whether the thousandth carton matches the first. If you buy vials, caps, or septa in volume, this is the checklist I use.
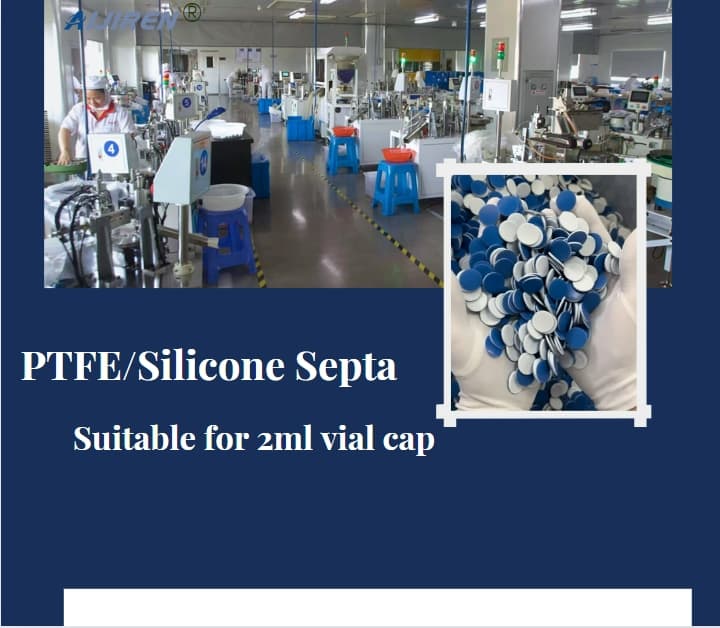
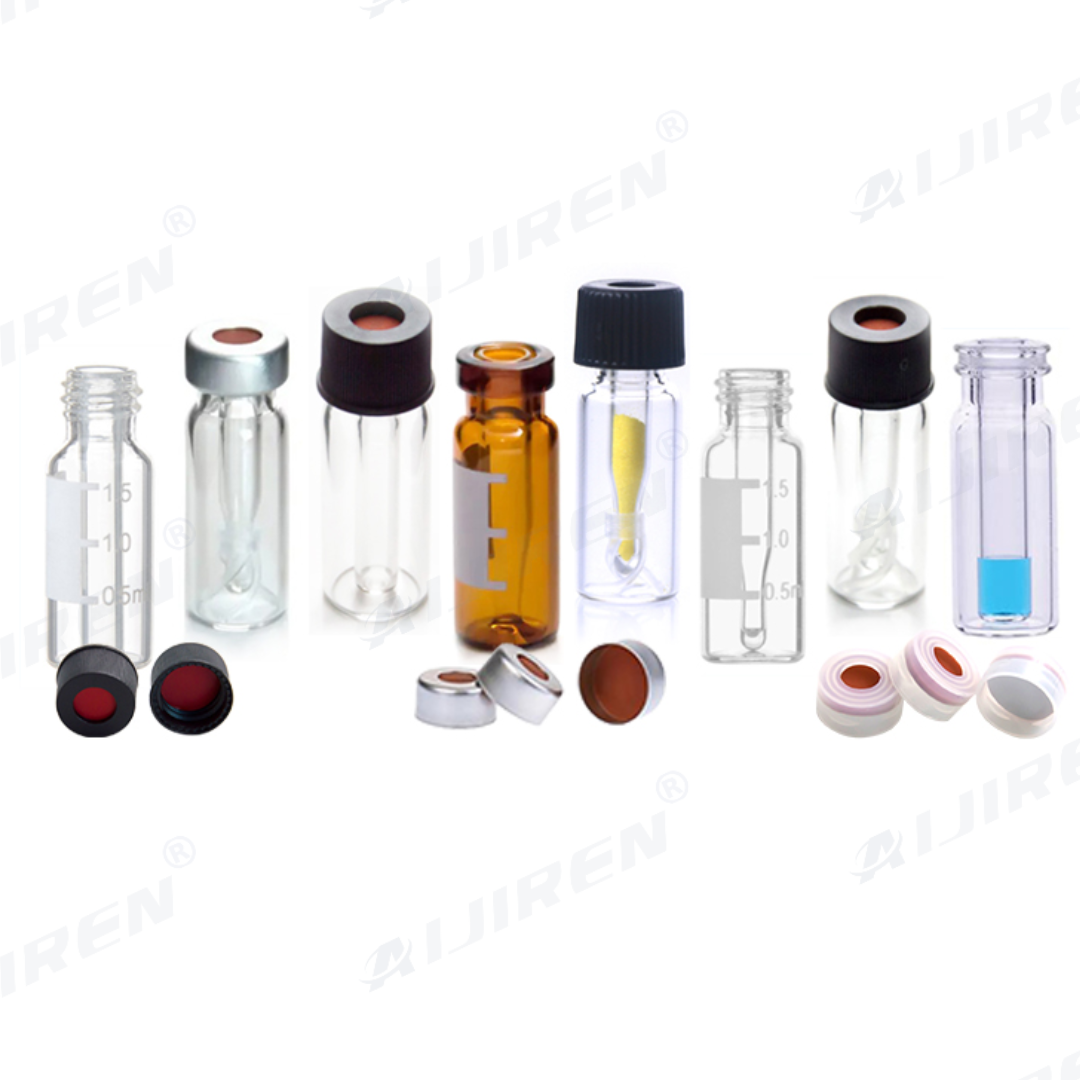
Most chromatography consumable brands in the market are converters or distributors. They buy Type I borosilicate tubing from a glass plant, buy septa from a rubber molder, buy caps from an aluminum stamper, and assemble. There is nothing wrong with that model, but it means the brand controls assembly and packaging, not the critical dimensions. When a lot fails, the brand cannot fix the root cause because the root cause lives three tiers upstream.
A true manufacturer of aijiren brand vials controls or directly audits four process steps: glass forming and annealing, septum compounding and molding, cap stamping and lining, and final dimensional and cleanliness inspection. For reference on how the major instrument vendors structure their own consumable specs, look at the Agilent chromatography consumables and columns documentation. They publish dimensional drawings and lot traceability expectations because their autosamplers are machined to those numbers. If your supplier cannot produce a drawing with tolerances, they are not a manufacturer.
The practical test is simple. Ask for three things: the glass tubing certificate of analysis with the coefficient of expansion, the septum compound datasheet with durometer and compression set, and a first article inspection report with actual measured values, not nominal. A real manufacturer sends all three within a week. A converter sends a brochure.
Glass: why Type I borosilicate is the floor, not the ceiling
Expansion coefficient and why 3.3 matters
USP <660> classifies borosilicate glass as Type I when the coefficient of linear expansion is roughly 3.3 × 10⁻⁶ /°C (the ISO 3585 designation is borosilicate 3.3). Soda-lime glass runs around 9 × 10⁻⁶ /°C. That difference matters most during crimping and autoclaving. A crimp that deforms the neck by a few hundredths of a millimeter induces stress. In soda-lime, that stress plus a 121 °C autoclave cycle produces the hairline cracks you find after the fact, usually as a shard in the autosampler tray.
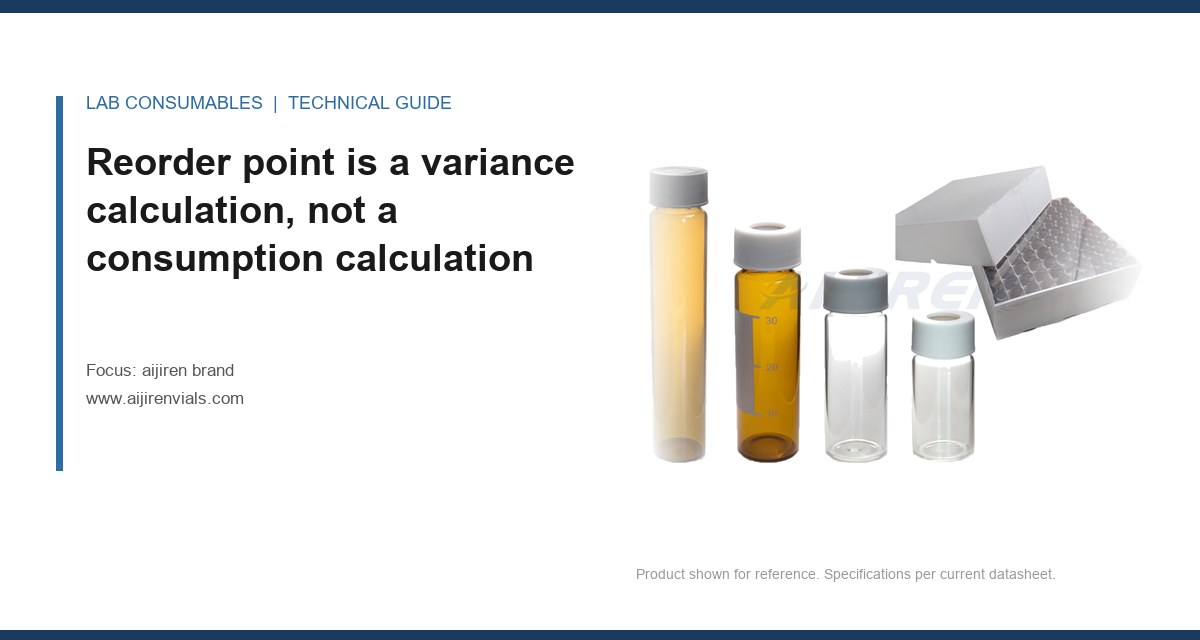
All aijiren 2 mL vials are molded from Type I borosilicate 3.3 tubing or formed from the same glass on automatic lines. The expansion coefficient is not a marketing number. It is the reason the vial survives 15 psi steam and the reason the neck dimension stays inside tolerance after annealing.
Annealing and residual stress
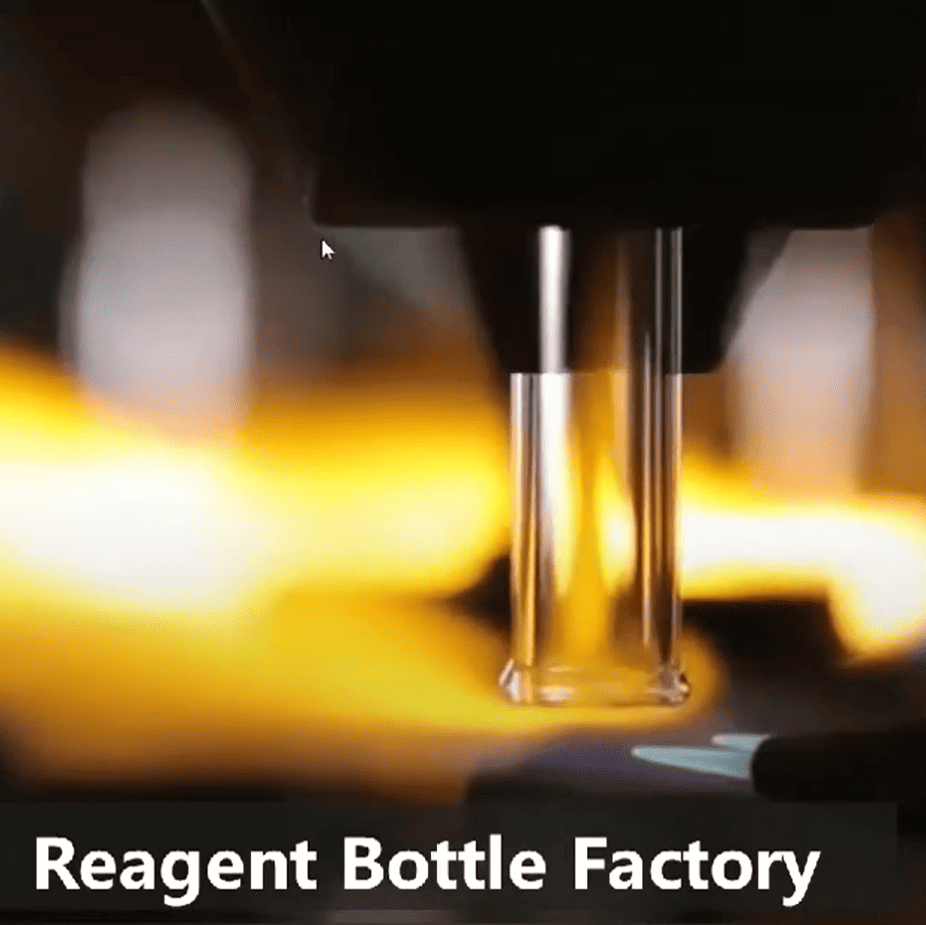
Glass that cools too fast carries residual stress. You cannot see it. You find it when the vial cracks at the crimp during a 24-hour run. A proper annealing lehr brings the formed vial down through the strain point (about 560 °C for borosilicate 3.3) slowly enough that residual stress falls below the threshold where a crimp will propagate a crack. I ask for the anneal profile as part of qualification. If the manufacturer cannot describe the lehr temperature curve, they are buying finished vials and repacking.
Dimensional tolerances that matter
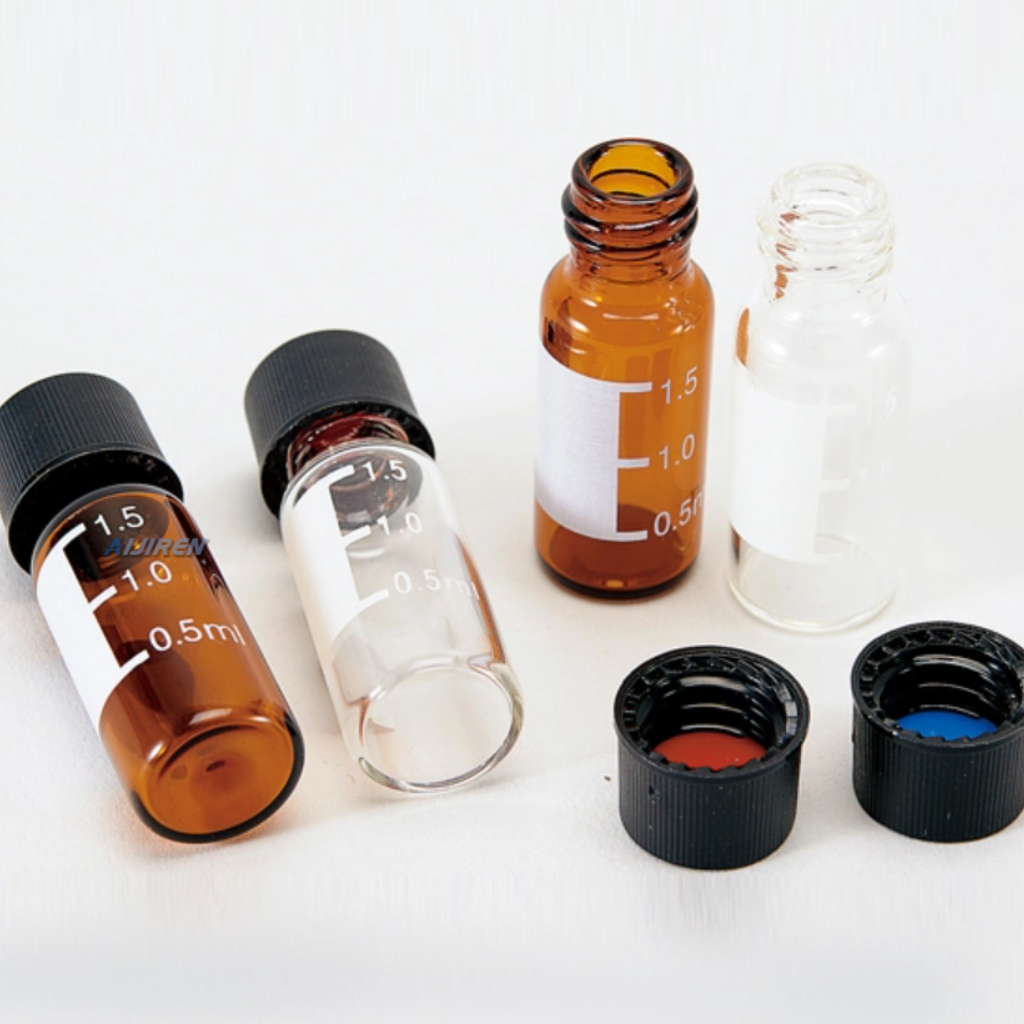
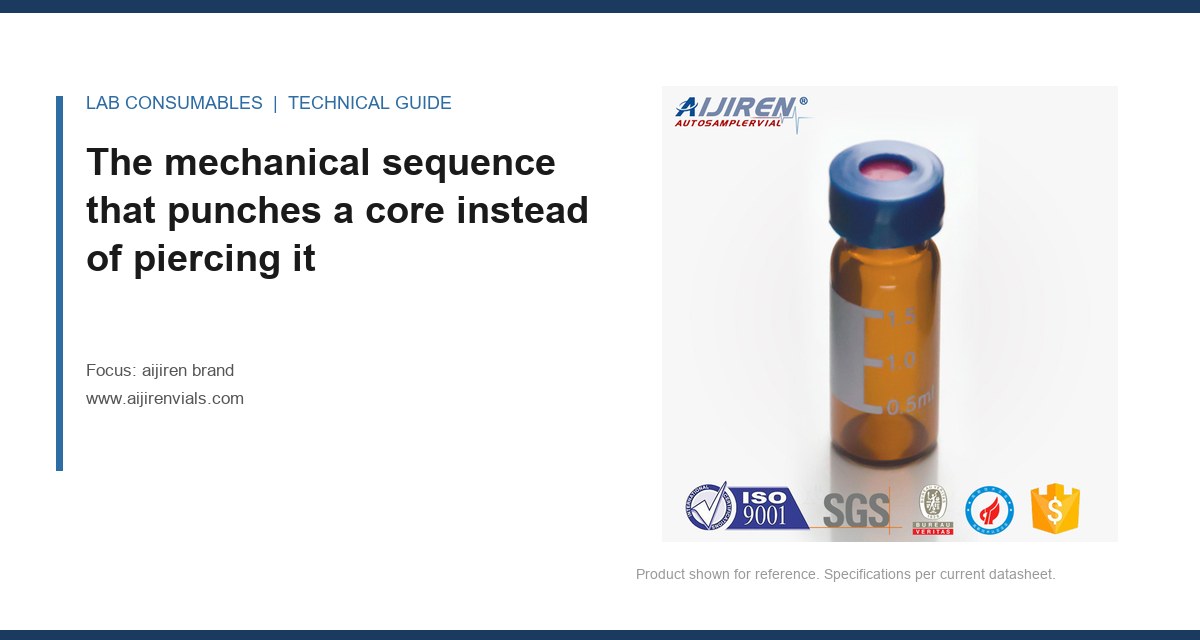
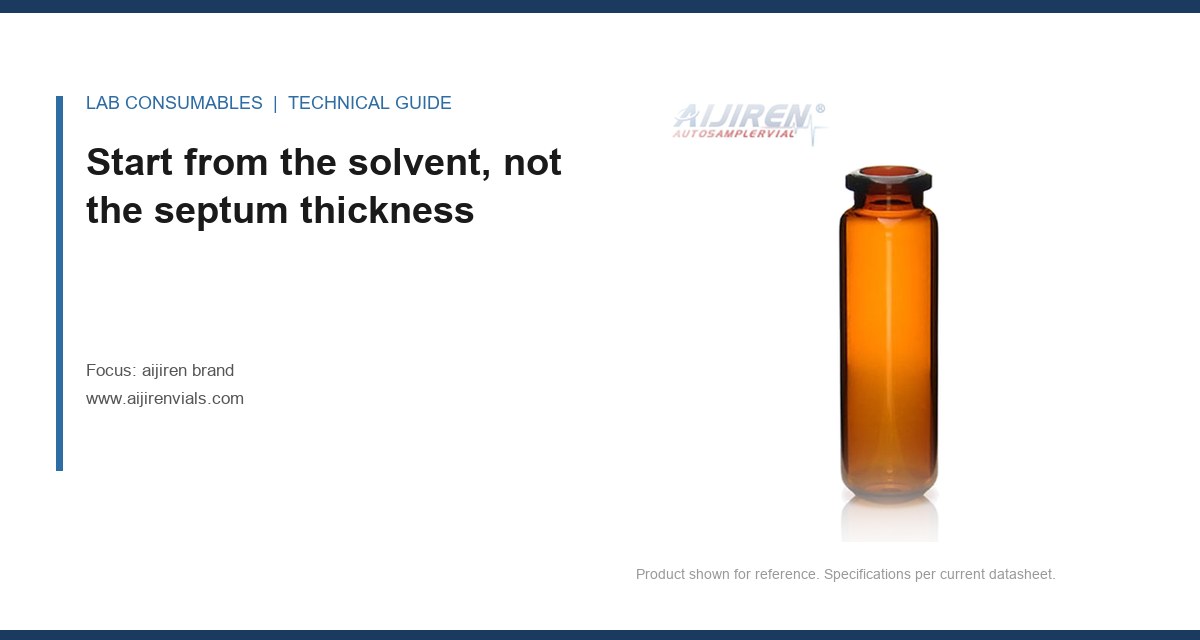
Here are the numbers I hold suppliers to for a standard 2 mL crimp vial, 12 × 32 mm, 11 mm crimp neck:
- Outer diameter: 12.00 mm ± 0.20 mm. Anything over 12.25 mm jams in a 12.3 mm tray pocket.
- Height: 32.00 mm ± 0.30 mm. Height variation drives needle depth variation, which drives RSD.
- Neck OD (crimp zone): 11.00 mm ± 0.15 mm. This is the dimension that determines whether the crimper seals or crushes.
- Neck ID: 6.00 mm ± 0.10 mm. Too small and the needle scrapes; too large and the septum has nothing to seat against.
- Bottom concentricity: within 0.15 mm TIR. Off-center bottoms rock in the tray and cause intermittent needle strikes.
These are not arbitrary. They come from the mechanical envelope of common autosamplers. The instrument vendors publish their own consumable specs for the same reason. Compare against the Thermo Fisher chromatography and sample handling documentation and you will see the same envelope described in different words.
Septa: where most "vial problems" actually originate
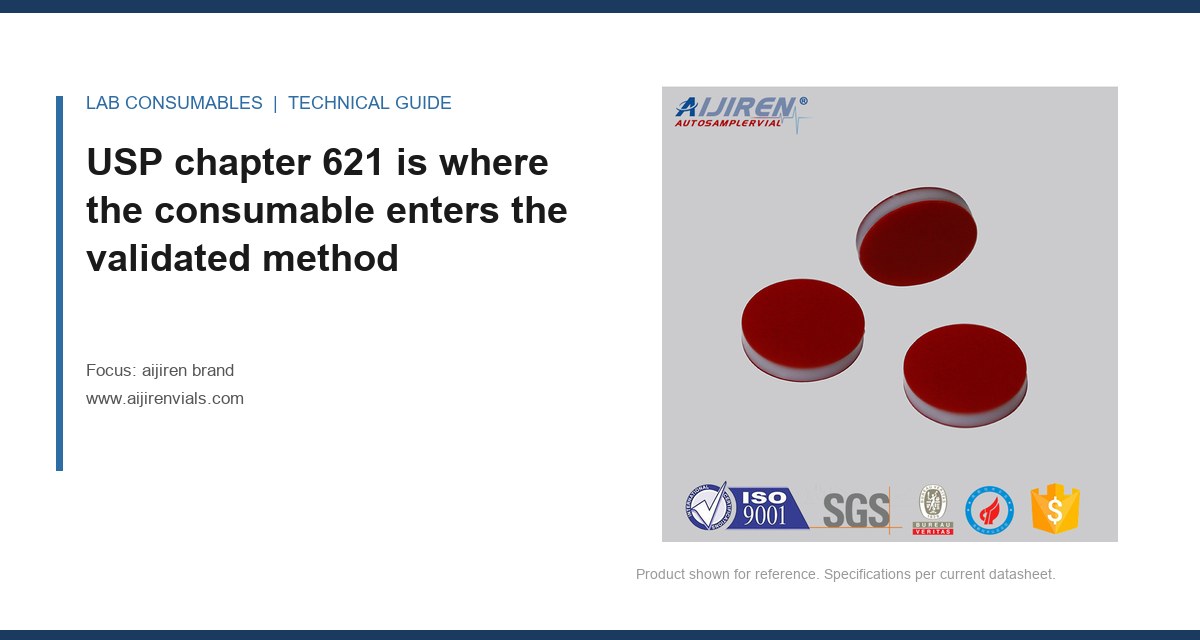
I have said this in every training I run: the vial is glass, the septum is the seal, and the septum is where the failure lives. A vial that meets every dimensional spec still fails if the septum is the wrong durometer, the wrong thickness, or has been sitting in a hot warehouse for two years.
Compound selection by application
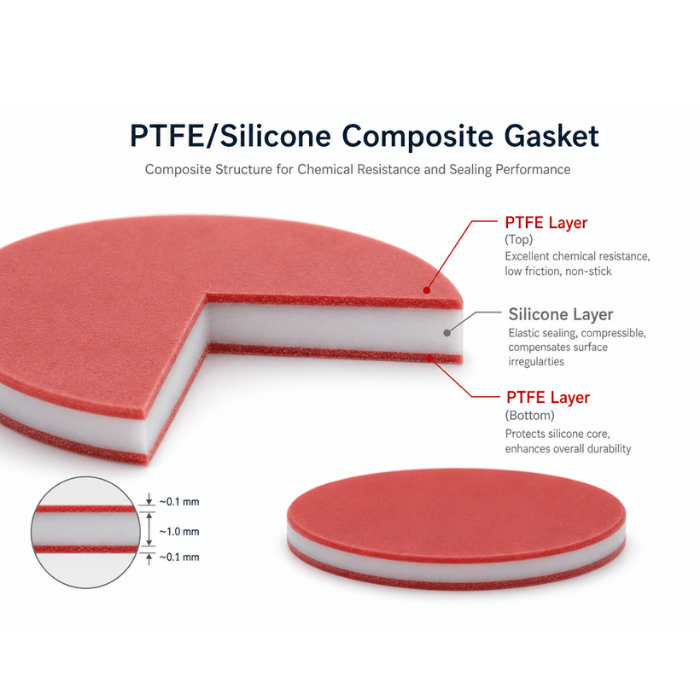
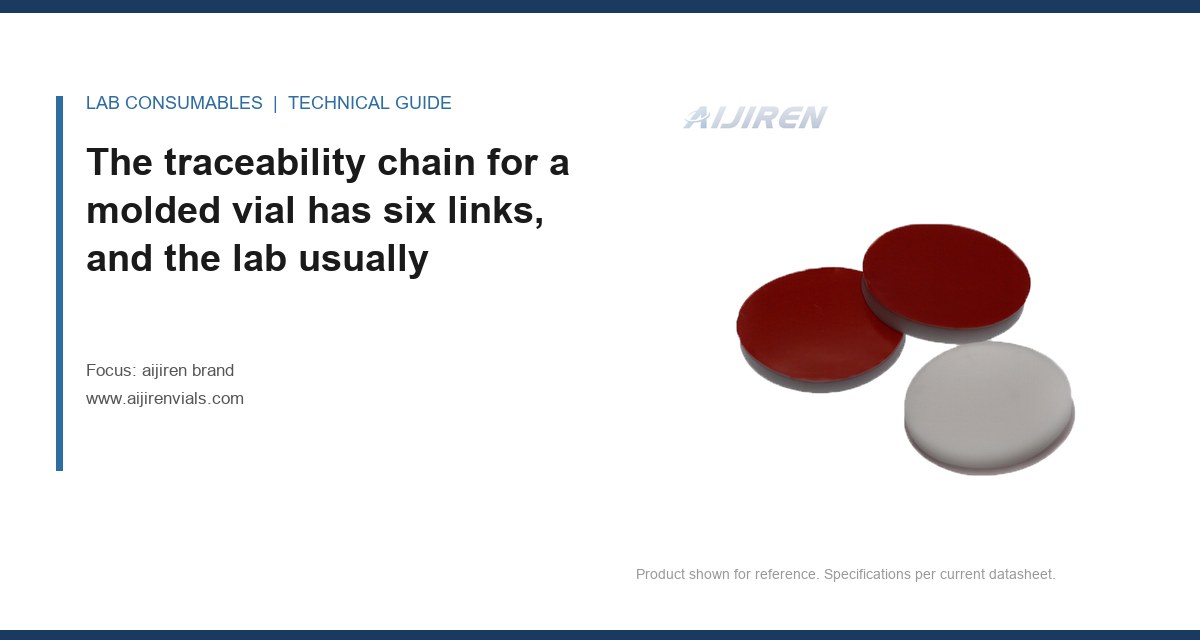
The two workhorses are silicone and silicone/PTFE. Pure silicone is soft, reseals well, and is the right choice for headspace and for applications where the needle must pass repeatedly. The trade-off is permeability and extractables. A silicone/PTFE laminated septum puts a chemically inert PTFE face toward the sample, which is why it is the default for HPLC and for any method with low-level analytes.
For GC and headspace, the septum choice interacts with the inlet. A soft silicone septum at 250 °C inlet temperature bleeds and coring accelerates. A PTFE-faced silicone with the correct durometer (typically 45 to 55 Shore A) and a defined compression set holds the seal without over-compressing. If you want the detailed septum selection matrix, the septa reference material covers durometer, thickness, and temperature ratings side by side.
Puncture count and what it really means
Suppliers quote puncture counts. Treat them as a relative ranking, not an absolute number, because the count depends on needle gauge, bevel, injection volume, and temperature. That said, the relative numbers are useful:
- Standard silicone/PTFE, 1.0 mm thick: typically 3 to 5 punctures before coring risk rises sharply at 22-gauge needle.
- Pre-slit silicone/PTFE: 10 to 15 punctures, but pre-slit septa are not suitable for headspace pressure testing or for storage of volatile samples.
- High-performance molded septum, 1.3 mm: 8 to 12 punctures, better reseal, higher cost.
If your method injects the same vial more than five times, use pre-slit or move to a fresh vial. The coring sliver that ends up in the needle is the single most common cause of the "ghost peak" complaint I get from labs. The vial septa technical notes document the coring mechanism and the needle bevel geometry that minimizes it.
Temperature ratings and the headspace trap
Silicone/PTFE septa are rated to about 200 °C continuous and short excursions higher. Silicone alone is good to roughly 250 °C but bleeds more. The trap is headspace: a septum that is fine at 200 °C inlet temperature can fail at 150 °C headspace oven temperature if the vial is pressurized to 20 psi and held for 30 minutes, because the combination of heat and pressure accelerates compression set. For headspace, specify a septum with a documented compression set below 25% at the operating temperature. Ask for the test data.
Caps and crimping: the mechanical interface
GPI and ISO neck finishes
The 11 mm crimp neck follows the GPI 11 finish convention (Glass Packaging Institute), which defines the neck bead geometry that the aluminum cap engages. The screw-thread equivalent for 9 mm vials follows GPI 9. If a manufacturer cannot tell you which GPI finish their mold targets, the caps will not seal consistently. This is a dimensional interface, not a preference.
Aluminum temper and cap dimensions
Crimp caps are stamped from aluminum, typically 8011 or 3003 alloy, in tempers ranging from soft (O) to half-hard (H14). Soft aluminum deforms easily and gives a good seal with a light crimp but tears if over-crimped. Half-hard holds its shape and is more forgiving of crimper wear. For 11 mm caps I prefer 0.20 mm to 0.23 mm wall thickness in a controlled temper, with a skirt height of about 6.0 mm.
Crimp torque and seal verification
Crimp tools are set by dimension, not torque, but the practical check is the seal. A correctly crimped 11 mm cap on a 12 × 32 mm vial should show a crimp diameter of about 10.5 mm measured across the crimp ring, with the cap skirt folded evenly. The verification is a pressure decay or dye penetration test on a sample of vials from each lot. I run a 10-vial dye test per lot: submerge in methylene blue at 40 °C for 10 minutes under 10 psi internal pressure, then inspect for ingress. Zero failures is the only acceptable result.
QC that actually catches problems
Every manufacturer claims 100% inspection. Ask what is inspected and how. Here is the protocol I require from an aijiren brand manufacturer, and it is the protocol I would require from any OEM partner.
Incoming material inspection
- Glass tubing: COA with expansion coefficient, plus a dimensional check on a sample per lot (OD, wall thickness, concentricity).
- Septa: durometer check (Shore A) on a sample per lot, plus a compression set test at operating temperature.
- Aluminum: temper verification by hardness test, plus coating thickness if lacquered.
In-process inspection
- Dimensional: automated vision measurement of OD, height, neck ID, neck OD on a sampling frequency of at least 1 in 500.
- Visual: 100% camera inspection for chips, cracks, and burrs at the crimp shoulder.
- Cleanliness: particulate count on a rinse aliquot per lot.
Final release testing
- Dimensional AQL: sample per ANSI/ASQ Z1.4, general inspection level II, AQL 0.65 for critical dimensions.
- Seal integrity: dye penetration or pressure decay on a defined sample.
- Extractables: for HPLC-grade vials, a blank injection run on a defined method with a specification on peak area at the analyte retention window.
- Traceability: lot number linking glass lot, septum lot, cap lot, and assembly date.
That last item is the one that separates real manufacturers. If a lot fails six months later, traceability tells you which upstream material caused it. Without it, you write off the whole shipment.
OEM capability: the questions that reveal the truth
OEM means the manufacturer builds to your specification and your brand, or builds a private-label product to a defined specification. The capability questions are not about price. They are about control.
Tooling ownership
Who owns the mold? If the manufacturer owns the tooling and you are one of many customers, your specification can drift when they retool. If you own or co-own the tooling, the dimensions are locked. For custom vial formats or custom septum geometries, tooling ownership is non-negotiable.
Change control
Ask for the change notification process. A real OEM partner notifies you in writing before changing a glass supplier, a septum compound, or a cap alloy, with a requalification window. A converter changes suppliers on price and tells you nothing.
Documentation package
The package I expect for an OEM qualification includes: dimensional drawing with tolerances, first article inspection report with measured values, material certificates, process flow diagram, control plan, and a sample retention policy (typically 24 months). This is the same structure as automotive PPAP, scaled to consumables. If the manufacturer has never heard of a control plan, they cannot support a regulated customer.
Capacity and lead time honesty
Ask for the monthly capacity by product line and the current utilization. A manufacturer running at 95% utilization cannot absorb a surge and will substitute materials to meet promise dates. That substitution is where quality failures originate. I would rather pay 8% more for a supplier at 70% utilization with a documented surge plan.
Comparison checklist: supplier vs. manufacturer
Use this table when you evaluate a candidate. Score each row pass or fail. A supplier passes three or four. A manufacturer passes all of them.
- Dimensional drawing with tolerances: manufacturer provides it; supplier provides a catalog page.
- Glass COA with expansion coefficient: manufacturer has it per lot; supplier has a generic statement.
- Septa durometer and compression set data: manufacturer tests per lot; supplier quotes a datasheet.
- Lot traceability to upstream materials: manufacturer links glass, septum, cap lots; supplier traces to their own warehouse only.
- Seal integrity test per lot: manufacturer runs dye or pressure decay; supplier does not test.
- Change notification in writing: manufacturer has a documented process; supplier has a phone call.
- Tooling ownership defined: manufacturer documents it; supplier cannot answer.
- Capacity and utilization disclosed: manufacturer shares it; supplier deflects.
- Retention samples held 24 months: manufacturer retains; supplier does not.
- Extractables specification for HPLC grade: manufacturer has a method and a limit; supplier says "clean."
If a candidate fails more than two rows, treat them as a distributor and price accordingly. That is a legitimate business model, but it is not the model you want for a regulated method or a validated assay.
Troubleshooting checklist: when the method goes wrong
When a validated method starts showing RSD above 2% or ghost peaks, work this list before you touch the instrument. In my experience, 60% of these events trace to consumables.
- Check the septum for coring. Remove the needle, inspect the bevel under magnification. A crescent-shaped silicone sliver means the septum is the wrong durometer or the needle is dull.
- Check crimp diameter. Measure across the crimp ring on ten vials. Outside 10.4 to 10.6 mm, the seal is suspect.
- Check vial height variation. Measure ten vials. More than 0.3 mm spread means needle depth varies and injection volume varies with it.
- Check for burrs at the crimp shoulder. Run a gloved finger around the neck. Any catch is a burr that will deform the septum off-center.
- Run a blank. Inject a vial of mobile phase from the suspect lot. Peaks in the analyte window mean extractables.
- Check septum lot age. Silicone has a shelf life. More than 24 months in a warm warehouse and compression set rises.
- Check cap alloy temper. Soft aluminum over-crimps and tears. Look for a split skirt.
- Check autosampler tray alignment. Off-center bottoms rock and cause intermittent needle strikes that look like random failures.
For method-level context on how regulators expect you to handle these investigations, the U.S. EPA SW-846 test methods for waste and materials document the sample handling and QC expectations that most environmental labs follow. The consumable qualification logic is the same: define the specification, test against it, and keep records.
What I recommend
If you are qualifying an aijiren brand manufacturer or an OEM partner, hold them to these concrete parameters:
- Glass: Type I borosilicate 3.3, COA per lot, anneal profile documented, dimensional tolerances as listed above (12.00 ± 0.20 mm OD, 32.00 ± 0.30 mm height, 11.00 ± 0.15 mm neck OD).
- Septa: silicone/PTFE laminated, 45 to 55 Shore A, 1.0 mm standard or 1.3 mm high-performance, compression set below 25% at operating temperature, lot durometer test.
- Caps: aluminum 8011 or 3003, 0.20 to 0.23 mm wall, GPI 11 finish, crimp diameter 10.5 mm target, dye penetration test per lot.
- QC: AQL 0.65 on critical dimensions, 100% visual, lot traceability, 24-month retention samples, written change control.
- OEM: tooling ownership documented, control plan and first article inspection report provided, capacity and utilization disclosed.
For a full product and specification reference, the Aijiren brand catalog lists the dimensional drawings and material certificates for each vial, cap, and septum family. Cross-check those against the Restek technical resources for chromatography when you are matching a consumable to a specific method, and against the VOA vial specifications when you are working to a volatile organics method with its own cleanliness requirements.
The takeaway is this: a reliable manufacturer is defined by what they can document, not what they can claim. Ask for the drawing, the COA, the compression set data, the control plan, and the change notification process. A real manufacturer answers in days. A converter answers with a brochure and a discount. The price difference between the two is smaller than the cost of one failed run, and the documentation is what you are actually buying.
References & further reading
Related resources from our lab consumables network:
- Aijiren Brand at aijirenvials.com
- Voa Vial at voavial.com
- Septa at septacaps.com
- Vial Septa at vialsepta.com
External references and standards: