A 40-vial sequence on a 6890/5975 ran 0.4 min late on every peak after vial 22, and the system suitability RSD on the internal standard climbed from 0.8% to 3.1% between the qualification run and the second lot of aijiren brand vials we pulled from the same shelf. Nothing in the method had changed. The septum lot had. That is the moment most labs discover, usually mid-audit, that their SOP has no defined revalidation trigger when a aijiren brand supplier or lot changes, only a vague line about "significant changes to materials" that nobody can defend in front of an inspector. This article is about the decision itself: which changes to the consumable force a revalidation, which need only a verification run, and how to write the change-control entry so it survives a 483 review.
Most labs treat the analytical work as the hard part and the paperwork as an afterthought. It is the reverse. An inspector reading your change-control file wants to see four things in a fixed order: what changed, why you classified it the way you did, what objective evidence you generated, and who signed off that the method is still in a validated state. If those four are present and internally consistent, the run itself can be modest. If they are missing, a full revalidation will not save you, because the reviewer cannot tell whether the revalidation was prompted by the right trigger.
I write the entry before the run, not after. That forces the classification decision to be made on the basis of the change, not on the basis of what the run happened to show. Retro-fitting the justification to the result is the single most common finding I have seen on consumable change control, and it is trivially easy for a reviewer to spot when the classification narrative cites data that was generated later.
The minimum fields, in the order a reviewer reads them
- Change description with part number and lot: old part number, new part number, old lot, new lot, and the specific attribute that differs (septum durometer, liner deactivation, closure coating, dimensional family). "Vendor change" is not a description.
- Classification and rationale: revalidation, verification, or no action, with the reasoning tied to the attribute, not to the supplier name.
- Risk to the method: which validation characteristics are plausibly affected (specificity, precision, accuracy, LOD/LOQ, carryover) and which are demonstrably not.
- Objective evidence: the actual data package, referenced by run number, with acceptance criteria stated in advance.
- Disposition and re-entry: whether the new lot is released for use, held, or restricted to a subset of methods, and what triggers the next review.
Notice what is not on that list: a restatement of the regulatory text. Your reviewer already knows the regulation. What they cannot know without your file is why this lot is acceptable for this method.
Which changes force a full revalidation, and which do not
The classification is not about how big the change feels. It is about whether the change can plausibly move a validated performance characteristic outside its acceptance criterion. For consumables, the attributes that can do that are a short list, and everything else is verification.
Attributes that force revalidation
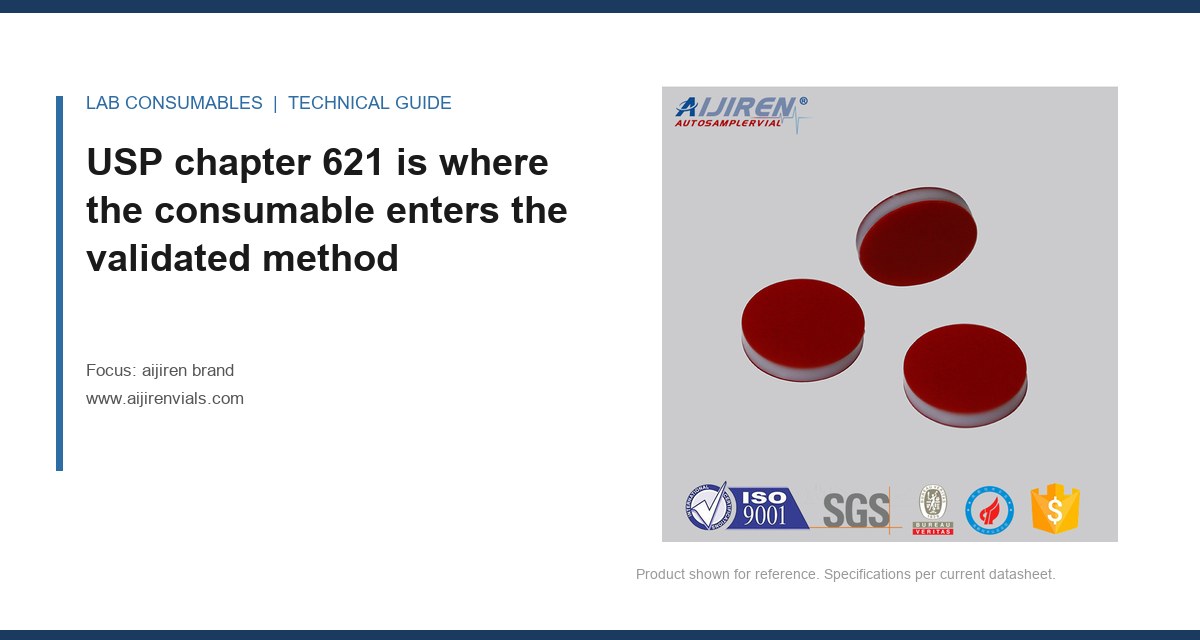
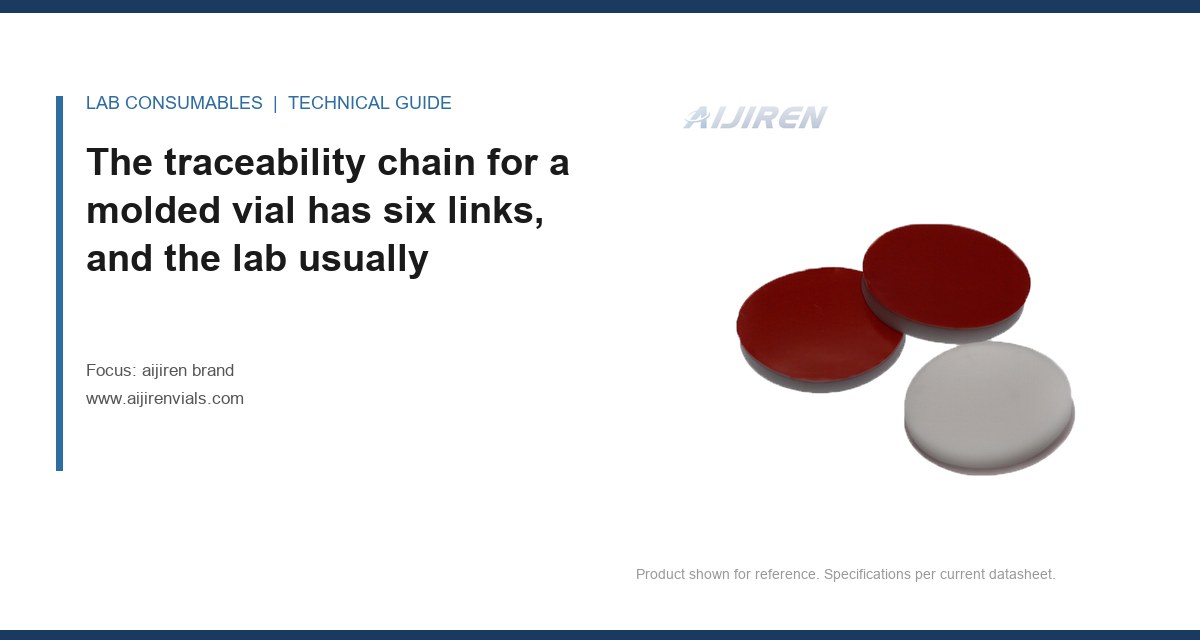
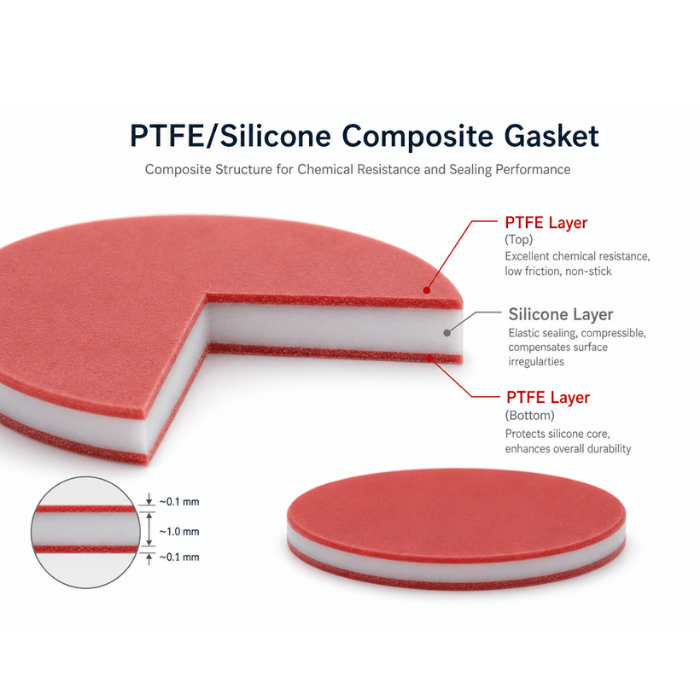
Any change to the septum formulation or durometer is a revalidation trigger. A septum that is 5 Shore A softer, or that has a different silicone coating, changes both the puncture mechanics and the extractables profile. I have watched a 45 Shore A silicone septum on a 20 mm crimp closure bleed siloxanes into a headspace method at 120 °C that a 50 Shore A septum did not, at the same lot of everything else. If your method has an LOQ near the bleed level, this is a revalidation, not a verification.
Any change to glass deactivation or silanization chemistry is also a revalidation trigger. A vial that was previously deactivated by a different process will have a different surface silanol density, and that shows up as a shift in recovery for polar analytes and in peak tailing for basic compounds. The same applies to liner deactivation on the inlet side, which is why I treat a liner supplier change as a revalidation trigger for any method with active analytes.
A change to the dimensional family (for example, moving from one molded family to another with a different neck ID or a different crimp skirt) is a revalidation trigger because it changes the seal geometry and the autosampler's ability to grip and center the vial. This is where a lot of labs get caught, because the part number on the box still says the same thing. The aijiren brand dimensional families are documented, and if the new lot belongs to a different family than the qualified one, treat it as a revalidation.
Attributes that need only verification
A change to closure color, marking, or packaging configuration is verification only. The analytical surface has not moved. Run a system suitability injection set and a single-point check against the qualified standard, and file it.
A change to the septum thickness within the qualified range (for example, from 1.0 mm to 1.3 mm on the same formulation) is usually verification, provided the puncture count requirement is still met and the needle penetration depth on the autosampler is still within spec. Confirm both, then verify.
A change to the vial lot within the same part number and same family is verification, not revalidation, unless the incoming inspection shows a dimension outside the historical distribution. That is the case that catches people: same part number, same family, but a lot that drifted on one critical dimension. The verification run is where you find it.
The decision table I actually use
| Change | Classification | Minimum evidence |
|---|---|---|
| Septum formulation or durometer change | Revalidation | Full method revalidation, with extractables screen at method temperature |
| Glass deactivation chemistry change | Revalidation | Recovery and peak shape on active analytes, LOD/LOQ re-established |
| Dimensional family change | Revalidation | Seal integrity, autosampler handling, carryover study |
| Septum thickness within qualified range | Verification | Puncture count check, penetration depth check, system suitability |
| Closure color or packaging change | Verification | System suitability and single-point standard check |
| Same part number, new lot | Verification | Incoming dimensional inspection plus system suitability |
| Same part number, lot with out-of-distribution dimension | Escalate to revalidation | Full revalidation until root cause is closed |
That table is not a substitute for your own risk assessment. It is a starting point that keeps the classification defensible and consistent across analysts, which is what the reviewer actually checks.
Verification is a real experiment, not a look at the certificate
A verification run that consists of "we checked the CoA and it matched" is not verification. It is a document review, and it does not generate the objective evidence the change-control entry needs. Verification is a short, defined experiment with acceptance criteria set in advance.
What a defensible verification package contains
For a same-part-number lot change, I run a system suitability set (typically six injections of the working standard) plus a bracketed sample from the previous lot and the new lot, injected in the same sequence. The bracketed comparison is the part most labs skip, and it is the part that catches drift. Acceptance criteria: system suitability within the method's stated limits, and the new-lot response within ±2% of the previous lot for the analyte of interest, with RSD no worse than the method's historical RSD plus 0.5 percentage points. If the method's historical RSD is 0.8%, the new lot must come in at 1.3% or better.
For a septum thickness change within the qualified range, add a puncture count test: pierce the same septum position 50 times with the method's needle gauge and check for coring and for penetration force drift. A 23-gauge needle on a 1.0 mm silicone septum should still show clean penetration at 50 punctures; if you see coring or a visible channel, the thickness change is not within the qualified range for your method, regardless of what the spec sheet says.
Two field cases where the trigger was misclassified
Case 1: the lot that drifted on neck ID
A lab running a headspace method on a VOA vial platform saw a slow loss of internal standard response over three lots, about 4% per lot, with no change in part number. The incoming inspection was a visual check only. When we pulled the retained samples and measured neck ID with a pin gauge, the third lot was 0.12 mm under nominal on the neck ID. That was enough to change the crimp seal compression and produce a slow leak on the 40 mL vials at 90 °C. The fix was to add neck ID to the incoming dimensional inspection and to reclassify the lot change from "no action" to verification with a bracketed comparison. The method itself did not need revalidation, because the seal geometry was still within the qualified family, but the change-control entry had been wrong about the evidence needed.
Case 2: the septum that cored at 30 punctures
A different lab moved to a new septum lot and started seeing intermittent needle blockage on an autosampler running 30 injections per sequence. The symptom was a sudden drop in peak area on a single injection, then recovery on the next. The measurement that identified it was a puncture count test on retained septa from both lots: the old lot showed clean penetration at 60 punctures, the new lot showed coring at 30. The durometer had shifted by about 4 Shore A. That is a revalidation trigger, not a verification, because the extractables profile also moved. The lab had classified it as verification and had to reopen the change control. The lesson is that the classification has to be based on the attribute, not on the fact that the part number matched.
Both cases share a pattern: the change was real, the part number was unchanged, and the classification was made by someone looking at the label rather than at the attribute. If your change-control procedure does not require the analyst to state which attribute changed, it will produce this failure.
Where the septa and closures enter the decision
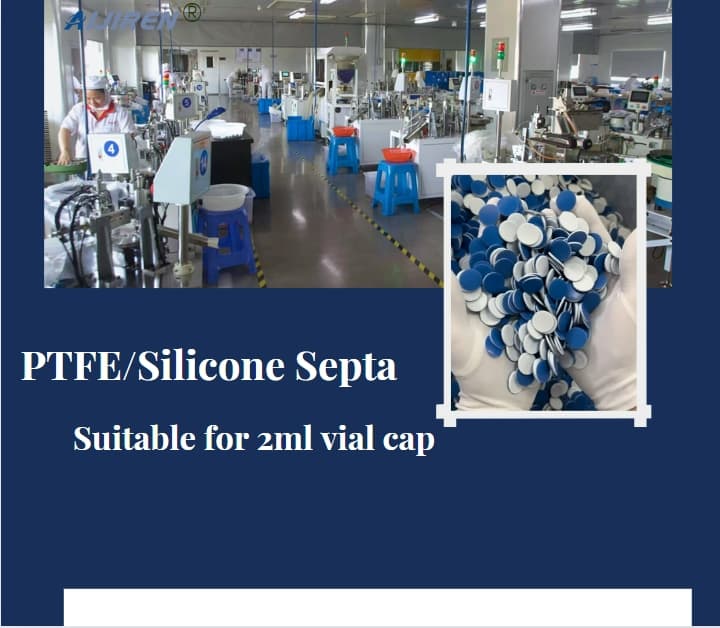
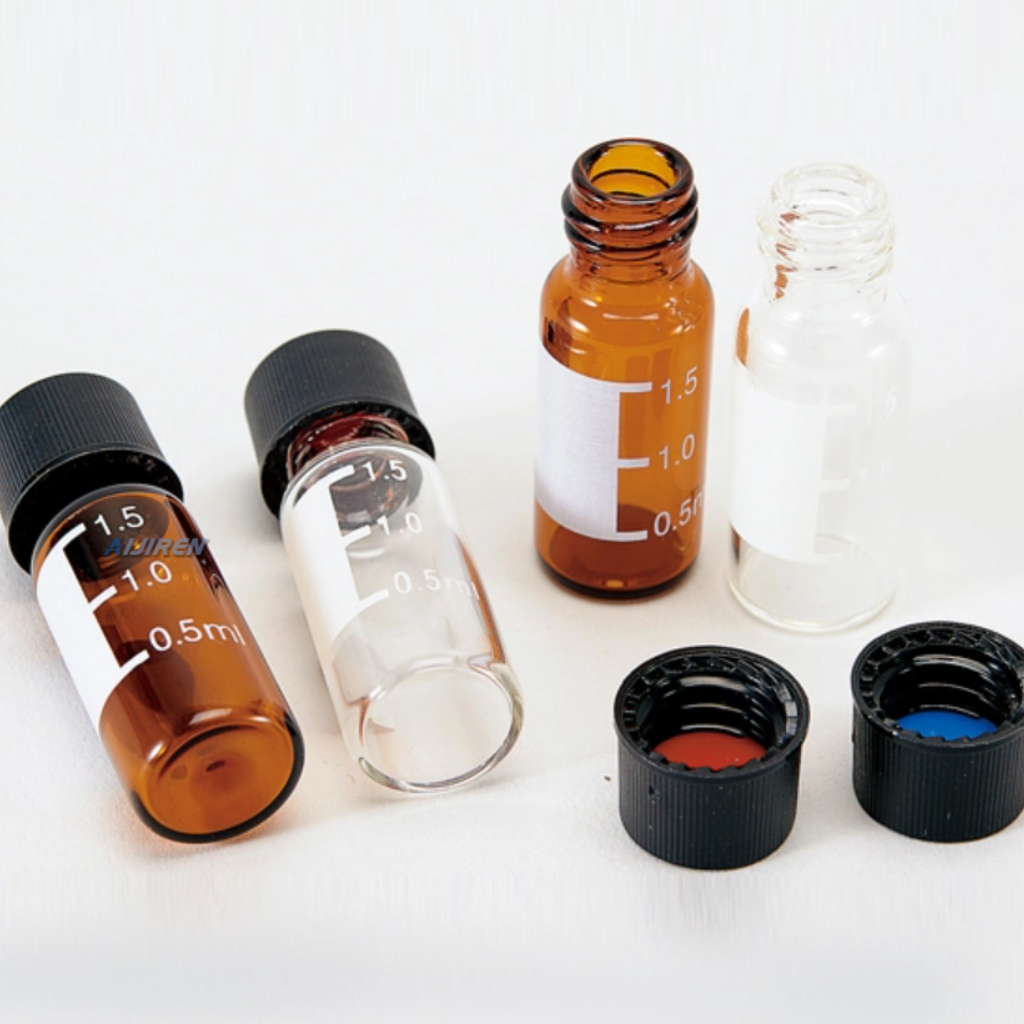
Most of the revalidation triggers live in the septum and closure, not the glass body. That is why I keep the septum specification on the method's critical materials list, alongside the column and the standard. The septa you qualify for a method should be identified by formulation, durometer, thickness, and coating, not by catalog number alone. When any of those four moves, the classification follows the attribute.
The same logic applies to the closure. A crimp closure with a different skirt height changes the seal compression, and a screw closure with a different thread pitch changes the torque requirement. For screw-thread closures on 9 mm or 13 mm necks, I specify a target torque of 0.9 to 1.1 N·m for 9 mm and 1.4 to 1.6 N·m for 13 mm, and I verify it with a torque tester on a sample of closures from each lot. A closure lot that requires more than 1.3 N·m on a 9 mm neck to seal is a verification trigger, because the cap may not be fully seated by the autosampler's capper. The vial septa reference material on closure and septum compatibility is where I send analysts who are writing the critical materials list for the first time.
The GPI and ISO references that belong in the entry
Your change-control entry should cite the dimensional standard the part is qualified against. For 9 mm and 13 mm screw-thread finishes, that is the GPI 9-425 and GPI 13-425 thread specifications. For crimp finishes, cite the neck finish drawing your supplier controls to. For the glass body, cite the dimensional family and the tolerance class. If the entry says only "meets specification," the reviewer has no way to check whether the specification is the one the method was validated against. A one-line citation of the GPI or ISO reference closes that gap.
The incoming inspection that makes the classification possible
You cannot classify a lot change correctly if you do not measure the attribute. That sounds obvious, and it is the step most labs skip because the certificate of analysis looks complete. The CoA tells you what the supplier measured; it does not tell you whether the lot is inside the distribution your method was validated against.
I keep a short incoming inspection for critical consumables: neck ID or thread pitch on a sample of 10 per lot, septum thickness on a sample of 10, and a visual for coring on the septum after a 20-puncture test on one unit. That is maybe 20 minutes of work per lot and it is the difference between a verification that means something and a verification that is theater. For methods with tight LOQ requirements, add a single blank injection from the new lot at method temperature to the incoming inspection. It catches the septum bleed case before the lot reaches the sequence.
Troubleshooting checklist when a lot change produces a symptom
- Peak area drop on one injection, recovery on the next: suspect septum coring. Run a puncture count test on retained septa from both lots.
- Slow drift in internal standard across a sequence: suspect a seal leak from a neck ID or closure torque change. Check neck ID with a pin gauge and torque with a tester.
- New peaks in the blank at method temperature: suspect septum formulation or coating change. Run a blank from the new lot and compare to the previous lot at the same temperature.
- Peak tailing on basic analytes: suspect glass deactivation chemistry change. Compare recovery and tailing factor on the new lot against the qualified standard.
- Autosampler grip or centering faults: suspect dimensional family change. Measure the vial OD and height against the qualified family drawing.
Each of those symptoms maps to a specific attribute, and each attribute maps to a classification in the table above. That mapping is what makes the change-control entry defensible: the reviewer can follow the symptom to the measurement to the classification to the evidence.
Writing the entry so an inspector accepts it
The single most useful habit I can pass on is to write the entry in the past tense of a decision already made, not the future tense of a plan. "The septum lot was classified as verification because the formulation, durometer, thickness, and coating were unchanged and only the manufacturing lot differed" reads as a decision. "We will verify the new lot" reads as a plan that may or may not have been carried out, and it invites the reviewer to ask for the data that proves it was.
Second habit: state the acceptance criteria before the data, in the same entry. If the criteria appear only in the run file, the reviewer has to reconstruct the logic. If they appear in the entry, the reviewer can check the run against them in one pass. For a verification run, the criteria are the system suitability limits plus the ±2% bracketed comparison. For a revalidation, the criteria are the method's validation acceptance criteria, restated in full.
Third habit: name the person who made the classification and the person who approved it. If they are the same person, say so and explain why the method's quality system permits it. Reviewers do not object to a single signer when the procedure allows it; they object to an entry where the roles are ambiguous.
Fourth habit: close the loop on the disposition. "New lot released for use on methods A, B, and C; held for method D pending revalidation" is a disposition. "New lot acceptable" is not, because it does not tell the next analyst what to do with the box on the shelf.
For the underlying regulatory frame, the method validation itself still lives under U.S. EPA SW-846 for environmental work and under USP general chapters for pharmaceutical work, and the consumable's role in the validated method is already covered elsewhere on this site. What this article is about is the change event, and the change event is governed by your own change-control procedure, not by the method text. That is why the procedure has to be specific about consumables. A procedure that says "significant changes require revalidation" and stops there will produce inconsistent classifications, and inconsistent classifications are what inspectors write findings against.
What I recommend you put in the SOP this quarter
Add a critical materials list to each validated method, with the septum formulation, durometer, thickness, coating, closure type, and dimensional family named explicitly. Add the decision table above to the change-control procedure, with the classification tied to the attribute rather than the part number. Add the incoming inspection (neck ID, septum thickness, 20-puncture visual, blank at method temperature) to the receiving procedure for those materials. Then write the entry in the four-part order: what changed, classification and rationale, objective evidence against pre-stated criteria, disposition and re-entry.
The decision rule is this: a change to any attribute that can move a validated performance characteristic (septum formulation or durometer, glass deactivation chemistry, dimensional family) is a revalidation; a change to any attribute that cannot (color, packaging, thickness within the qualified range, same-part-number lot) is a verification with a bracketed comparison and a pre-stated acceptance criterion; and a same-part-number lot that fails incoming inspection escalates to revalidation until the root cause is closed. If your change-control entry cannot be read by someone who was not in the lab and still tell them which attribute changed and why the classification followed, it is not finished. The run is the easy part. The entry is the deliverable.
References & further reading
Related resources from our lab consumables network:
- Aijiren Brand at aijirenvials.com
- Voa Vial at voavial.com
- Septa at septacaps.com
- Vial Septa at vialsepta.com
External references and standards: