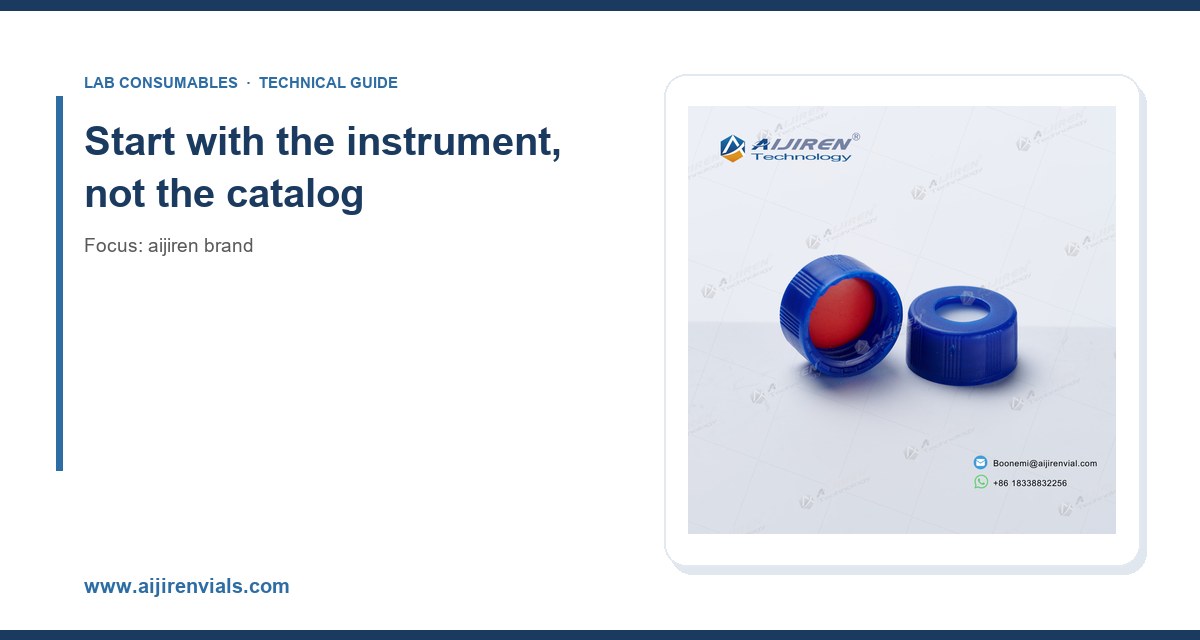
I have spent the better part of two decades specifying vials, caps, and septa for a lab consumables operation, and I can tell you that the single most common cause of a failed run in our shop was never the instrument. It was the wrong aijiren brand choice for the job: a 9 mm screw cap on a vial that needed a crimp, a thin septa on a headspace sampler running at 150 °C, or a glass vial with a bore tolerance loose enough to bend a syringe needle. The aijiren line covers a lot of ground, and picking the right part is less about brand loyalty and more about matching the physical chemistry of your sample to the geometry and material of the closure system. This guide walks through how I make that decision, with the numbers I actually use on the floor.
Before you open a price list, look at the autosampler on your bench. The vial format is dictated by the sampler's tray and needle geometry, not by your preference. Get this wrong and you will either jam the tray or punch through the septum at an angle that coring becomes inevitable.
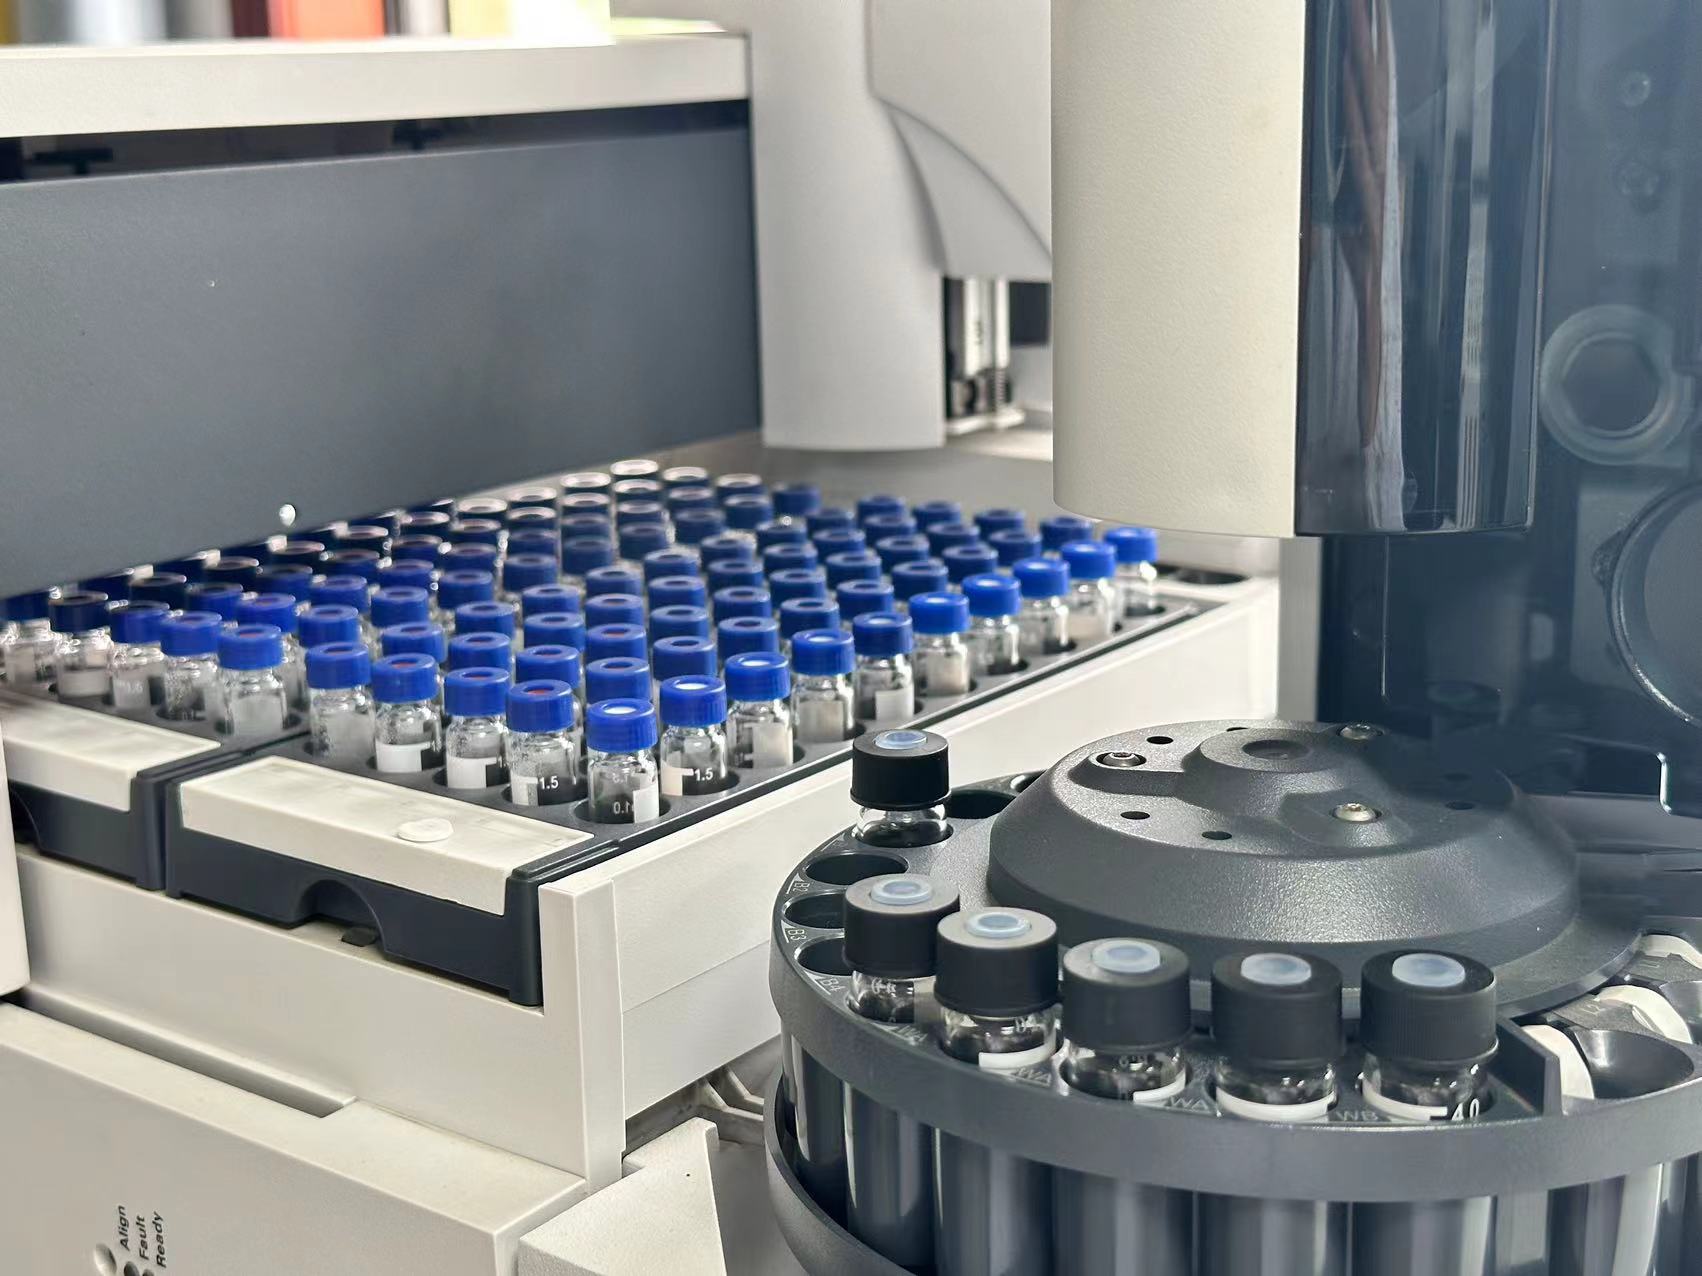
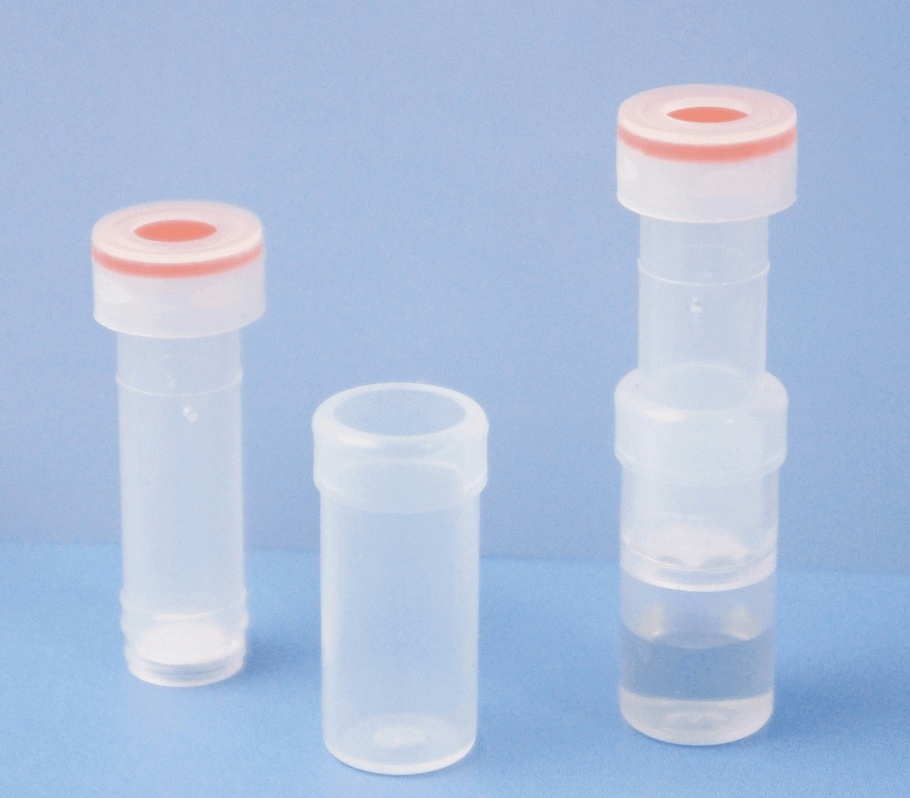
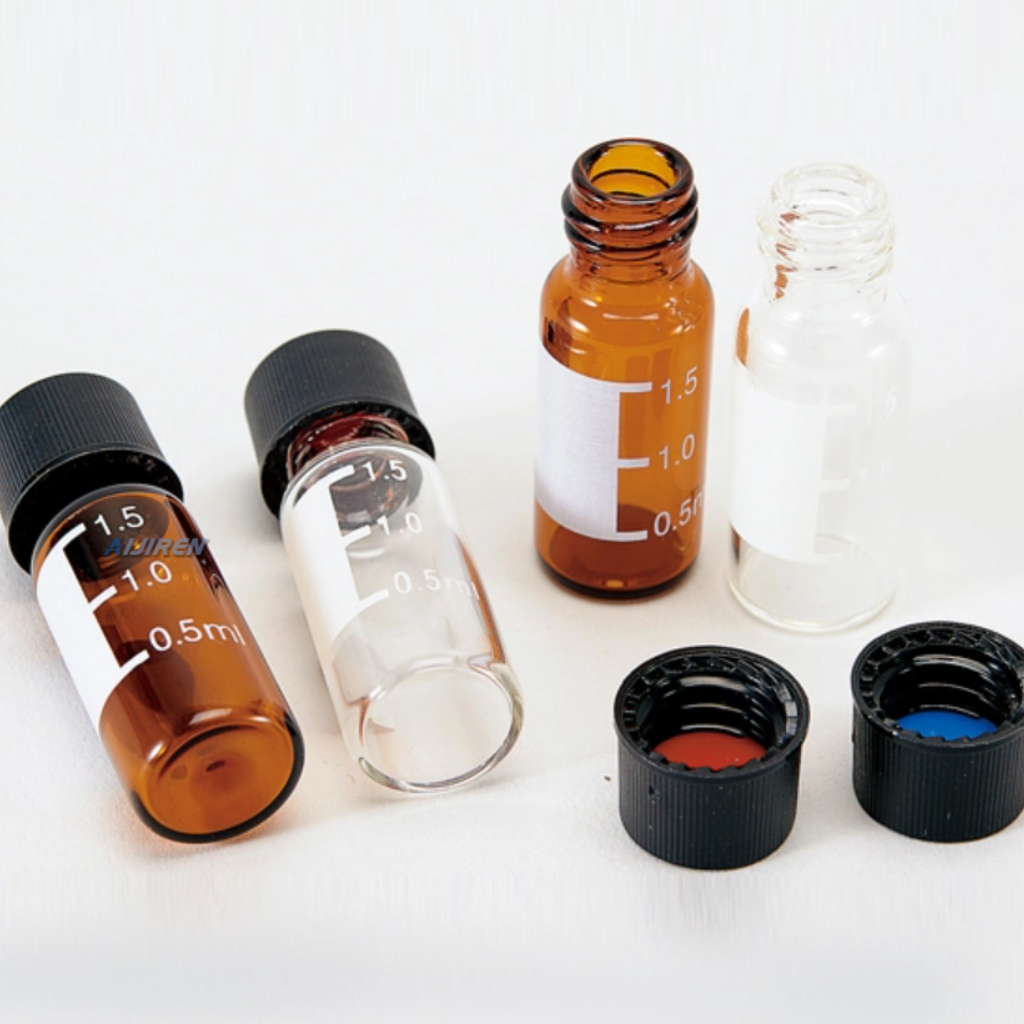
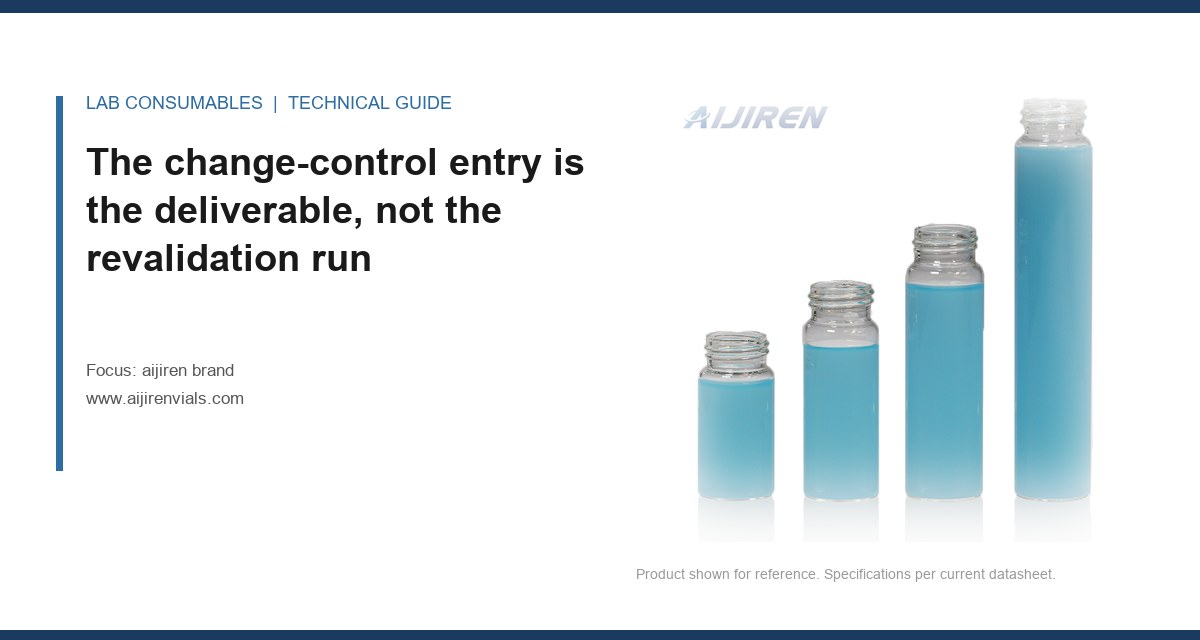
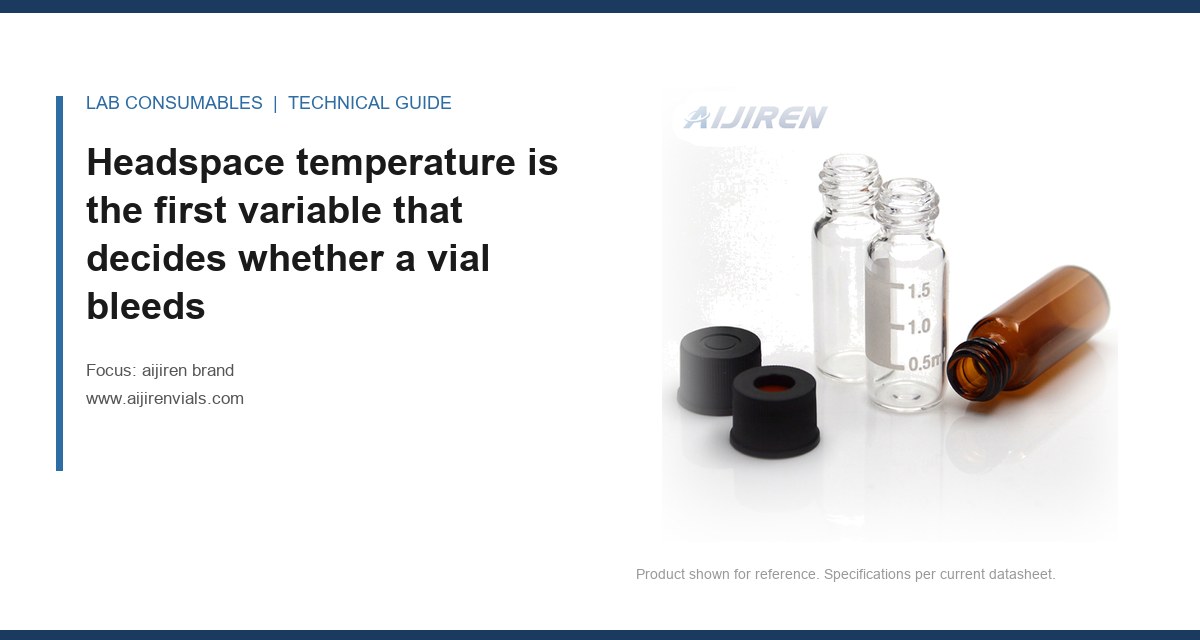
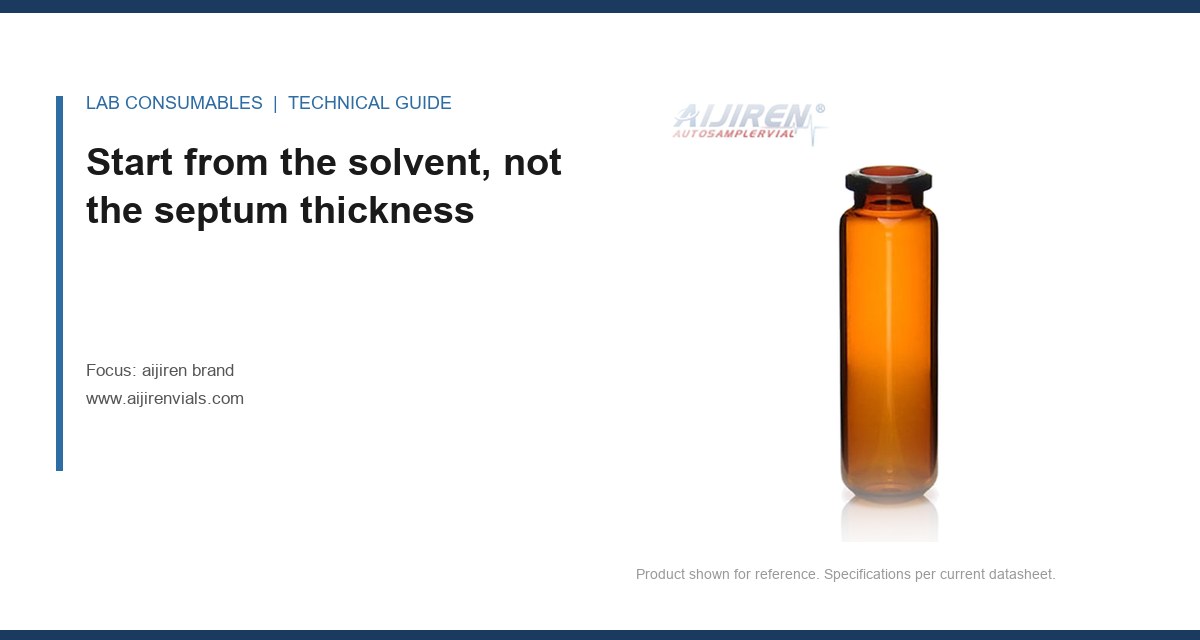
The three formats that dominate our order book are the 2 mL standard vial (12 x 32 mm, 11 mm or 9 mm neck), the 4 mL wide-mouth vial (15 x 45 mm), and the 10 mL and 20 mL headspace vial (23 x 46 mm and 23 x 75 mm respectively). A 12 x 32 mm vial with an 11 mm crimp neck is the workhorse for HPLC autosamplers, while a 9 mm screw-thread vial is what most modern GC liquid autosamplers want. If you are running a headspace sampler, the 20 mL crimp vial at 23 x 75 mm is standard, and the septa on that vial sees the full oven temperature, often 80 to 150 °C.
One practical rule I give every new buyer: measure the neck. A 9 mm screw thread is not interchangeable with an 11 mm crimp. The GPI (Glass Packaging Institute) thread finish matters too. A GPI 9 mm thread and a GPI 11 mm thread have different pitch and depth, and a cap that threads on but does not seat will leak at the injection port. If the cap spins freely after two turns, you have the wrong finish.
Glass: the first decision that changes your data
The glass type affects two things you cannot fix downstream: adsorption of polar analytes and light transmission for photosensitive compounds.
Type I borosilicate vs. Type 33 and 51
For HPLC and GC work with basic or polar compounds, I specify Type I borosilicate glass (sometimes called Type 33 expansion borosilicate). Its low alkali content (typically under 0.02% extractable Na2O by the USP <660> hydrolytic resistance test) means it will not leach sodium into your mobile phase or buffer. For general-purpose work where cost dominates, Type 51 soda-lime glass is adequate, but I have watched it produce tailing peaks on amine analytes at low pH. If your method is USP <621> compliant and you are validating, do not cut this corner.
Amber vs. clear
Amber glass blocks most of the UV range below 400 nm, which matters if you are running a UV detector and your sample degrades under ambient light. For light-sensitive compounds (vitamins, some antibiotics, nitroaromatics), amber is not optional. The trade-off is that you cannot visually inspect for particulates or phase separation, so if your workflow depends on a visual check before injection, clear glass with a foil wrap is often the better compromise. I keep both on the shelf and let the method decide.
Septa: where most of your problems actually live
I will say it plainly: the septa is the most under-specified component in most labs, and it causes more failed injections than any other part. The septa is a disc of elastomer that seals the vial after the needle withdraws. Every puncture leaves a hole, and every hole is a leak path. The question is how many punctures your septa can take before it fails.
Material selection by temperature and chemistry
Here is the comparison I use when a lab asks me to recommend a septa. These are the numbers I trust from bench testing and from the manufacturer datasheets:
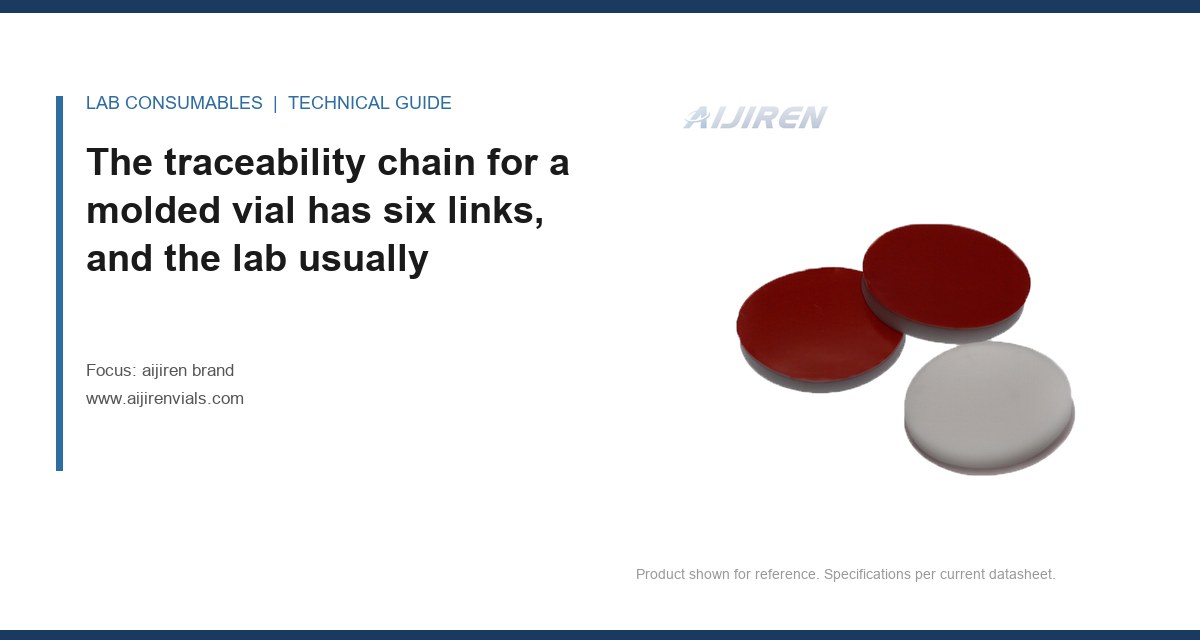
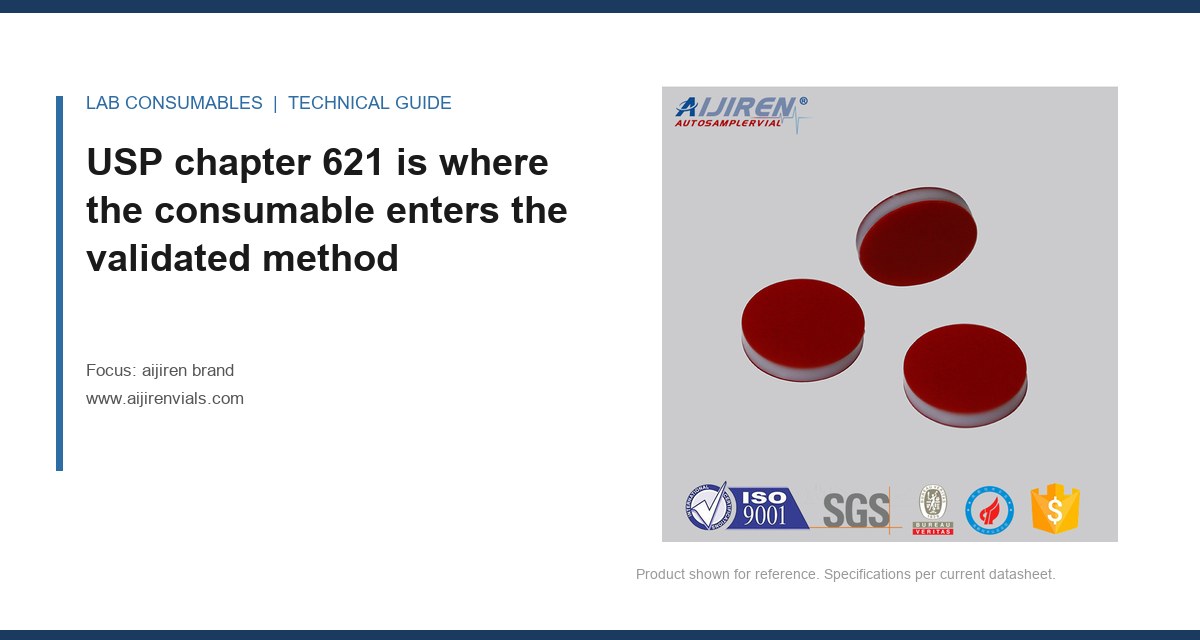
- Silicone (pure, uncoated): Temperature range roughly -60 to 200 °C. Excellent chemical inertness, very good reseal. The downside is high gas permeability, so it is a poor choice for headspace if you need to hold a volatile analyte for long equilibration times. Puncture count before leakage: typically 50 to 100 on a 9 mm disc.
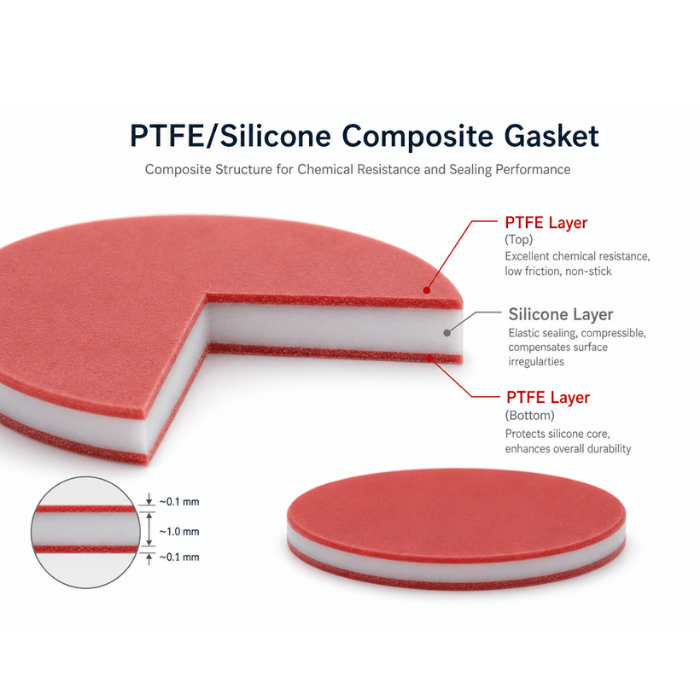
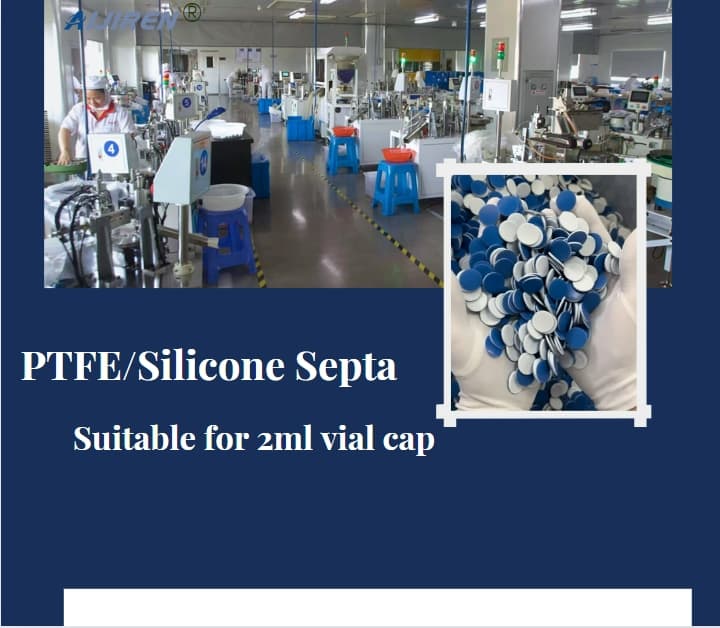
- Silicone with PTFE face (single or double): The PTFE film on the sample side gives you inertness against aggressive solvents and reduces adsorption. Temperature range is limited by the PTFE to about -40 to 200 °C. This is my default for HPLC and GC liquid injection. Puncture count: 50 to 80 before the PTFE film tears.
- Butyl rubber: Temperature range about -40 to 120 °C. Very low gas permeability, which makes it the right choice for headspace and for storing volatile standards. It is not as chemically inert as silicone, so avoid it with chlorinated solvents. Puncture count: 30 to 50.
- Natural rubber / red rubber: Cheap, temperature range about -20 to 100 °C. High permeability and it will extract into your sample. I only use it for non-critical, short-hold work.
- PTFE-faced silicone for high-temperature headspace: Up to 200 °C with a properly crimped cap, but check the cap's own temperature rating, because the aluminum crimp will relax above about 180 °C.
If you want the full material matrix, the septa reference on septacaps.com is the one I point buyers to, and the vial septa page has the puncture-count and temperature tables laid out per format. I have used both as the basis for our internal spec sheet.
The coring problem
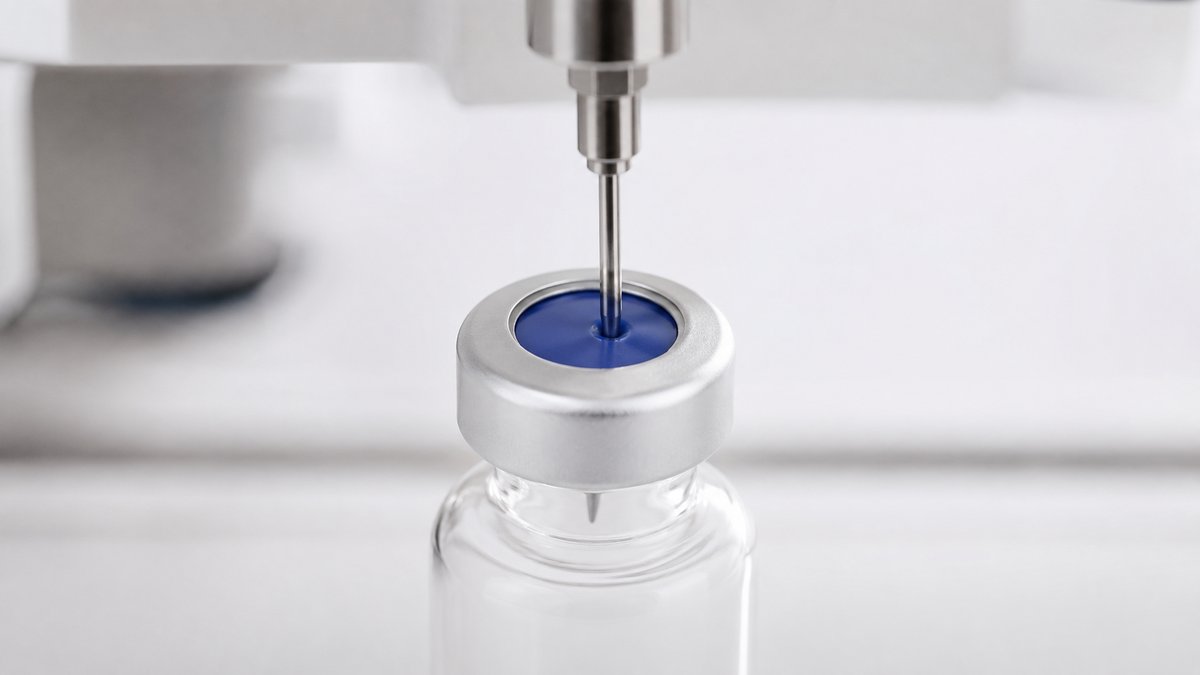
Coring is when the needle punches a plug of septa material into the vial. You will see it as a small disc floating in your sample or, worse, as a blocked needle. The fix is threefold: use a needle with a bevel angle of 15 to 20 degrees (a sharp, angled tip cuts rather than punches), keep the septa thickness matched to the cap (a 1.0 mm septa in a cap designed for 1.5 mm will not seat), and replace septa on a schedule rather than on failure. In our operation, a septa on a high-throughput autosampler running 200 injections a day gets replaced every two shifts, not when it starts leaking.
Caps: crimp vs. screw, and the torque question
The cap is the mechanical interface. Get the crimp or the thread wrong and the septa cannot seal, no matter how good it is.
Crimp caps
Crimp caps use an aluminum seal compressed over the vial neck with a crimping tool. They give the most reliable seal for headspace and for long-term storage because the aluminum deforms to the glass. The critical parameter is crimp height. For a 20 mm headspace vial, the finished crimp should sit at about 5.5 to 6.0 mm from the top of the cap to the vial shoulder. Too high and the seal is loose; too low and you crack the neck. I keep a crimp gauge on the bench and check the first five caps of every new lot.
Screw caps
Screw caps are faster and need no tool, which is why they dominate liquid autosamplers. The failure mode is under-torquing (leak) or over-torquing (septa deformation and coring). For a 9 mm screw cap, I recommend a torque of 0.6 to 0.8 N·m. For an 11 mm screw cap, 1.0 to 1.2 N·m. Hand-tight is usually in this range for an experienced operator, but a torque wrench on the bench removes the guesswork. If you are running a validated method, torque is a controlled variable and should be documented.
The voa vial range on voavial.com covers the 40 mL volatile organic analysis format (the EPA 5030/8260 workhorse), and those vials are almost always screw-thread with a PTFE-faced silicone septa. That is the correct combination for VOA because the PTFE face resists the methanol preservative and the silicone gives the reseal.
The aijiren brand selection matrix
Here is the decision checklist I hand to procurement. It maps the workflow to the concrete part specification, with the numbers that matter:
- HPLC autosampler, aqueous mobile phase, polar analytes: 2 mL clear Type I borosilicate, 12 x 32 mm, 9 mm screw thread, PTFE/silicone septa, torque 0.6 to 0.8 N·m. Replace septa every 50 to 80 punctures.
- GC liquid injection, volatile analytes: 2 mL clear or amber, 11 mm crimp, silicone/PTFE septa, crimp height 5.5 to 6.0 mm. Use a 15 to 20 degree bevel needle.
- Headspace, oven at 80 to 150 °C: 20 mL crimp vial, 23 x 75 mm, butyl or PTFE/silicone septa rated to 200 °C, aluminum crimp. Verify crimp height on every lot.
- VOA (EPA 5030/8260): 40 mL screw-thread vial, PTFE-faced silicone septa, torque 1.0 to 1.2 N·m. Do not reuse septa.
- Light-sensitive compounds: amber glass, same closure as above, and store in the dark between runs.
- Trace metals work: Type I borosilicate with a low-extractable certificate, PTFE-faced septa, and a nitric acid rinse before first use.
For the broader aijiren catalog and the full part-number cross-reference, the aijiren brand page on aijirenvials.com is where I start, because it lists the GPI finish and the glass type per SKU. That saves a phone call.
Operational precautions that actually prevent failures
Specification gets you 80% of the way. The other 20% is handling. These are the precautions I enforce in our own lab and recommend to customers:
- Never reuse a septa. A punctured septa that looks fine will leak at the second or third injection, and the leak is silent until your internal standard drifts. I have seen RSD% climb from 1.5% to 8% purely from septa reuse.
- Condition new septa. Silicone septa can carry residual volatiles from manufacturing. For trace analysis, heat them at 100 °C for 30 minutes before use, or run a blank injection first. The blank should show no peaks above your reporting limit.
- Match the needle gauge to the septa. A 22-gauge needle (0.72 mm OD) in a 1.0 mm septa leaves a small hole that reseals well. A 26-gauge needle (0.46 mm OD) is gentler on the septa but more prone to bending. For high-viscosity samples, use a 22-gauge and accept the larger hole.
- Check the crimp on every new lot. A 0.2 mm variation in crimp height across a lot is enough to cause intermittent leaks. Gauge the first five and the last five caps.
- Store vials capped and upright. A vial stored on its side with a screw cap will wick sample into the thread and contaminate the next run.
- Use the right torque wrench. A click-type wrench calibrated to 0.6 N·m is cheap insurance. Over-torquing is the number one cause of septa coring on screw-thread vials.
Troubleshooting checklist
When a method fails, I work through this list in order. It catches the majority of vial-related problems before anyone blames the column.
- Peak tailing on basic analytes: check glass type (switch to Type I borosilicate) and check for septa coring (inspect the vial for floating discs).
- Drifting internal standard or poor RSD%: check septa age and torque. Replace septa and re-torque to spec.
- Ghost peaks in the blank: condition the septa and run a solvent blank. If peaks persist, the septa lot is contaminated; switch lots.
- Leak at the injection port: check crimp height (5.5 to 6.0 mm for 20 mm caps) and check that the cap finish matches the vial (GPI 9 mm vs. 11 mm).
- Needle bending or blockage: check needle bevel (15 to 20 degrees), check septa thickness, and check for coring debris.
- Sample loss on storage: check septa permeability. Switch to butyl for volatile analytes and crimp rather than screw for long holds.
- Light-induced degradation: switch to amber glass and confirm the septa is opaque to UV if the compound is highly photosensitive.
For method-level context, the U.S. EPA SW-846 test methods for waste and materials spell out the vial and septa requirements for VOA and leachate work, and the Restek technical resources for chromatography have good septa selection charts that align with what I have measured. If you are cross-referencing instrument-specific consumables, the Agilent chromatography consumables and columns pages list the vial format each autosampler expects, and the Thermo Fisher chromatography and sample handling catalog is useful for confirming the thread finish on their autosampler trays.
Cost per injection, not cost per vial
Procurement managers love unit price. I push back with cost per injection. A 2 mL vial at a few cents and a septa at a few cents looks cheap until you factor in the rerun caused by a leak. One failed run on a 96-well autosampler costs more in instrument time and analyst hours than a month of septa. My rule: buy the septa that gives you 50 to 80 reliable punctures, not the cheapest one that gives you 20. The math favors the better septa every time.
There is also a lot-to-lot consistency argument. I have seen cheap septa lots vary by 0.1 mm in thickness, which is enough to change the crimp height and cause intermittent leaks. Buying from a single aijiren brand with a documented spec sheet, rather than mixing suppliers, removes that variable. If you are validating a method, lot-to-lot consistency is worth more than the per-unit savings.
My recommendation
If you are setting up a new workflow and want a single, defensible specification, here is what I would buy. For HPLC and GC liquid injection: 2 mL clear Type I borosilicate, 12 x 32 mm, 9 mm screw thread, PTFE/silicone septa, torque 0.6 to 0.8 N·m, septa replaced every 50 to 80 punctures. For headspace: 20 mL crimp vial, 23 x 75 mm, butyl or PTFE/silicone septa rated to 200 °C, crimp height 5.5 to 6.0 mm, gauge every lot. For VOA: 40 mL screw-thread vial, PTFE-faced silicone septa, torque 1.0 to 1.2 N·m, no septa reuse. For light-sensitive compounds: amber glass, same closure, stored upright in the dark.
Those four specifications cover the vast majority of analytical workflows I have seen, and they hold up under USP <621> validation and under EPA SW-846 method requirements. The rest is discipline: condition the septa, gauge the crimp, torque to spec, and replace on schedule rather than on failure. Do that and the vial stops being the variable in your method.
The takeaway is simple. The aijiren brand choice is a mechanical and chemical decision, not a purchasing one. Match the glass type to your analyte chemistry, match the septa material to your temperature and solvent, match the cap to your instrument's thread finish, and control the torque and crimp height with a gauge. The numbers in this guide are the ones I use on the floor, and they have kept our failure rate low enough that we stopped tracking vial-related reruns as a separate category.
References & further reading
Related resources from our lab consumables network:
- Aijiren Brand at aijirenvials.com
- Voa Vial at voavial.com
- Septa at septacaps.com
- Vial Septa at vialsepta.com
External references and standards: