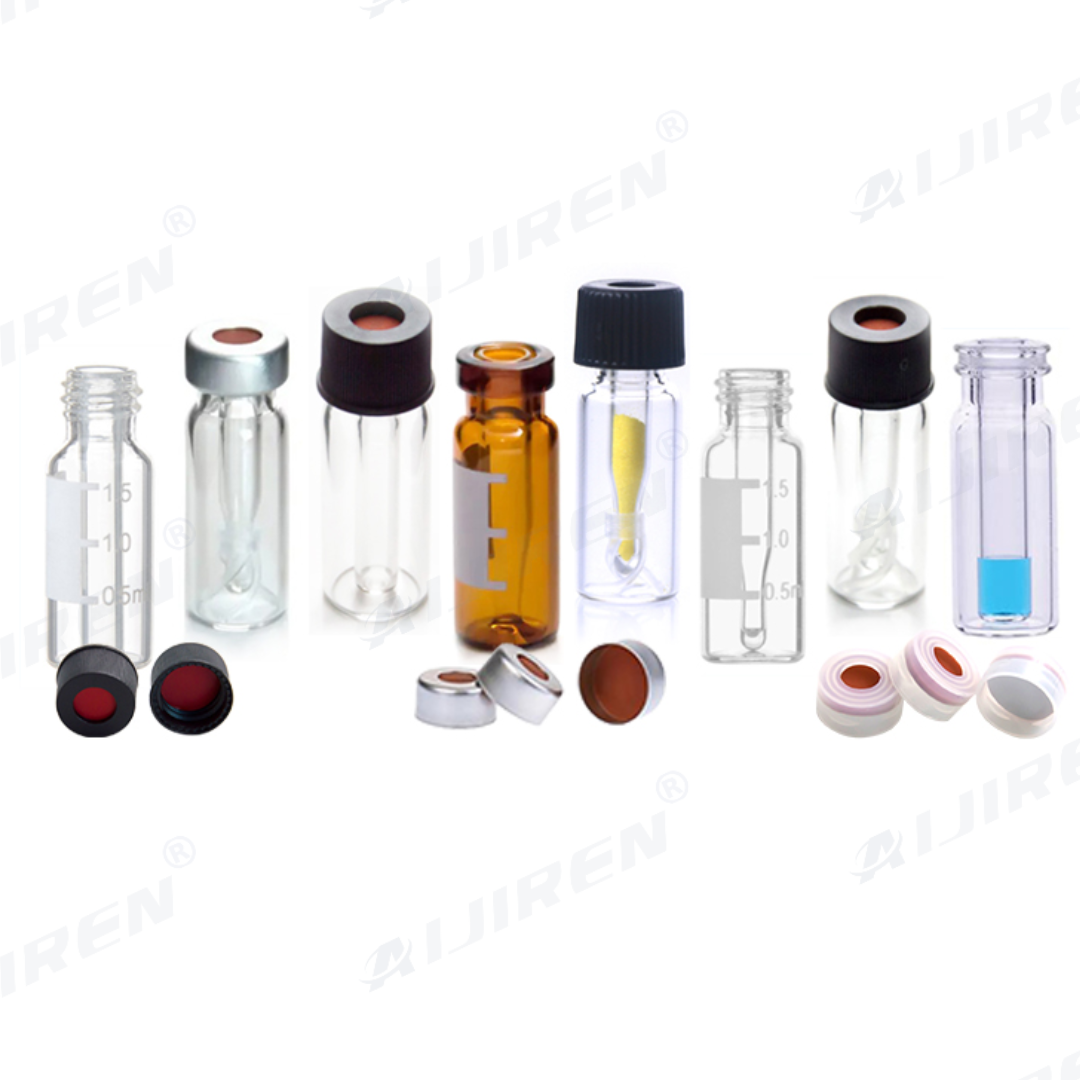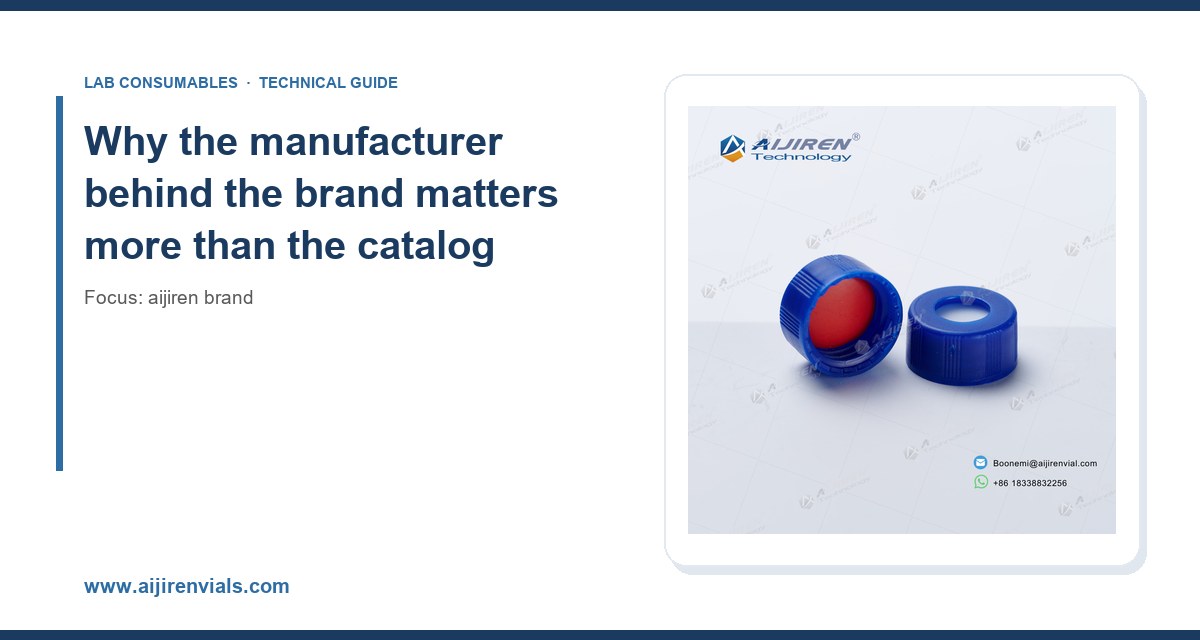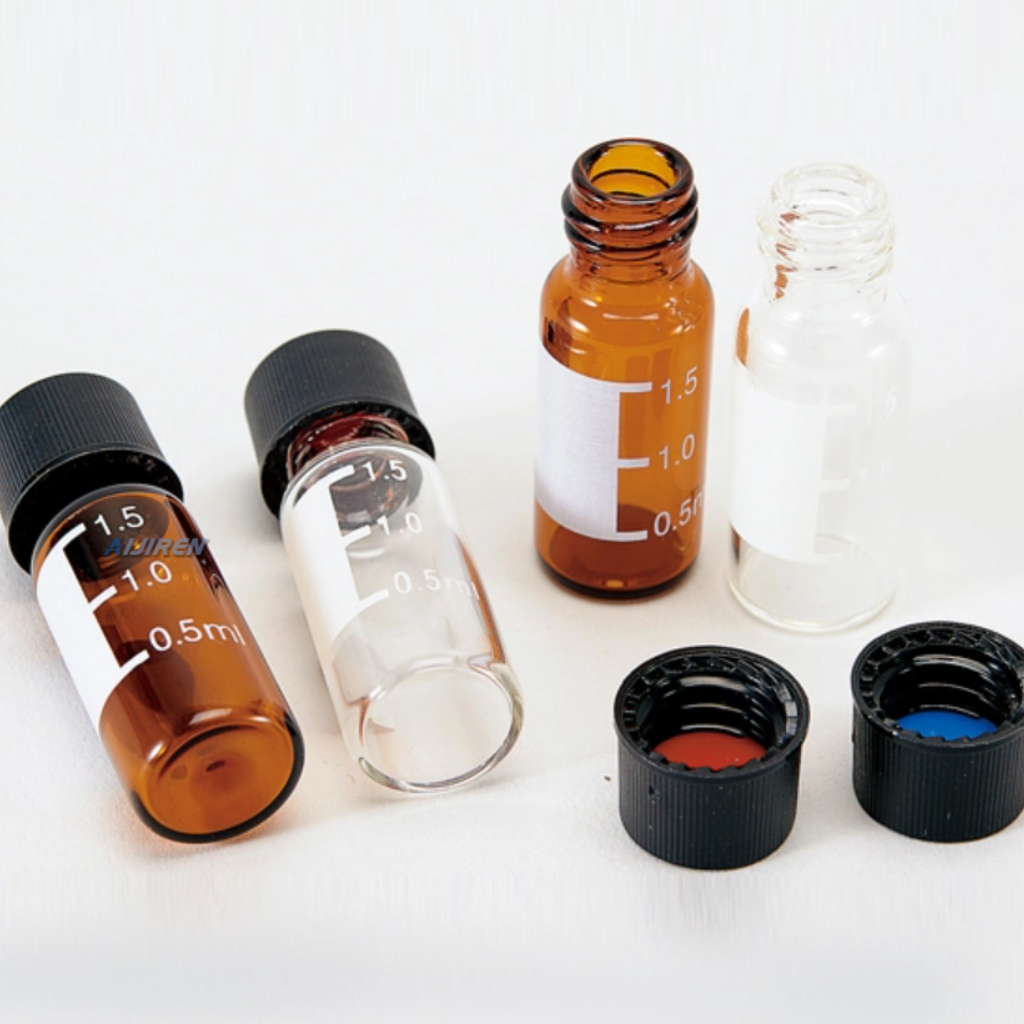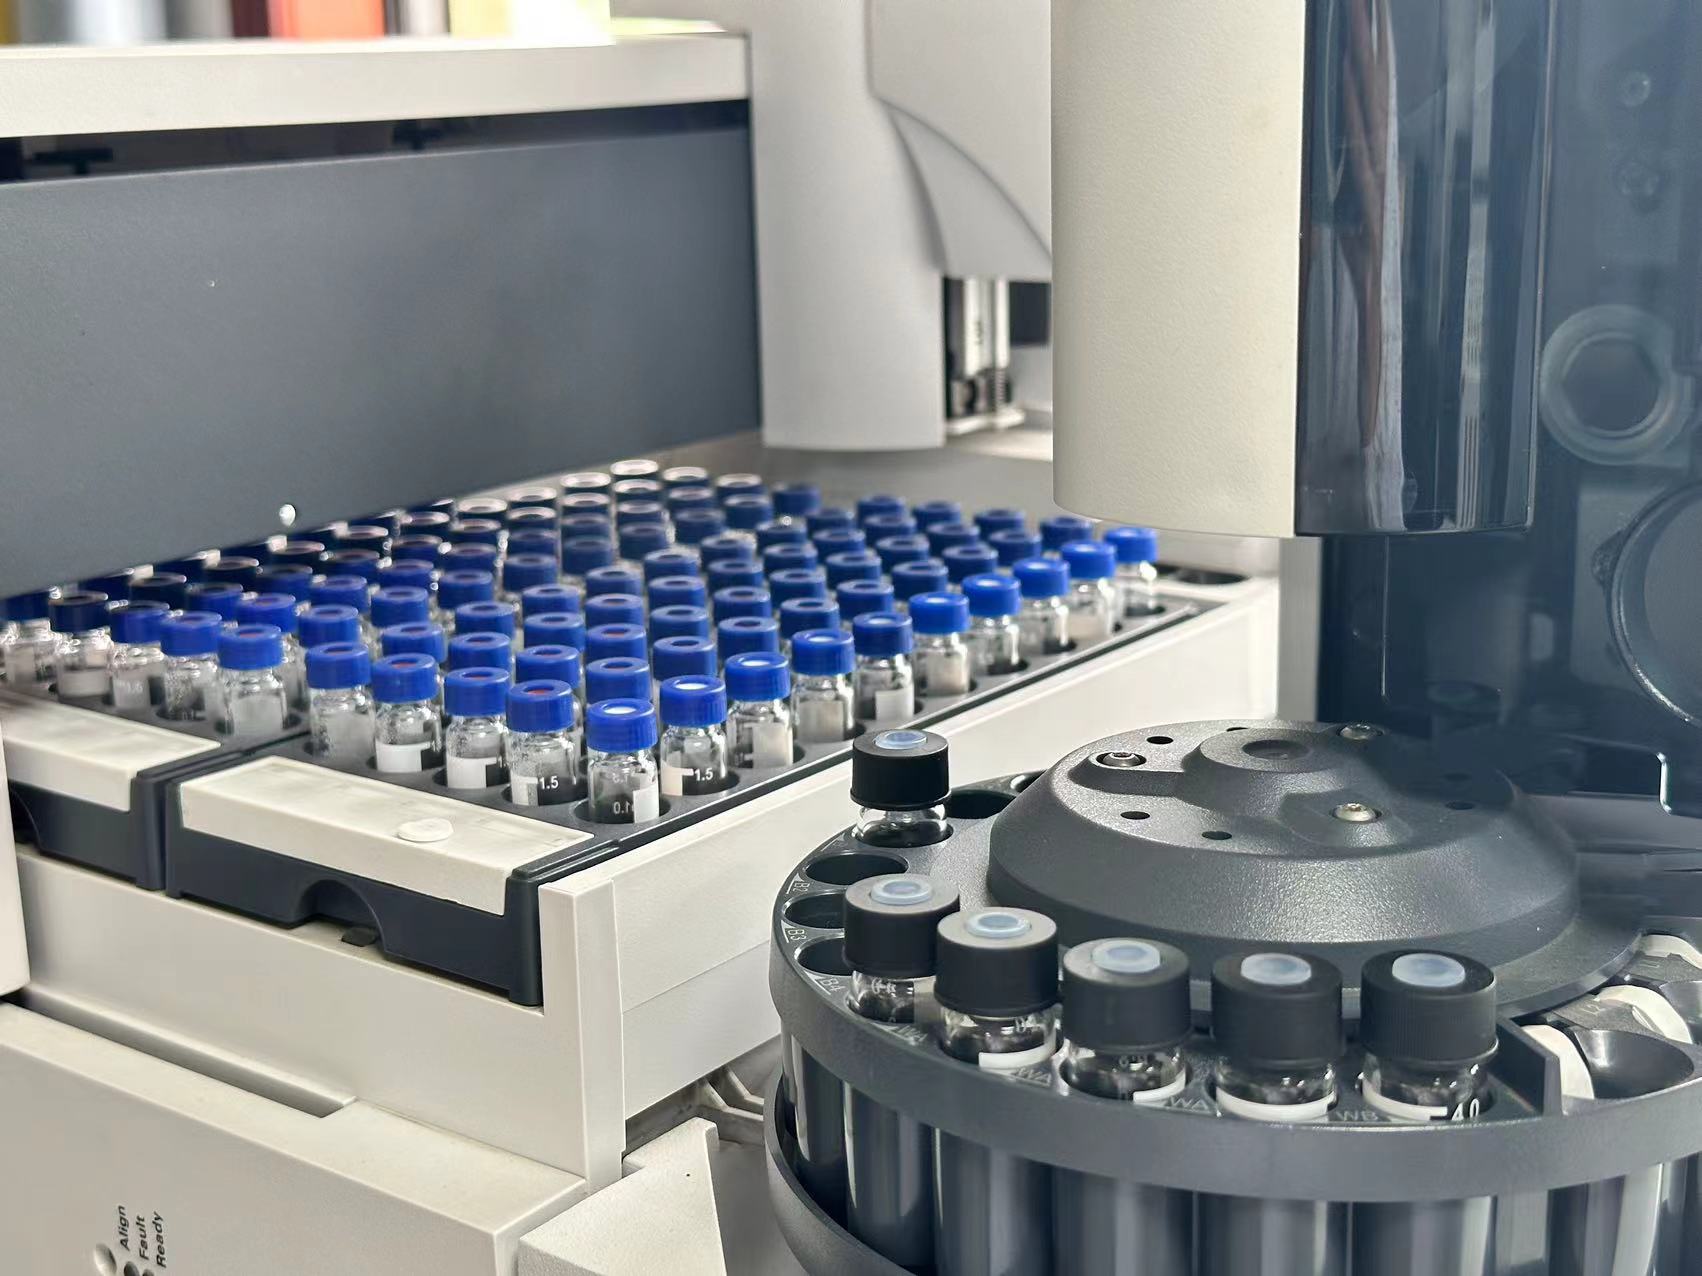
A 96-well plate run on a Monday morning came back with 11 wells showing internal standard response down 18 to 24 percent against the bracketing calibrators, and the only thing that had changed since Friday was the lot of aijiren brand 9 mm screw-top vials. That is the shape of an aijiren brand seal failure most people meet first: not a catastrophic leak, not a visible puddle in the autosampler tray, just a slow, silent evaporation loss that eats the low-boiling analytes and leaves the heavy end of the run looking fine. The run was a 12-hour overnight sequence at 8 °C tray temperature with a 60:40 water:acetonitrile matrix. By the time the operator pulled the plate, the seal had been sitting on the same septum for 14 hours and the puncture count on the injection port needle was 1, not the 6 the method assumed.
If you are reading this, you already run aijiren vials and you already know the catalog. What follows is the part the catalog does not tell you: where the seal actually leaks, what happens to a septum after it is punctured, how compression set eats your headspace, and how to put a number on the loss instead of guessing.
A crimp or screw seal is not one surface. It is a stack, and every interface in that stack is a leak path. When a customer sends me a vial that "went dry," I ask them to send the cap too, because the failure is almost never the glass. Ranked by frequency in my own service log over the last three years:
- Septa compression set at the cap interface. The elastomer takes a permanent deformation under the crimp or screw torque and stops pushing back. This is the number one cause and it is invisible until you measure it.
- Incomplete crimp or under-torqued screw cap. The seal never reached full contact in the first place. A 11 mm crimp that was set at 0.9 kN instead of the 1.4 to 1.6 kN range will pass a visual check and fail a gravimetric one.
- Septa puncture channel that does not re-seal. The needle goes in, the elastomer does not close behind it. This is the failure mode that shows up only on multi-injection methods.
- Glass finish defect at the sealing bead. Rare, but real. A chipped or out-of-round bead on a molded vial will leak no matter what cap you put on it. This is where the dimensional family matters (see the aijiren brand line map for the four families and what each one seals against).
The order matters because it tells you what to check first. If you have a loss problem and you start by swapping septa, you will spend three weeks and a lot of money before you find out the crimper was the problem. Start with the mechanical seal, then the elastomer, then the glass.
Re-seal behaviour after puncture: what the needle actually does to the elastomer
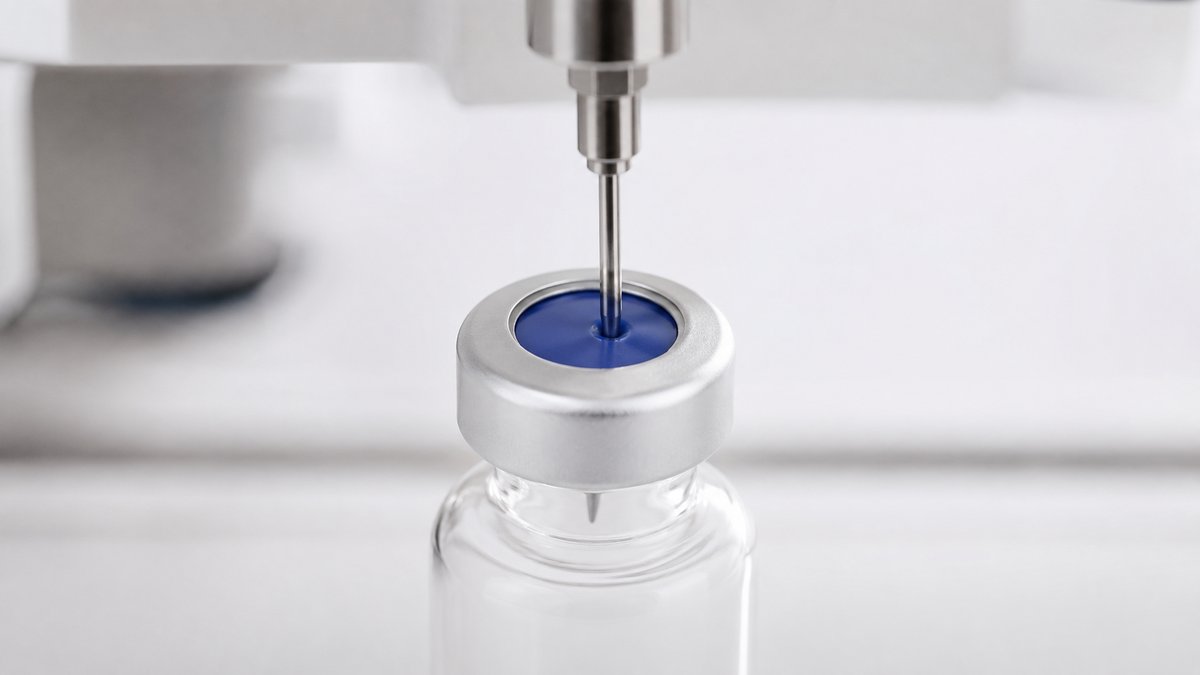
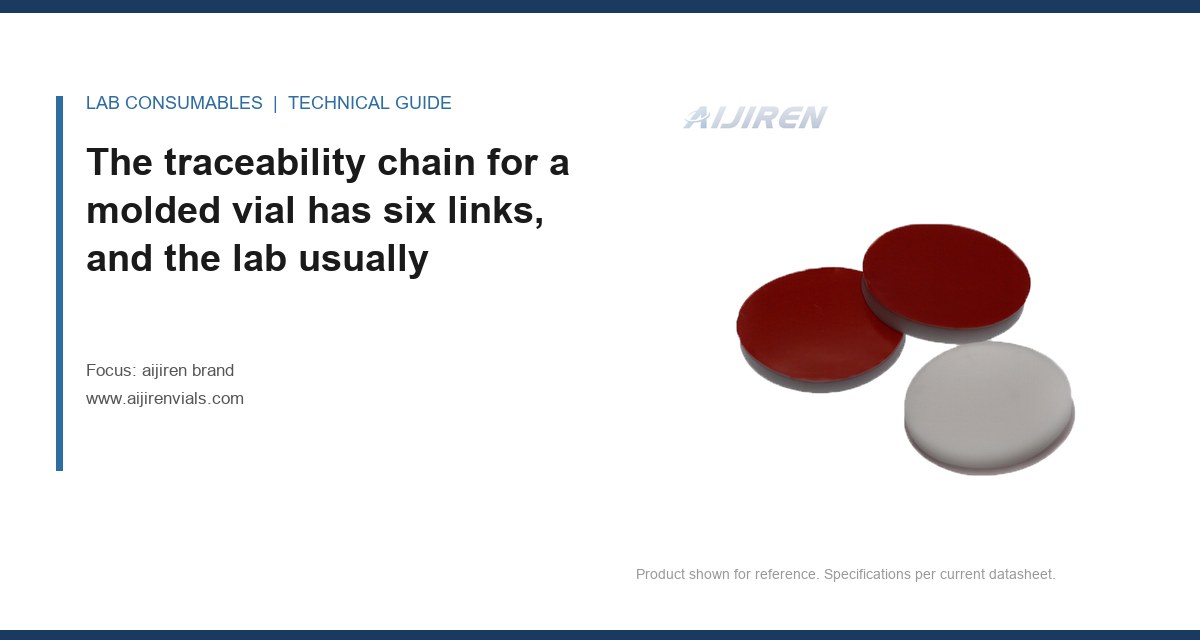
A septum is not a self-healing membrane. It is a disc of elastomer that has been pre-punctured, in most cases, by a manufacturing step that puts a small slit or dimple in the center to guide the needle. When the autosampler needle goes through it, the elastomer is displaced, not cut cleanly. The channel that remains is a function of needle gauge, septum hardness, septum thickness, and how many times the same spot has been hit.
The numbers that matter
For a standard 11 mm septum, the industry working numbers are:
- Thickness: 1.0 mm for a standard silicone/PTFE sandwich, 1.5 mm for a high-recovery grade, 3.0 mm for a headspace-grade septum.
- Hardness: 45 to 55 Shore A for a standard silicone, 60 to 70 Shore A for a PTFE-faced or high-temperature grade. Softer seals better at low temperature, harder survives more punctures at high temperature.
- Puncture count before measurable loss: 3 to 5 for a 1.0 mm standard septum at room temperature, 8 to 12 for a 1.5 mm high-recovery grade, 1 for a 3.0 mm headspace septum (headspace septa are not designed for multi-injection, they are designed for one needle event and a clean seal after).
- Needle gauge: a 23-gauge needle (0.64 mm OD) leaves a smaller channel than a 21-gauge (0.81 mm OD). If your method uses a 21-gauge and you are seeing loss after 4 injections, the septum is the first suspect, not the method.
The re-seal behaviour is also temperature-dependent in a way that catches people out. A silicone septum at 8 °C tray temperature is stiffer than the same septum at 25 °C, so it re-seals more slowly and less completely. A PTFE-faced septum re-seals almost not at all in the PTFE layer; the silicone underneath does the work, which is why the PTFE face is there for chemical resistance, not for sealing.
What this means for multi-injection methods
If your method injects the same vial more than 3 times, you are already in the zone where re-seal behaviour matters. The decision rule I give customers is simple: if the method calls for more than 4 injections from a single vial, use a 1.5 mm high-recovery septum and cap it with a torque that is at the top of the recommended range, not the middle. The extra compression gives the elastomer more stored energy to close the channel. The trade-off is that a harder crimp is harder to remove without coring the septum, which is a separate problem owned elsewhere on this site.
Compression set: the number nobody measures and everybody should
Compression set is the permanent deformation a elastomer takes after being held under compression for a period at a temperature. It is expressed as a percentage of the original deflection that does not recover when the load is removed. For a vial septum, the load is the crimp or the screw cap, the temperature is your tray or your oven, and the time is your run length.
The relevant standard is ASTM D395 Method B, which specifies a 25 percent deflection held for 22 hours at a set temperature. A good silicone septum for chromatography will show a compression set of 15 to 25 percent under those conditions at 100 °C. A cheap peroxide-cured silicone will show 35 to 45 percent. That difference is the difference between a seal that holds for a 24-hour run and one that starts leaking at hour 9.
Why compression set is worse than it looks
Compression set does not just reduce the sealing force. It changes the geometry of the seal. A septum that has taken 30 percent set is thinner than it was, so the cap no longer compresses it the same way, and the seal contact area moves. On a crimp cap, this shows up as a cap that feels loose when you check it after the run. On a screw cap, it shows up as a cap that has backed off its torque by 15 to 20 percent. Either way, the leak path opens at the moment you are least likely to be watching, which is the middle of the night.
The practical test is a recovery check: take a capped vial off the tray after the run, let it sit at room temperature for 30 minutes, then measure the cap torque with a calibrated torque tester. A screw cap that started at 1.2 N·m and reads below 0.9 N·m after the run has taken enough set to be a suspect. A crimp cap that can be rotated by hand after the run has failed. Neither of these is a definitive test on its own, but both are cheap and both will point you at the right lot.
Measuring loss gravimetrically: the method I use and the numbers I expect
You cannot fix what you cannot measure, and the measurement that matters here is weight loss over time. The method is simple enough to run in any lab with a balance that reads to 0.1 mg.
The gravimetric loss protocol
- Prepare 12 vials from the lot under test, filled with 1.0 mL of the actual matrix (not water, not solvent, the real thing). Cap them with the cap and torque you intend to use.
- Weigh each vial to 0.1 mg on a calibrated balance. Record the weight as T0.
- Place 6 vials in the autosampler tray at your method temperature. Place the other 6 in a controlled oven at 40 °C as a stress control.
- Weigh at 2, 4, 8, 12, and 24 hours. Do not open the vials. Do not puncture them unless the method calls for it. If you are testing puncture, puncture 3 of the 6 in the tray at each weighing with the actual needle.
- Calculate loss as a percentage of the initial fill mass. A 1.0 mL water fill is 1.0 g, so 1 mg loss is 0.1 percent.
The numbers I expect from a good seal are in the table below. Anything outside these bands is a seal problem, not a method problem.
| Condition | Expected loss at 24 h | Action threshold |
|---|---|---|
| 11 mm crimp, 1.0 mm silicone/PTFE, 25 °C, no puncture | 0.05 to 0.15 % | Above 0.30 %: reject lot |
| 11 mm crimp, 1.0 mm silicone/PTFE, 25 °C, 3 punctures | 0.10 to 0.25 % | Above 0.50 %: switch to 1.5 mm |
| 9 mm screw, 1.0 mm silicone/PTFE, 8 °C tray, 6 punctures | 0.15 to 0.35 % | Above 0.60 %: check torque and septum grade |
| 9 mm screw, 1.0 mm silicone/PTFE, 40 °C oven, no puncture | 0.30 to 0.60 % | Above 1.00 %: compression set failure |
| Headspace 20 mm crimp, 3.0 mm silicone/PTFE, 80 °C, 1 puncture | 0.10 to 0.30 % | Above 0.50 %: check crimp force |
Two things to note about this table. First, the action thresholds are not the same as the expected values. The gap between them is your margin for lot-to-lot variation, and if you set the threshold at the expected value you will reject good lots. Second, the 40 °C oven test is the one that catches compression set. A lot that passes at 25 °C and fails at 40 °C has an elastomer problem, and it will fail in your tray on a hot day or in a method that runs at elevated temperature.
Why gravimetric beats everything else
You can also measure loss chromatographically, by tracking internal standard response over the run. That is what most labs do, and it is a good check, but it conflates seal loss with injection variability, detector drift, and matrix effects. Gravimetric loss is a direct measurement of the thing you are trying to control. I have seen labs spend a month chasing an "injection precision problem" that a two-day gravimetric test identified as a septum lot issue in the first afternoon.
Two field cases: the symptom, the measurement, the fix
Case 1: the 18 percent drift that was a crimp force problem
Symptom: A customer running a 12-hour overnight sequence on a 6890/7890 platform reported that the last 20 injections of every run showed internal standard response 15 to 22 percent low. The first 40 injections were fine. The method used 11 mm crimp vials with a 1.0 mm silicone/PTFE septum, 2 injections per vial.
Measurement: We ran the gravimetric protocol on 12 vials from the same lot, 6 crimped on the customer's crimper and 6 crimped on a reference crimper set to 1.5 kN. The customer's crimper produced vials that lost 0.42 percent at 24 hours at 25 °C; the reference crimper produced 0.11 percent. The crimper was the variable, not the vial. A torque wrench on the crimper showed it was delivering 0.95 kN, well below the 1.4 to 1.6 kN range for an 11 mm aluminum seal.
Fix: Rebuilt the crimper jaw and recalibrated to 1.5 kN. The drift disappeared on the next run. The customer had been buying vials for a year trying to solve a crimper problem.
Case 2: the 40 °C failure that was compression set in a "high-recovery" septum
Symptom: A lab running a method at 40 °C tray temperature with 9 mm screw vials saw a gradual loss of the early-eluting compounds over a 24-hour run, with the late-eluting compounds unaffected. They had already swapped vials twice and swapped septa once.
Measurement: Gravimetric test at 40 °C showed 0.95 percent loss at 24 hours on the current septum, against an expected 0.30 to 0.60 percent. At 25 °C the same septum passed. That pattern is compression set. We sent the septum to a materials lab for an ASTM D395 Method B check and got 38 percent set, which is the signature of a peroxide-cured silicone, not the platinum-cured grade the data sheet claimed.
Fix: Switched to a platinum-cured 1.5 mm high-recovery septum from the septa range, re-ran the gravimetric test, got 0.41 percent at 40 °C, and the run came back clean. The lesson is that "high-recovery" on a data sheet is a marketing term until you see the ASTM D395 number.
A troubleshooting checklist you can run in an afternoon
When a customer calls me with a loss problem, this is the sequence I walk them through. It is ordered by cost and by likelihood, cheapest and most likely first.
- Check the crimper or torque driver. 11 mm crimp: 1.4 to 1.6 kN. 20 mm crimp: 2.0 to 2.5 kN. 9 mm screw: 1.0 to 1.3 N·m. 13 mm screw: 1.2 to 1.5 N·m. Recalibrate if outside range.
- Check the septum grade against the method. Multi-injection (more than 4): 1.5 mm high-recovery. Single injection: 1.0 mm standard. Headspace: 3.0 mm. High temperature (above 60 °C): PTFE-faced, platinum-cured.
- Run the gravimetric protocol on 12 vials from the suspect lot and 12 from a known-good lot. Compare at 24 hours against the table above.
- Check the glass finish on 20 vials under a 10x loupe. Look for chips, out-of-round, or a bead that is visibly off-center. A glass defect will show as a cap that rocks on the finish.
- Check the tray temperature against the method. A tray running 4 °C warm will push a marginal septum over the edge.
- Check the needle gauge and injection depth. A 21-gauge needle at 22 mm depth leaves a bigger channel than a 23-gauge at 20 mm. If the method allows, go smaller and shallower.
If all six checks pass and you still have loss, the problem is probably not the seal. It is the method or the matrix, and that is a different conversation.
What to specify when you buy, and what to reject on receipt
The specification that prevents most of this is short. For a standard 9 mm screw vial in a multi-injection method, specify: 1.5 mm platinum-cured silicone with a PTFE face, 55 Shore A, ASTM D395 Method B compression set below 25 percent at 100 °C, and a certificate of analysis with the actual set number on it. For an 11 mm crimp vial in a single-injection method, specify: 1.0 mm silicone/PTFE, 50 Shore A, crimp force 1.4 to 1.6 kN, and a gravimetric loss of less than 0.15 percent at 24 hours at 25 °C.
On receipt, do not accept a lot on the strength of the CoA alone. Pull 12 vials, run the gravimetric protocol, and hold the lot until it passes. If the supplier cannot give you the ASTM D395 number, that is a signal, not a paperwork problem. The vial septa reference material is a reasonable place to start the conversation about what the number should be.
For methods that fall under a validated protocol, the seal is part of the method under U.S. EPA SW-846 and the equivalent USP chapter, which means a lot change is a change control event. That is why the gravimetric number belongs in your incoming inspection record, not in a folder of supplier certificates nobody reads.
What the instrument vendors will and will not tell you
The autosampler vendors publish tray temperature ranges and needle specifications but they do not publish seal performance, because the seal is not their part. If you are running an Agilent or Thermo platform, the Agilent chromatography consumables and Thermo Fisher sample handling documentation will tell you the tray temperature and the needle gauge, and that is the input you need for the gravimetric test. The seal performance number comes from the consumable supplier, and the Restek technical resources are a useful cross-check on what a reasonable compression set and loss figure looks like for a given elastomer. If your supplier's number is far from those references, ask why.
The decision rule
If a run shows loss, do not change the vial first. Measure the crimp force or the screw torque, run the gravimetric protocol at the method temperature, and compare against the table. If the loss is under 0.30 percent at 24 hours, the seal is fine and the problem is elsewhere. If it is between 0.30 and 0.60 percent, the seal is marginal and the fix is a septum grade change or a torque correction. If it is above 0.60 percent, the lot is failing and you should reject it and ask for the ASTM D395 number before you accept the replacement. That rule has saved more runs in my shop than any single product change, and it costs one balance and one afternoon to apply.
References & further reading
Related resources from our lab consumables network:
- Aijiren Brand at aijirenvials.com
- Voa Vial at voavial.com
- Septa at septacaps.com
- Vial Septa at vialsepta.com
External references and standards: