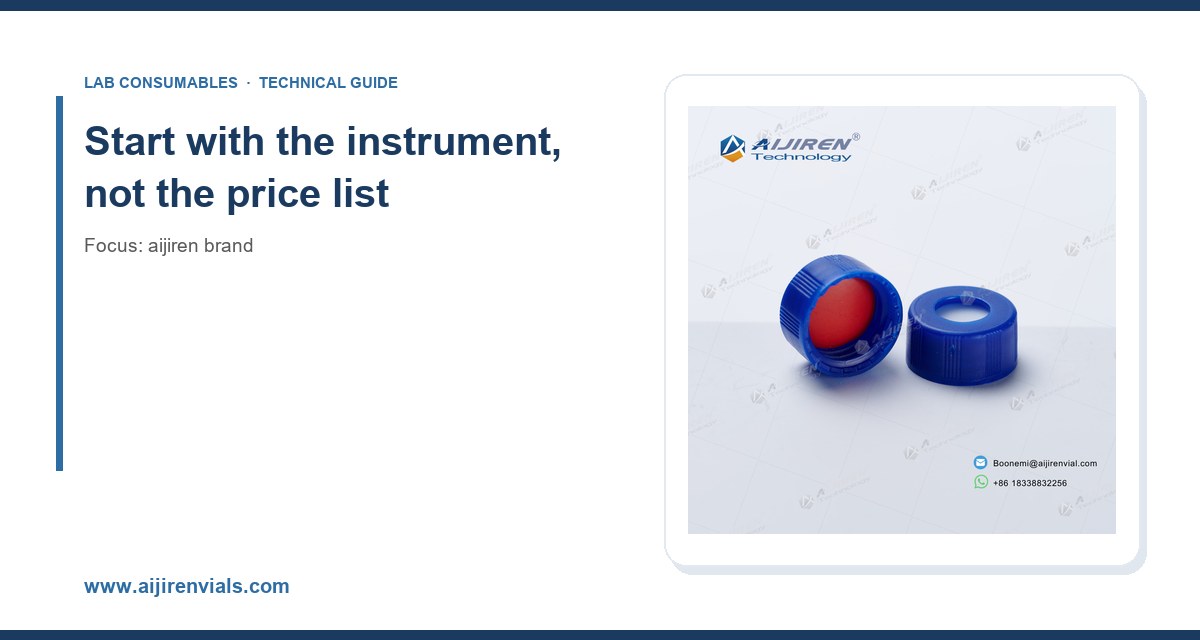
I have spent the better part of fifteen years on the supply side of chromatography consumables, and the single most expensive mistake I see buyers make is treating "the aijiren brand" as one thing. It is not. The aijiren catalog spans autosampler vials, closures, septa, filters, and the small hardware that holds an HPLC or GC run together, and each of those product families has its own failure modes, its own dimensional tolerances, and its own price-per-injection math. Pick the wrong SKU and you will not know it from the certificate of analysis. You will know it three weeks later when your internal standard response drifts 8% across a sequence and nobody can explain why.
This guide is written for the person who signs the purchase order and the person who loads the tray. I will cover how to match aijiren product lines to your actual workflow, what numbers matter, where the cheap choice costs you, and how to build a decision checklist you can hand to a new analyst. If you want the full catalog reference while you read, start at the Aijiren Brand page and keep it open in a second tab.
Every vial and closure decision flows from the autosampler sitting on your bench. A 2 mL vial that seats perfectly in an Agilent 7693A tray can sit a fraction of a millimeter high in a Waters Alliance and cause needle-height faults. The glass is often identical. The crimp or screw dimension is not.
Before you look at a single price, write down four facts about each instrument in the lab:
- Autosampler model and tray type (for example Agilent 7693A, 1290 Infinity II, Thermo TriPlus RSH, Shimadzu AOC-6000).
- Vial seat geometry: 2 mL standard, 2 mL wide-mouth, or a 1.5 mL or 0.3 mL microvolume position.
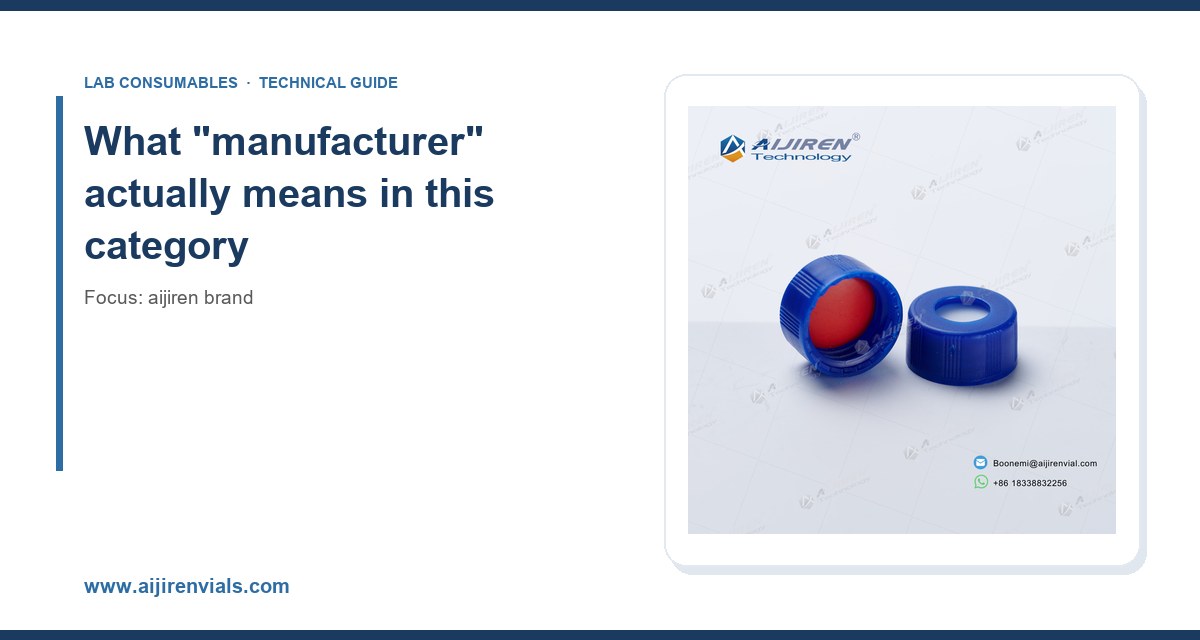
- Closure style: 11 mm crimp, 11 mm snap, 9 mm screw, or 10-425 screw.
- Detection mode: UV, MS, FID, or ECD. This drives septum choice more than anything else.
Agilent publishes autosampler compatibility tables that list the exact vial and cap dimensions each tray accepts, and I recommend checking yours against the Agilent chromatography consumables and columns reference before you commit to a thousand-piece case. Thermo publishes similar guidance for its sample handling hardware at Thermo Fisher chromatography and sample handling. Get the seat geometry wrong and no amount of septa quality will save the run.
The 2 mL standard is still the workhorse
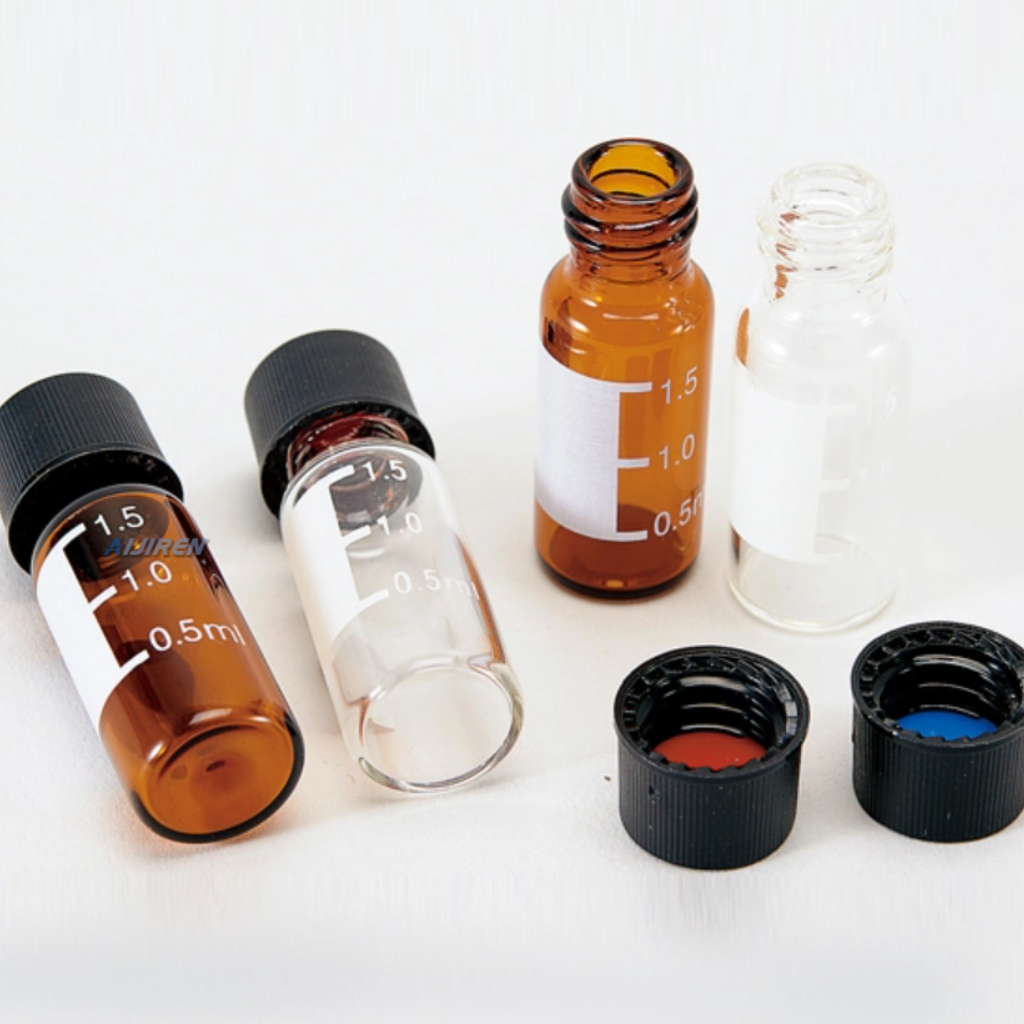
Roughly 80% of the labs I have supplied run 2 mL, 12 x 32 mm vials with an 11 mm or 9 mm closure. That is the default. The interesting decisions happen in the other 20%, and in the closure and septum that sit on top of the standard vial.
Vial selection: glass, geometry, and volume
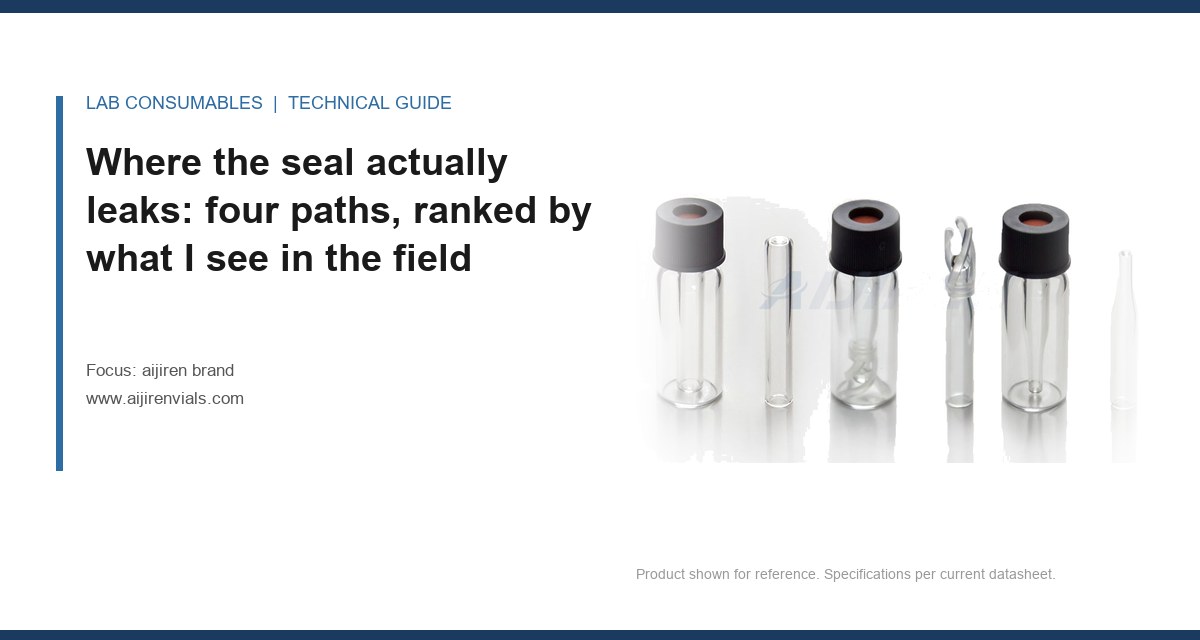
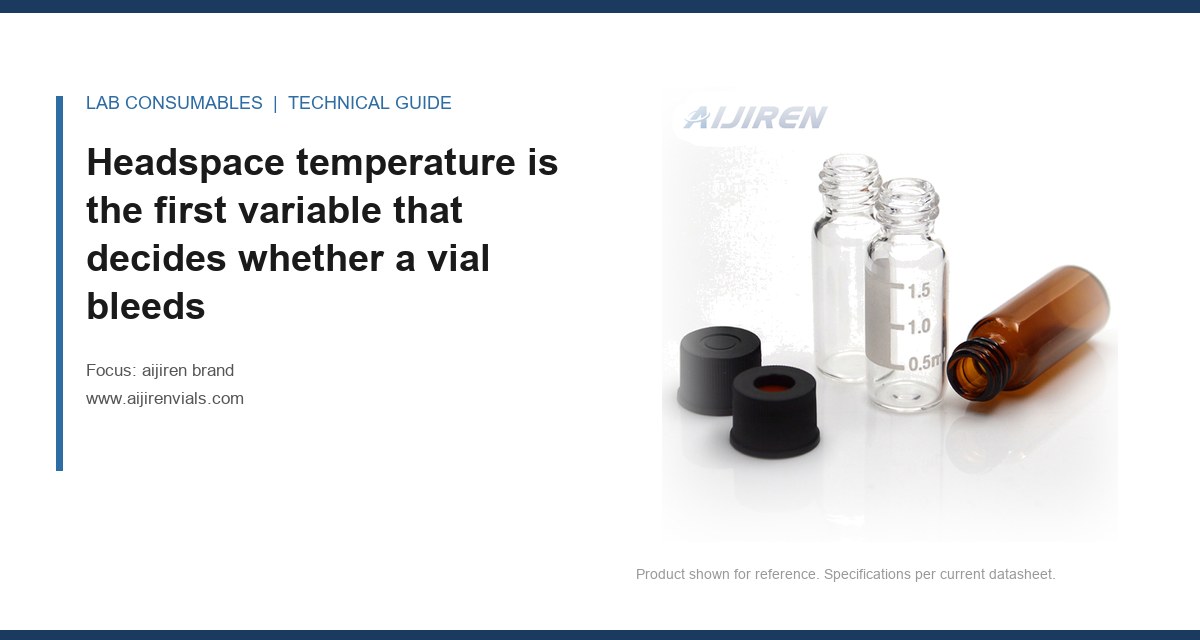
The aijiren vial range is built around the same dimensional standards the rest of the industry uses, so the question is not "will it fit" but "which variant fits my method." Here is how I break the decision down.
Glass grade
Two choices dominate: Type I borosilicate (class A) and Type I deactivated glass. For reversed-phase HPLC with UV detection, standard borosilicate is fine. For GC with an autosampler that holds samples for hours, or for any compound with a tendency to adsorb to silanols (amines, some pesticides, proteins), pay for the deactivated surface. The cost difference is typically 20 to 40% per vial. The cost of a failed sequence is a re-run, a delayed release, and an annoyed client. Do the math on your own re-run rate.
For LC-MS work, the deactivated glass matters even more. I have watched a basic drug compound lose 15% of its response over a 12-hour tray hold in untreated glass and hold within 2% in a properly deactivated vial. That is not a subtlety. That is a data integrity problem.
Volume and geometry
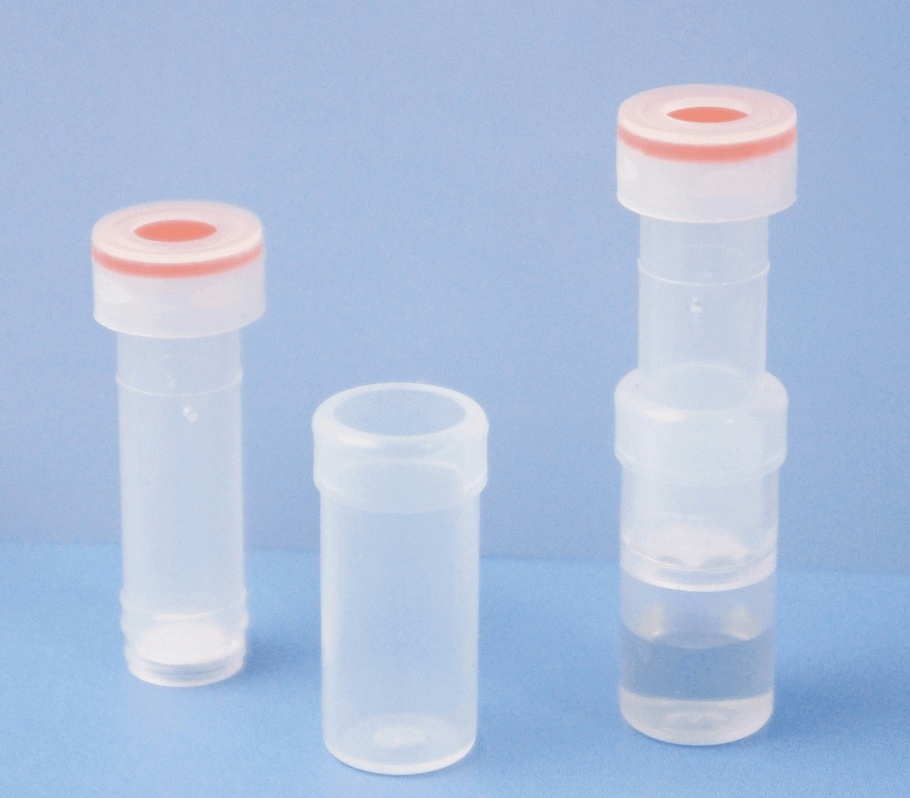
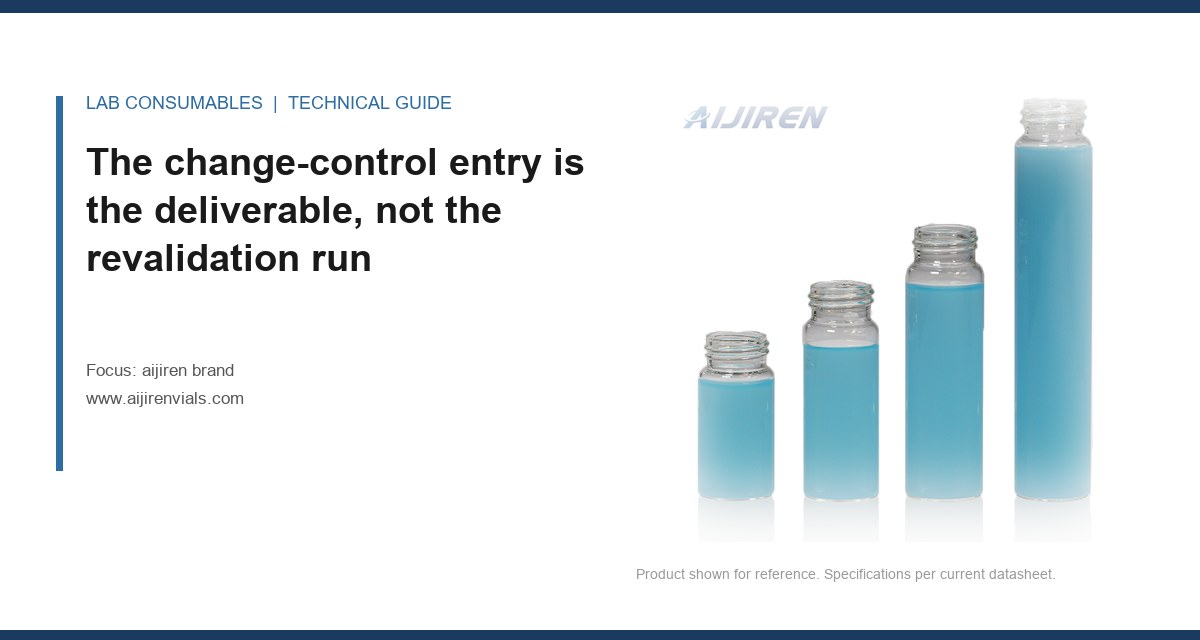
The standard 2 mL vial holds about 1.5 mL of usable liquid. If your injection volume is 5 to 10 microliters and your autosampler needle reaches to within 1 mm of the bottom, you can run a 2 mL vial with 300 microliters and be fine. If you are running a microflow method or a precious sample, move to a 1.5 mL or 300 microliter insert or a dedicated microvolume vial.
Two geometry points that trip people up:
- Wide-mouth (6 mm opening) versus narrow-mouth (4 mm opening). Wide-mouth is easier to fill and easier to get a pipette tip into. Narrow-mouth gives a better seal and less evaporation. For long GC sequences, narrow-mouth plus a properly torqued crimp wins.
- Flat bottom versus rounded. Flat-bottom vials let the needle reach lower residual volume. Rounded bottoms pool liquid at the center and can starve a side-port needle.
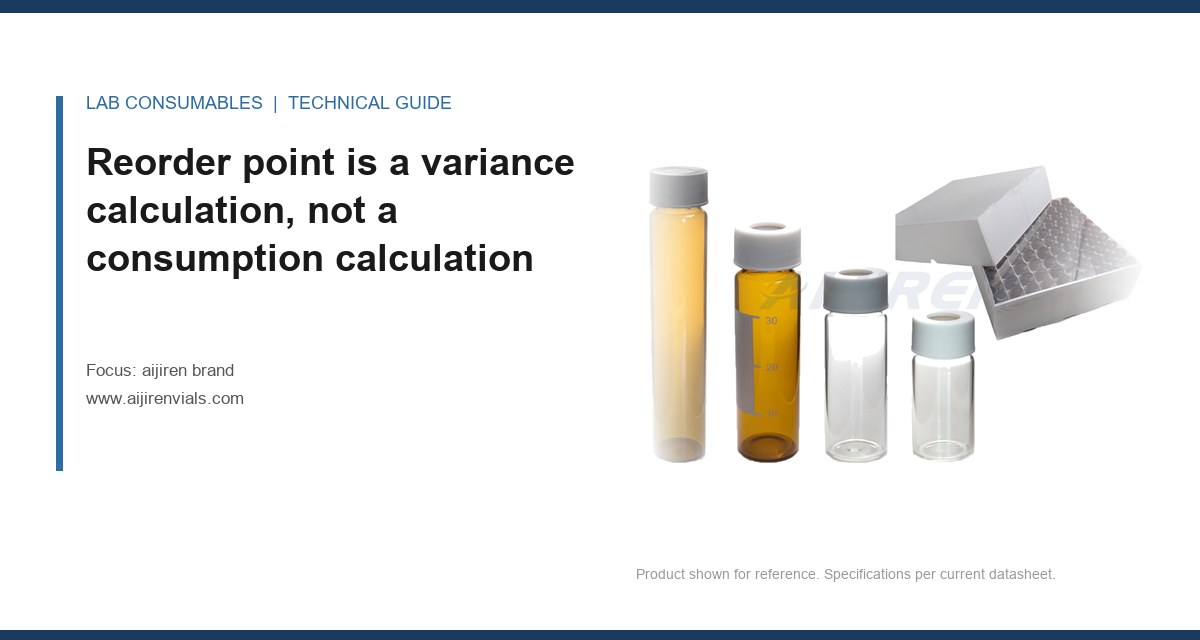
If you are running a headspace or a large-volume injection method, the Voa Vial line is worth a look. VOC methods under EPA SW-846 (the U.S. EPA SW-846 test methods for waste and materials set, specifically 8260 and 524.2) have strict requirements on vial volume, headspace, and closure integrity. A 40 mL VOA vial with a PTFE-faced silicone septum and a crimp or screw cap is not interchangeable with a 2 mL autosampler vial, and the septa are not either.
Closures and septa: where most of your problems actually live
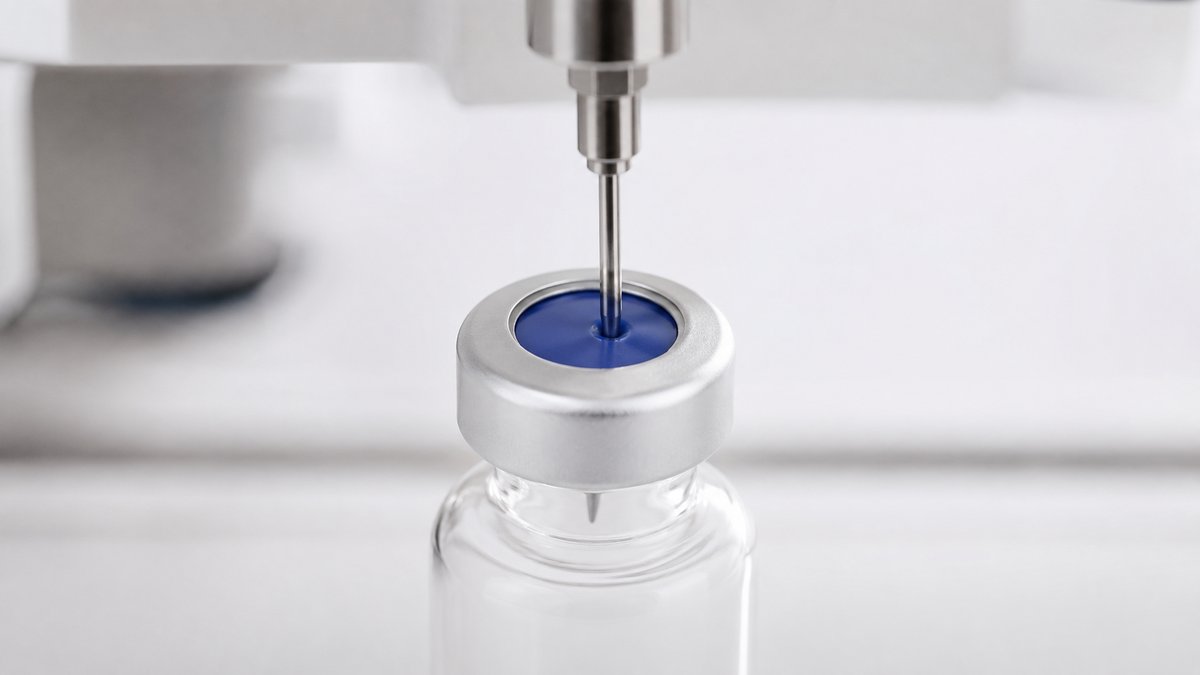
The septum is the cheapest component in the system and the one that ruins the most runs. I mean that literally. A bad septum costs you a few cents. The failed sequence costs you a day.
Crimp versus screw versus snap
Three closure styles, three different failure profiles:
- 11 mm crimp. Best seal, lowest evaporation, best for long GC sequences and headspace. Requires a crimper and a decapper, and the crimp torque matters. I set crimpers to a consistent setting and check with a go/no-go gauge every 200 caps. Under-crimp leaks. Over-crimp cracks the glass neck and you find out at the autosampler.
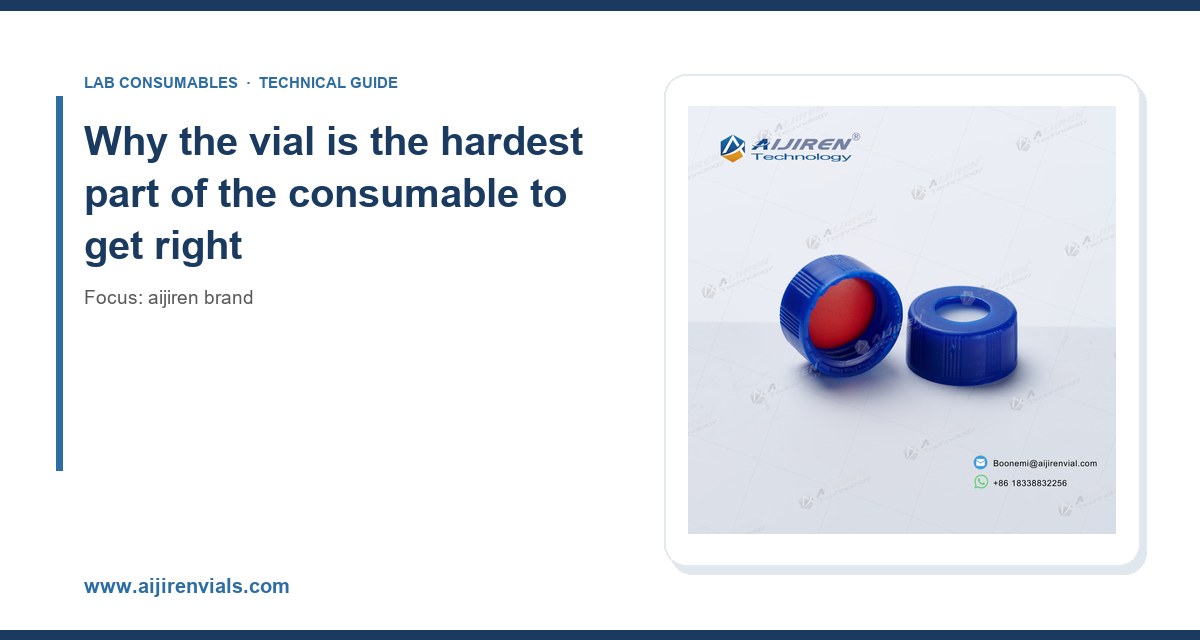
- 9 mm screw (short thread). The most common HPLC closure. Reusable, no tooling, and the seal depends entirely on the septum and the cap liner. Torque is the variable. Hand-tight is not a specification. A torque of about 0.5 to 0.8 N·m is the working range for most 9 mm screw caps; too loose and you get evaporation, too tight and you deform the septum and create a coring path.
- 11 mm snap. Fastest to load, worst seal. Fine for short HPLC runs with volatile-tolerant analytes. Not fine for a 24-hour tray hold.
For a deeper dive on closure chemistry and compatibility, the Septa reference is a good starting point, and the Vial Septa library covers the specific septum materials against common solvents.
Septa material selection
This is the decision most buyers get wrong. Here is the working matrix I use:
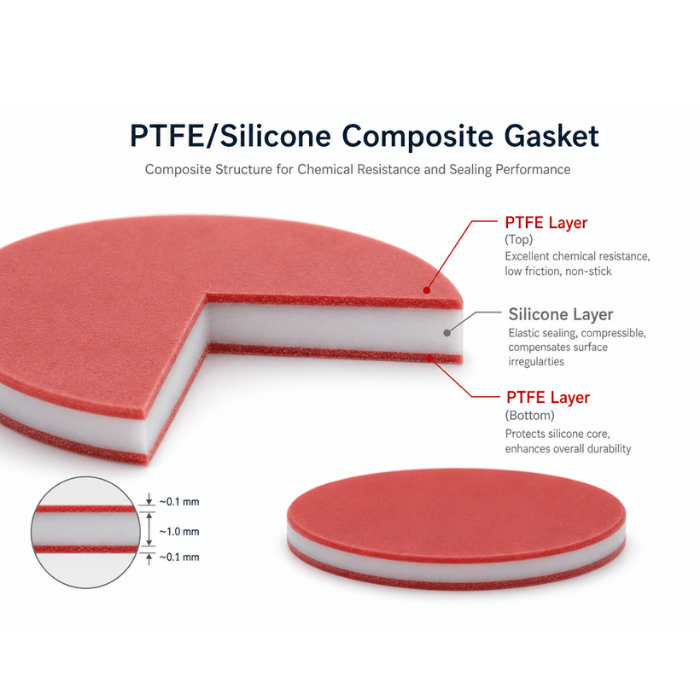
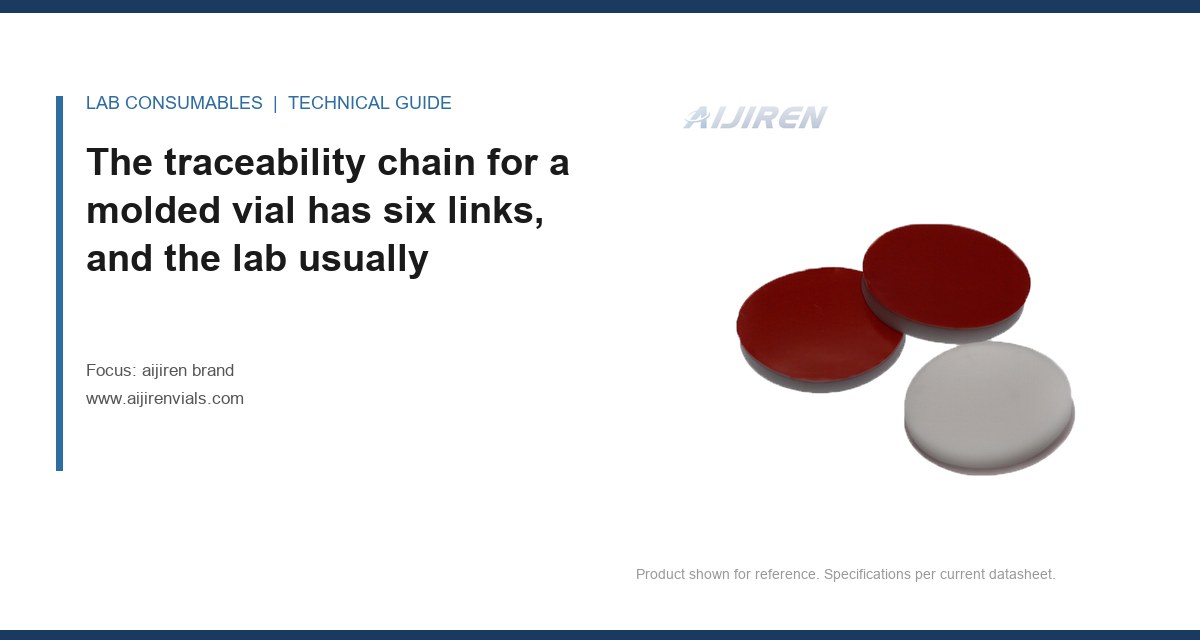
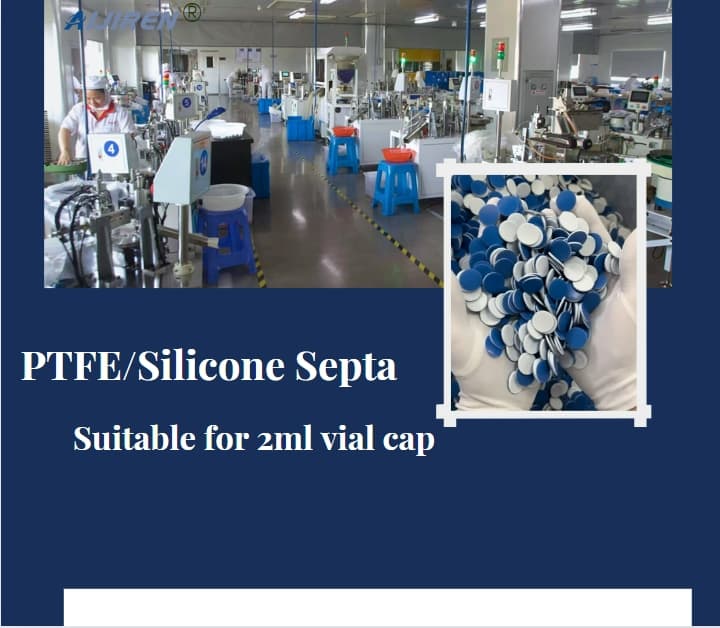
- Silicone with PTFE face. The default for HPLC and most LC-MS. The PTFE face is inert and prevents the silicone from leaching into the sample. Temperature ceiling around 200°C for the silicone, but the PTFE face limits you to about 100 to 120°C in practice before it degrades. Excellent re-seal after multiple injections.
- Bonded silicone/PTFE. Better than a loose PTFE disc because the layers do not separate during needle penetration. I specify bonded for any method with more than 20 injections per vial.
- Natural rubber or butyl. Cheap, high re-seal count, but poor solvent resistance. Reserve for aqueous, non-aggressive samples and short runs.
- PTFE/silicone/PTFE sandwich. The premium option. Two inert faces, one elastic core. Use it for trace analysis, reactive analytes, and anything going near an MS source.
The number that matters most is puncture count before leakage. A good 9 mm silicone/PTFE septum holds a seal for 50 to 100 punctures in a well-torqued cap. A cheap one starts leaking at 20. If your method injects the same vial 30 times, you are already at the edge. Track it.
Temperature ratings
If your autosampler has a heated tray or you run headspace, the septum temperature rating is a hard limit, not a suggestion. Above the rating, the silicone softens, the PTFE face wrinkles, and you get a slow leak that shows up as drift, not as a fault. For headspace at 80 to 150°C, specify a septum rated for at least 20°C above your method temperature. I have seen a 150°C headspace method run on a 120°C septum and the only symptom was a 6% drop in recovery on the late-eluting peaks. Nobody caught it for a month.
Filters and sample prep consumables
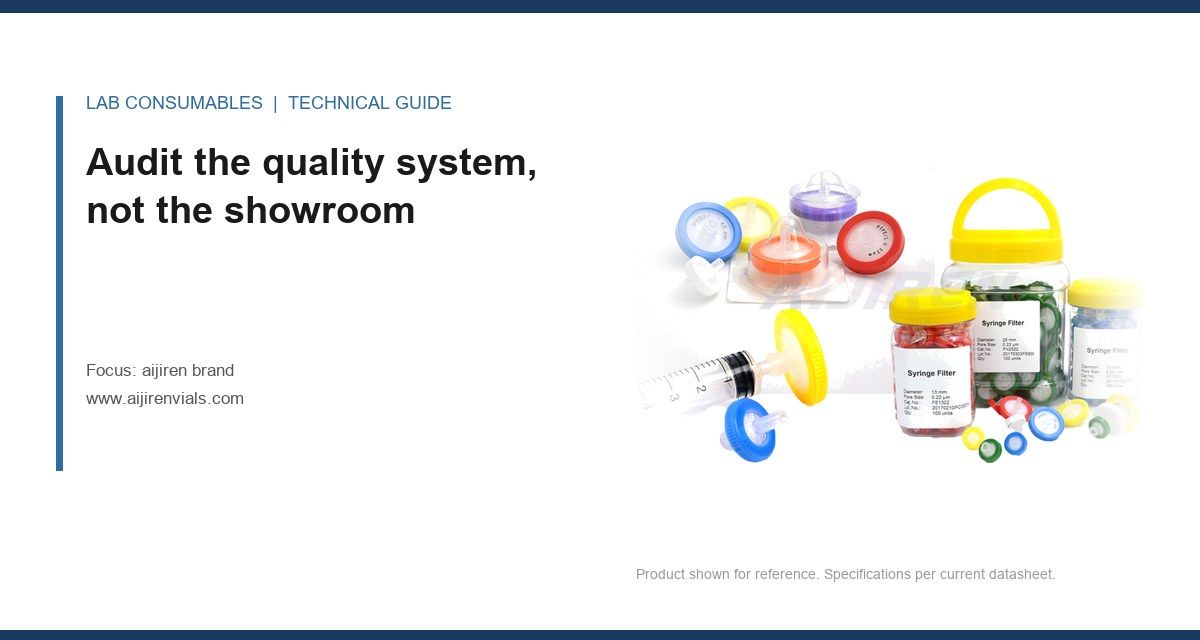
Syringe filters are the other place aijiren earns its keep, and the selection logic is simpler. Match the membrane to the chemistry and the pore size to the column.
- Pore size: 0.22 micron for UHPLC and columns with sub-2-micron particles. 0.45 micron for standard 3 to 5 micron HPLC columns. Using 0.45 on a UHPLC column is asking for a frit plug.
- Membrane: PTFE for aggressive solvents and GC, nylon for aqueous and general HPLC, PVDF for protein and low-binding work, PES for sterile filtration.
- Housing: polypropylene is standard. Check the hold-up volume; a 13 mm filter holds about 10 to 20 microliters, a 25 mm holds 50 to 100. If your sample is 200 microliters, use the small one.
One operational note I insist on: pre-rinse the filter with 1 to 2 mL of your mobile phase or sample solvent before you push the sample through. New filters shed a small amount of extractable material, and if you do not rinse, that material lands in your injection. It shows up as a ghost peak at the solvent front. Restek's technical library at Restek technical resources for chromatography has good background on extractables if you want to go deeper.
A decision checklist with real numbers
Here is the table I hand to a new buyer. Print it, tape it to the wall, and stop guessing.
| Workflow | Vial | Closure | Septa | Key number |
|---|---|---|---|---|
| Standard HPLC-UV, aqueous | 2 mL, 12 x 32 mm, narrow-mouth, borosilicate | 9 mm screw, PP | Silicone/PTFE, 1.0 mm thick | 0.45 micron filter, torque 0.5 to 0.8 N·m |
| LC-MS, trace analysis | 2 mL, deactivated glass, narrow-mouth | 9 mm screw, PP | PTFE/silicone/PTFE, 1.0 mm | 0.22 micron filter, puncture count under 50 |
| GC, long sequence (12 h+) | 2 mL, narrow-mouth, deactivated | 11 mm crimp, aluminum | Silicone/PTFE, 1.0 mm | Crimp go/no-go every 200 caps |
| Headspace, 150°C | 20 mL headspace vial | 20 mm crimp, magnetic | Silicone/PTFE rated 180°C | Septum rated 20°C above method |
| VOC (EPA 8260) | 40 mL VOA vial | 24 mm screw, PTFE-lined | PTFE-faced silicone | Zero headspace, septum intact |
| Microvolume, precious sample | 300 microliter insert or microvial | 9 mm screw | Silicone/PTFE | Needle reach within 1 mm of bottom |
Two standards to cite when you write the spec into your SOP: the GPI 9 mm and 11 mm thread finishes (Glass Packaging Institute) for screw and crimp dimensions, and ISO 4796 for laboratory glassware dimensional tolerances. If a supplier cannot tell you which GPI finish their cap uses, that is your answer about their QC.
Operational precautions that save sequences
Selection is half the job. Handling is the other half. These are the things I have watched go wrong repeatedly:
- Do not touch the septum face with bare hands. Finger oils show up as ghost peaks in LC-MS and as baseline noise in GC-ECD. Wear nitrile gloves and handle caps by the rim.
- Store septa in the original sealed bag. Silicone absorbs volatiles from the lab air. An open bag on a bench next to a solvent bottle is a contamination source.
- Check crimp height, not just cap tightness. A crimp that looks tight can be 0.5 mm too high and leak. Use a crimp gauge.
- Do not re-torque a screw cap after injection. Once the septum is pierced, re-tightening deforms the puncture and creates a leak path. Cap once, inject, discard.
- Match vial to tray, not to price. A 2 mL vial in a 1.5 mL position causes needle-height faults that look like instrument problems.
- Run a septum blank. Inject mobile phase through a fresh cap and septum before you trust a new lot. If you see peaks, reject the lot.
Troubleshooting checklist
When a sequence fails, work down this list before you blame the column. In my experience the column is the culprit less than 20% of the time.
- Drifting retention time or response: check septum seal and cap torque first. Evaporation concentrates the sample and shifts response. Then check vial fill volume.
- Ghost peaks at the solvent front: septum extractables or unrinsed filter. Swap to PTFE/silicone/PTFE and pre-rinse.
- Needle-height or tray faults: wrong vial geometry for the tray, or a cap that is not fully seated. Verify against the autosampler compatibility table.
- Loss of volatile analytes: under-crimped cap, wrong septum, or too much headspace. Re-crimp with a gauge and reduce headspace.
- Inconsistent peak area (RSD above 2%): check for coring. A dull needle or an over-torqued cap punches a plug out of the septum, and that plug ends up in the sample. Inspect the septum after injection.
- Baseline noise in GC-ECD: septum bleed. Confirm the septum temperature rating exceeds your inlet temperature by at least 20°C.
If you work through that list and the problem persists, the issue is upstream in sample prep, not in the consumable. That is a different article.
Cost per injection, not cost per case
The buyer's instinct is to compare case prices. Do not. Compare cost per valid injection. A 2 mL vial at 12 cents that fails 3% of the time costs more than a deactivated vial at 18 cents that fails 0.5% of the time, once you price the re-run, the analyst hour, and the delayed result. I have run this calculation for labs and the break-even is usually around a 2% failure rate. Below that, cheap is fine. Above it, you are paying for the cheap vial twice.
Build the number into your purchasing spec. Ask the supplier for the lot-level puncture count and the septum temperature rating in writing. If they cannot provide it, the price is not the deal you think it is.
What I recommend
For a general-purpose HPLC lab running UV and MS detection on 2 mL samples, specify 2 mL, 12 x 32 mm, deactivated borosilicate, narrow-mouth vials with 9 mm screw caps and bonded silicone/PTFE septa at 1.0 mm thickness, torqued to 0.5 to 0.8 N·m, filtered at 0.22 micron for UHPLC and 0.45 micron for standard HPLC. For GC with sequences over 12 hours, move to 11 mm crimp with aluminum caps and silicone/PTFE septa and gauge-check the crimp every 200 caps. For headspace above 100°C, specify a septum rated at least 20°C above your method temperature and do not negotiate on it.
Buy the deactivated glass for anything going near an MS. Buy the bonded septum for anything injected more than 20 times per vial. Buy the 0.22 micron filter for anything with sub-2-micron particles in the column. Those three rules cover most of the failures I have seen in fifteen years, and they are the ones I would write into a new lab's SOP on day one. The rest is matching the SKU to the tray and keeping the septa bag sealed.
References & further reading
Related resources from our lab consumables network:
- Aijiren Brand at aijirenvials.com
- Voa Vial at voavial.com
- Septa at septacaps.com
- Vial Septa at vialsepta.com
External references and standards: